
XINSTALL BY CLICKING THE DOWNLOAD FILE
Are you getting the Windows 10 error 0x800706ba? This error is associated with failed Windows Updates on Windows 10 computers, and it can be caused by corrupt system files that are required in order to complete the Windows updates. However, there’s a way to fix this problem.
How can I fix 0x800706ba error on Windows 11?
If you want to fix Windows Update error 0x800706be on Windows 11, you should know that the solutions are almost identical to the ones for Windows 10.
Similar to update error 0x80070422, the issue is most likely caused by file corruption, so repairing your system might be necessary.
In some cases, running the troubleshooter should be enough, so if you encounter this or update error 0x80070424, be sure to try that or any other solution from this guide.
How can I fix error 0x800706ba on Windows 10 and 11?
- Run SFC and DISM
- Use Windows Update Troubleshooter
- Enable Critical Windows Update Services
- Download the update manually
- Reset Windows Updates Components
1. Run SFC and DISM
Windows 10 error 0x800706ba is largely caused by corrupted system files, but you can use Windows built-in tool such as System File Checker (SFC) to correct the situation.
Here’s how to run the SFC scan:
- Press Windows+Q and type cmd.
- From the search results, right-click Command Prompt and choose Run as Administrator.
- A new window appears. Type sfc /scannow and hit the Enter key.

- Wait until scan and repair process is finished.
You can also use, Deployment Image Servicing and Management tool to fix corrupt system files that SFC tool cannot fix.
Here’s how to run DISM in Windows 10:
- Press Windows key and then type Command Prompt
- Click on Command prompt (Admin).
- Copy and paste the following command on the command line: dism.exe /Online /Cleanup-image /Restorehealth

- In case the DISM can’t obtain files online, try using your installation USB or DVD. Insert media and type following command: dism.exe /Online /Cleanup-Image /RestoreHealth /Source: C:/RepairSourceWindows /LimitAccess
- Be sure to replace C:/RepairSourceWindows path of your DVD or USB.
Note: Make sure that you replace the repair source path with your own.
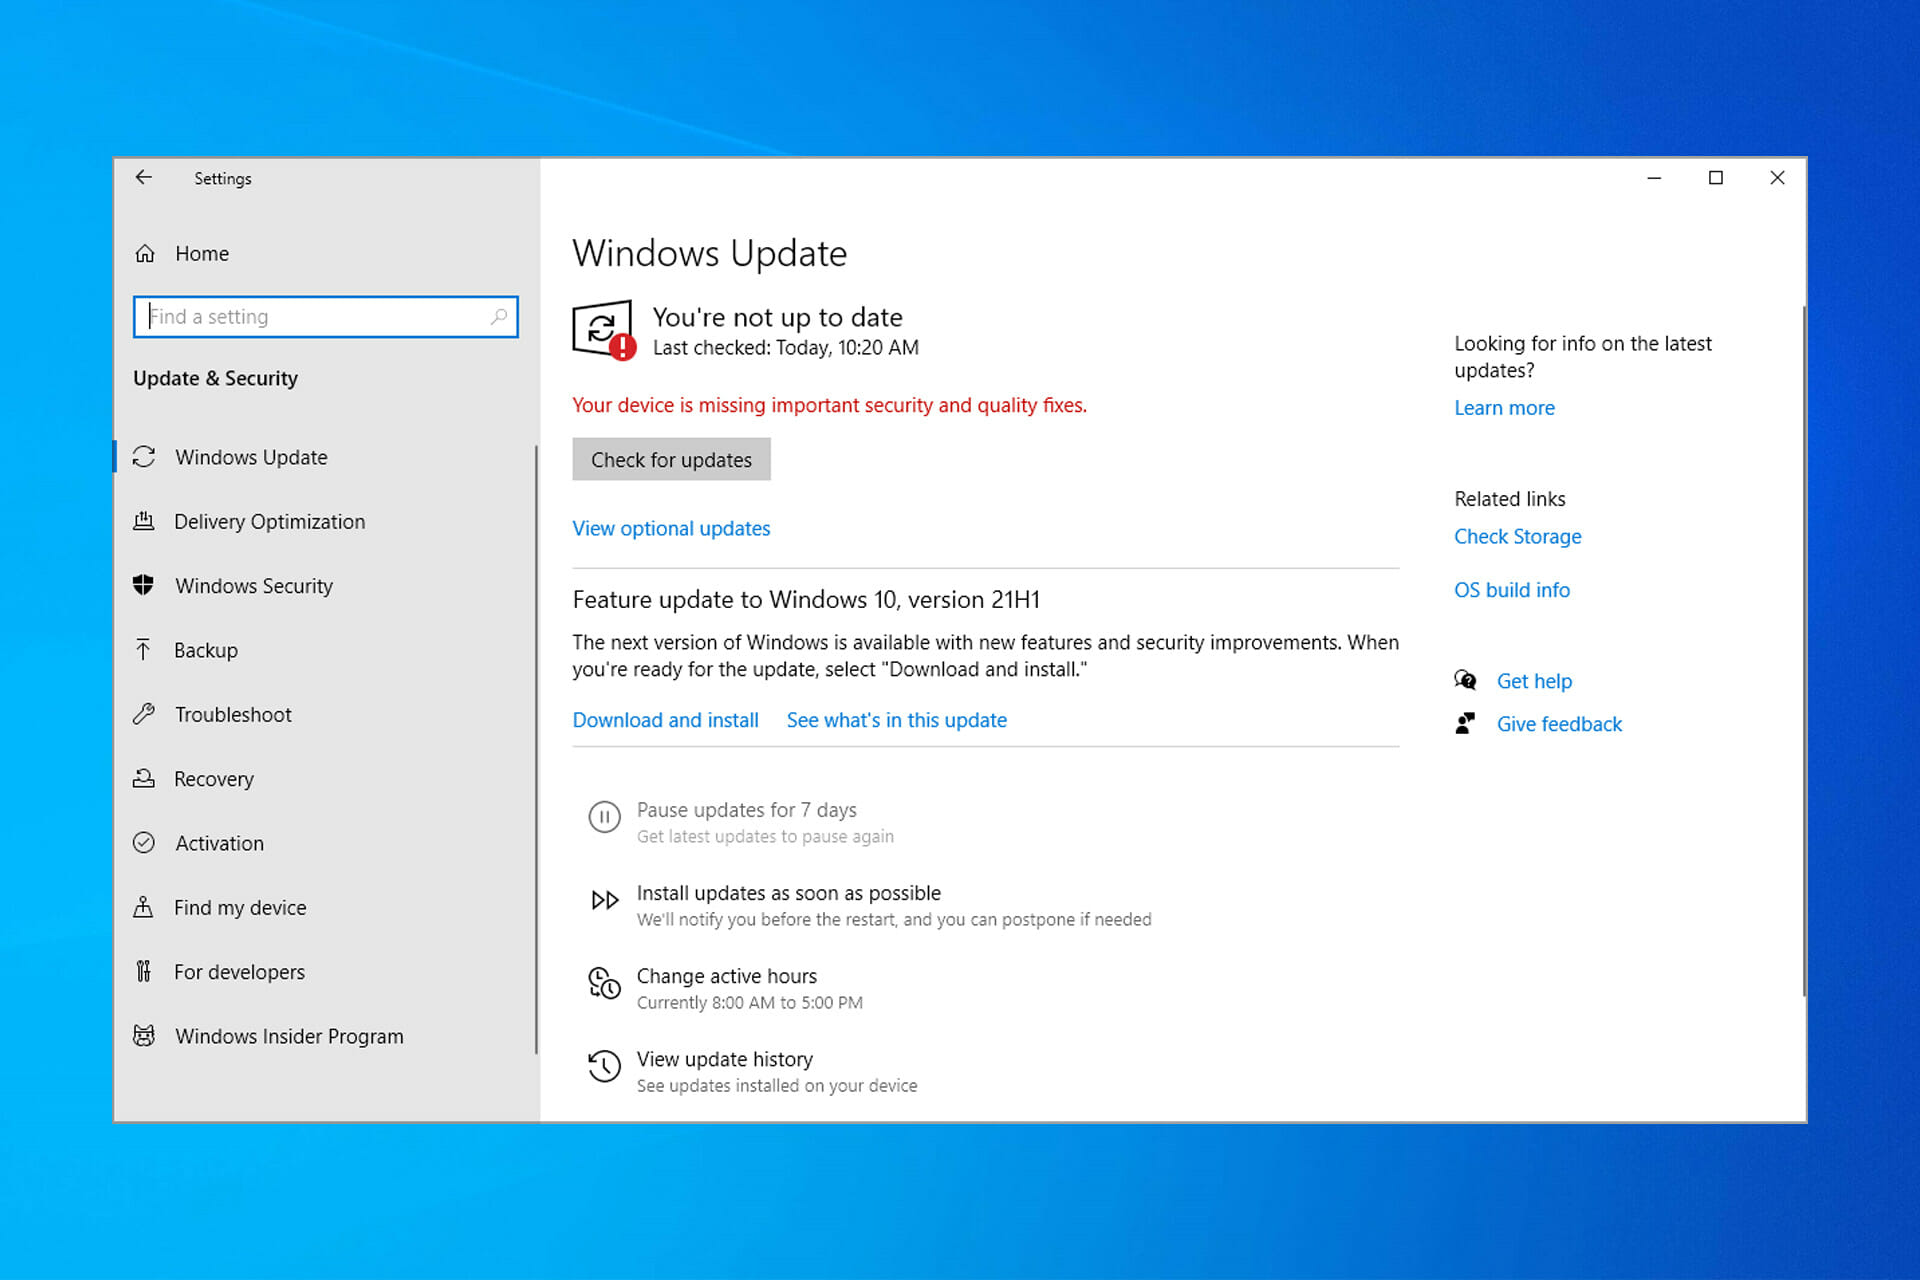
2. Use Windows Update Troubleshooter
Windows Update Troubleshooter is a Windows 10 built-in tool which can also be used to fix this problem since error 0x800706ba is associated with Windows updates.
Here’s how to do this:
- Go to Start > type Settings and then hit the Enter key.
- Head over to Update & Security > Troubleshoot.
- Find Windows Update, and click Run the troubleshooter.

- Follow further on-screen instructions.
- Restart your computer.
3. Enable Critical Windows Update Services
There are important Windows Update services which ensure that updates and patches are securely downloaded and installed without issues.
Some of the important Windows Updates services include Windows Update, Workstation, and Background Intelligent Transfer service. However, when any of these services are disabled, the Windows 10 error 0x800706ba problem might occur.
To fix that, follow these steps:
- Press the Windows Key + R to launch the Run windows.
- In the Run window, type services.msc and then click OK.

- In the Services windows, locate Windows Update, Workstation, and Background Intelligent Transfer services and double-click them one by one.

- Ensure that the services are set to Automatic and are running.
- If they are not running, set the Startup type to Automatic for each of the services, click Start and Apply.
- Restart your system and then continue with the Windows update.
4. Download the update manually
Another workaround that can help you fix the error 0x800706ba is to download the update directly from Microsoft’s Update Catalog. Though, you need to identify the update code of the problematic update before you can advance.
Typically, every Windows update code starts with KB, followed by an arrangement of numbers. After identifying the update code, you can proceed to download and install the update manually.
Here’s how to do this:
- Go to the Microsoft Update Catalog website.

- In the search box, enter the update code and then hit the Enter key.
- From the list of matching updates, locate the update that uses the same architecture as your system.

- Click the Download button next to the update to download it.
- Once you download the update, run the setup file and follow the installations.
- After the update is complete, restart your Windows PC.
5. Reset Windows Updates Components
Lastly, you can resolve the Windows 10 error 0x800706ba problem by manually resetting Windows Updates components.
Here’s how to do that:
- Open Win + X menu and choose Command Prompt (Admin) from the list. You can do that by pressing the Windows Key + X shortcut.

- Once the Command Prompt opens, run the following commands:
- net stop wuauserv
- net stop cryptSvc
- net stop bits
- net stop msiserver
- Ren C:WindowsSoftwareDistribution SoftwareDistribution.old
- Ren C:WindowsSystem32catroot2 Catroot2.old
- net start wuauserv
- net start cryptSvc
- net start bits
- net start msiserver
- After running these commands, check to see if the problem is resolved.
Alternatively, you can create a reset script using the steps outlined in our WUReset script guide.
In conclusion, we do hope that you are able to resolve the Windows 10 error 0x800706ba problem by applying any of the solutions we mentioned above. If so, you let us know by dropping a comment below.

Start a conversation