
- The Windows security won’t open and that means you won’t have access to processes and operations related to updating and restoration features
- If Windows Security is not showing anything, start by running the System File Checker tool.
- You can also try to scan and fix errors using DISM commands and change the Windows 10 account.
- Another idea is to perform a system restore if you have any restore points activated for your system.

XINSTALL BY CLICKING THE DOWNLOAD FILE
Update & Security is a special field integrated by default into the Windows 10 core system. This built-in menu offers access to processes and operations related to updating and restoration features.
Here you can check for your update history or schedule your restart for a specific time and the process is automated so you don’t have to do anything manually.
Shortly, by accessing the Update & Security window you can scan for new updates, apply certain updates, remove recently installed patches, initiate a system recovery operation, and perform similar other processes.
However, sometimes you might notice that the Windows Security won’t open. This is quite a common Windows 10 error caused by corrupted system files or by other Windows 10 malfunctions. And speaking of malfunctions, users reported more similar issues.
Frequent issues associated with the Windows Security tab:
- Windows 10 update and security closes immediately / Windows Update closes automatically
- (Ironically) Windows Security not working after update
- Windows Security showing blank screen
- Also, Windows Update won’t load in Update & Security settings
- Windows Security not showing anything
The latest Windows 11 is also not exempt from such issues and users reported the following cases: Windows Security not responding, not showing anything/blank, or Windows security not opening at all.
Fortunately, there are a few solutions that you can use to fix the Update & Security tab.
How do I fix Windows Update and Security tab not working?
- Run the System File Checker tool
- Use a dedicated software
- Scan and fix errors using DISM commands
- Change the Windows 10 account
- Perform a system restore
1. Run the System File Checker tool
- Type cmd in the Seach box and click on Run as administrator under the Command Prompt app.
- Type sfc /scannow and press Enter.
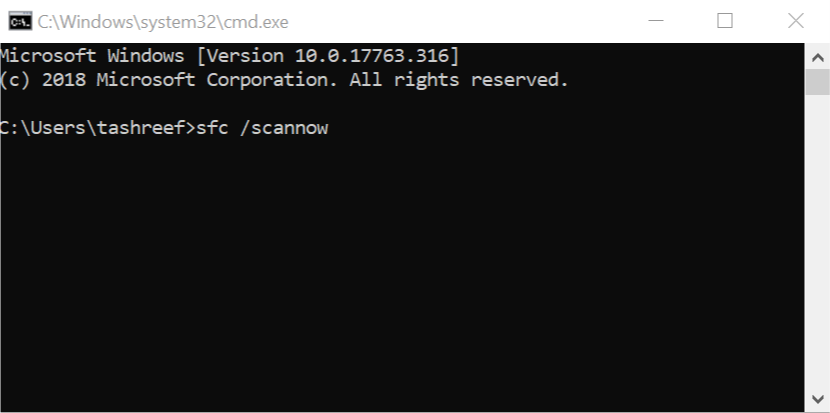
- Wait until the scan is completed (it might take a while depending on how many files are stored on your computer).
- If problems are found the troubleshooter should fix them automatically.
- Don’t forget to restart your PC in the end.
If you need to know more about System File Checker, we have an excellent guide on how to use it.
2. Use a dedicated software
As this problem can be produced by corrupted files or registries, we recommend using specialized software like Restoro to fix the problem.
This amazing tool not only that will fix your file and system issues but after that, it will continue to monitor your OS and will make sure that it’s always in tip-top shape and running smoothly.
After using Restoro, don’t be surprised if your PC will become faster and more responsive because this solution will provide the much-needed performance boost that you’ve never experienced.

Restoro
Keep your system clean, restore all your files and give a performance boost to your PC with this great tool.
3. Scan and fix errors using DISM commands
- Start a Command Prompt window as explained above.
- Enter the following commands (press Enter after each entry):
Dism /Online /Cleanup-Image /CheckHealthDism /Online /Cleanup-Image /ScanHealthDism /Online /Cleanup-Image /RestoreHealth
- Close the command prompt window and restart the Windows 10 system.
If you want to learn everything there is to know about using DISM commands check our handy guide.
4. Change the Windows 10 account
- Click on the Cortana icon, located near the Start button.
- In the Search box enter settings and pick Settings from the resulted entries.
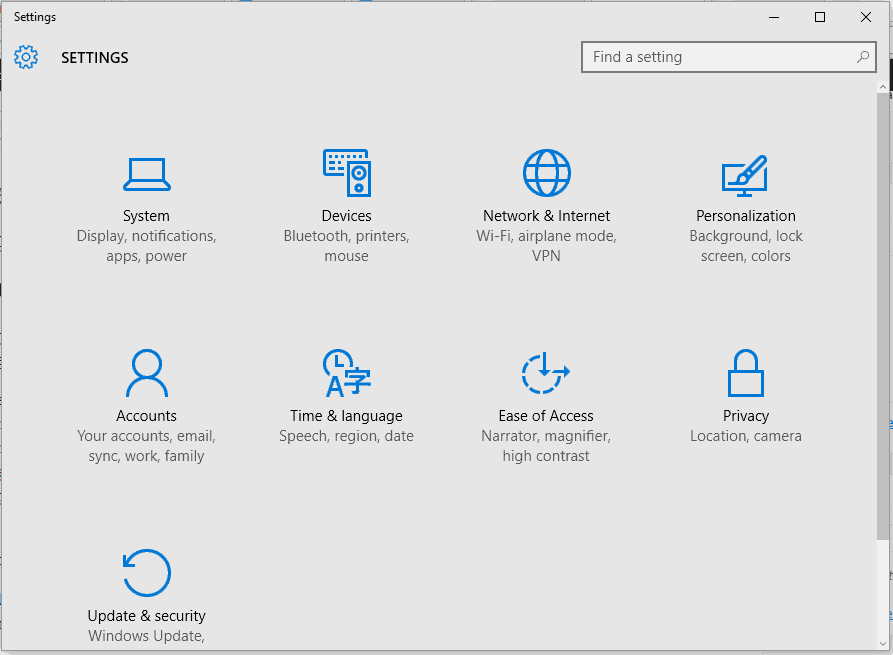
- Then, click on Account and go to Other user accounts.
- Select Add an account from Manage other accounts.
- You will have to pick Sign in without a Microsoft account and Local account.
- Fill out the forms and save your changes.
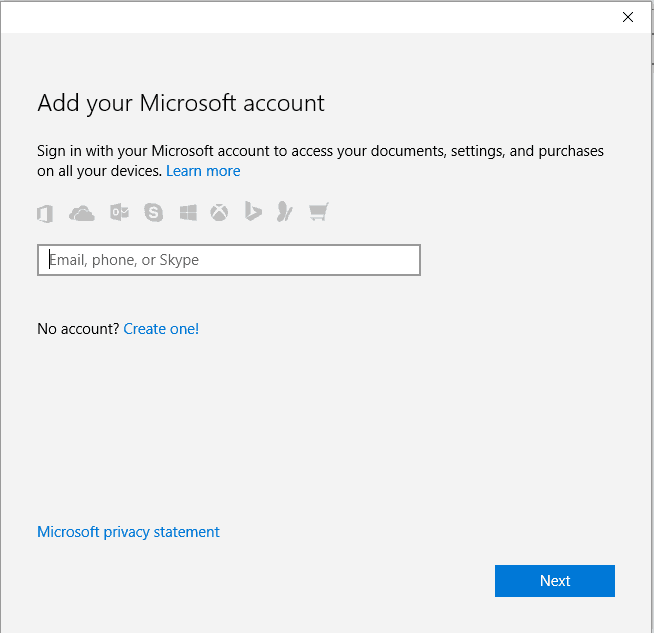
- Switch to the newly created account and verify if you can access the Update & Security tab.
The problem might be associated with one particular account. So, it’s recommended to create a new account as from afterward you might be able to access the Windows 10 Update & Security tab again.
5. Perform a system restore
- While booting your Windows 10 system, tap repeatedly on F11.
- This should bring the Windows 10 Advanced Startup Options menu.
- From there select Troubleshoot.
- From here you can choose to Reset your computer (which should be completed only if restoring it isn’t fixing your problem) or to access Advanced options.
- Click on the second entry and then pick System Restore.
- From that point follow on-screen prompts in order to restore your device to a state where everything used to run without problems – be careful as you might lose some apps or programs (depending on which date you choose for the restore process).
- Remember: you can also choose to Reset your PC for trying to fix the Update & Security error. If you want to make a reset make sure you choose to keep your personal files as otherwise everything will be wiped out.
If our steps above look too complicated, we also have a complete guide on how to create and use a System Restore Point in Windows 10.
Hopefully, you managed to solve the Windows 10 Update & Security tab not working issue.
Usually, one of the troubleshooting solutions from above is fixing this Windows 10 problem without having to initiate a clean install of the system itself.
However, depending on each situation and how you use your Windows 10 device, the solutions might differ.
That’s why, if the issue persists, use the comment section below to describe your situation in detail. Based on the details that you offer, we can try to find more solutions for you.

Frequently Asked Questions
Start a conversation