
- When a Windows 11 game is crashing, freezing, or not loading, the usual suspect is the graphics card driver.
- Some of our readers also reported the 0x80000003 error when trying to play a game.
- Before starting to tweak your system, make sure you have the right PC configuration to run it.
XINSTALL BY CLICKING THE DOWNLOAD FILE
Windows 11 was touted as an excellent system to play games and although most users enjoy their titles, some of our readers complained about their games crashing.
There are numerous representations for this issue and a few of them even reported the 0x80000003 error when trying to play a game.
This occurs if there is an incomplete install problem or if you reinstalled the game without completely uninstalling it previously.
So, if your game is crashing, not loading, or freezing, our solutions will help you get rid of this problem and enjoy your play again.
Is my PC ready to play the game?
If your game is freezing or just not loading at all, the first thing you need to check is if your PC has the correct configuration to play the game.
Also, try not to settle with the minimum requirements because most developers are less strict about those and even if you have the correct configuration, you may still run into compatibility issues.
➡ Make sure you have the required additional programs
Many games require additional software to run. For instance, DirectX is a must for the huge majority of games.
The latest version is DirectX 12 but if you’re running an older game, you may also settle for a previous iteration of the software.
➡ Check the required configuration
You will be able to check the game requirements on the developer’s website or even on the ones from the resellers.
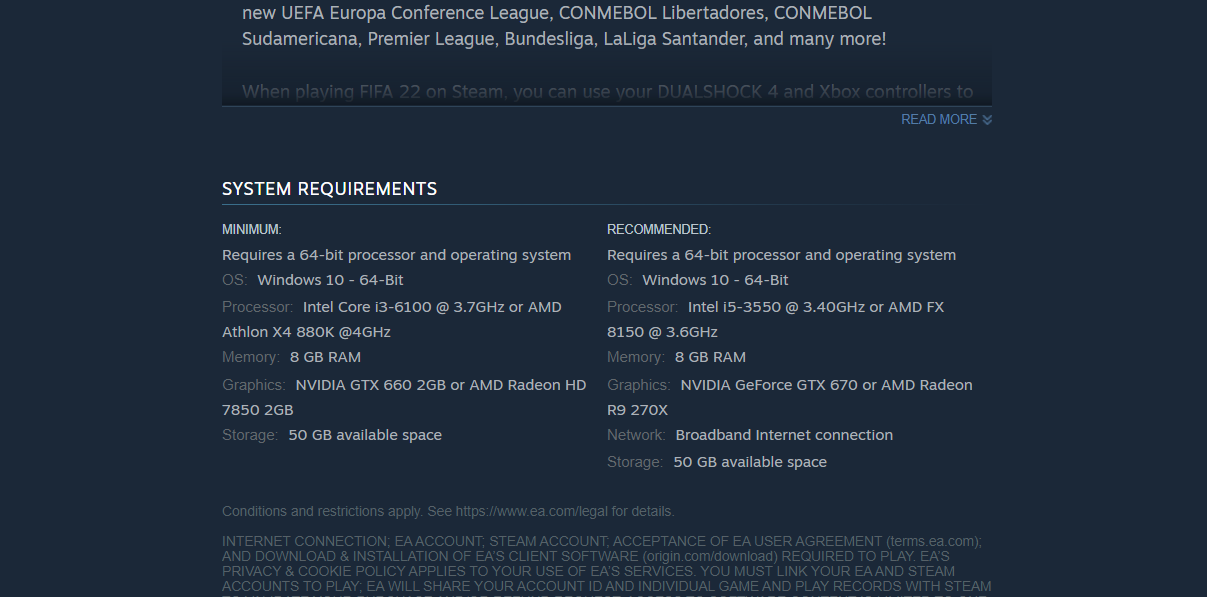
For instance, to find out if we can run FIFA 22, a quick search on Google brought us to the Steam website where we could clearly see the specifications down the page.
A game can crash after adding more RAM to your PC so you should also check this particular problem.
➡ Verify if you have the latest drivers
If you don’t have the correct drivers or if you didn’t update them in a while, that can cause a lot of problems and the game might not even run at all.
In our steps below we also help you update the graphics card driver because that’s the most common problem when you’re having problems with games.
If a game crashes after installing a new GPU, you should check our dedicated solutions but it mainly goes down to drivers.
What can I do if my game is crashing on Windows 11?
1. Update the graphics card driver
1.1 Use Windows Update
- Click the Start button and choose Settings.

- Select the Windows Update option from the left and hit the Check for updates button.
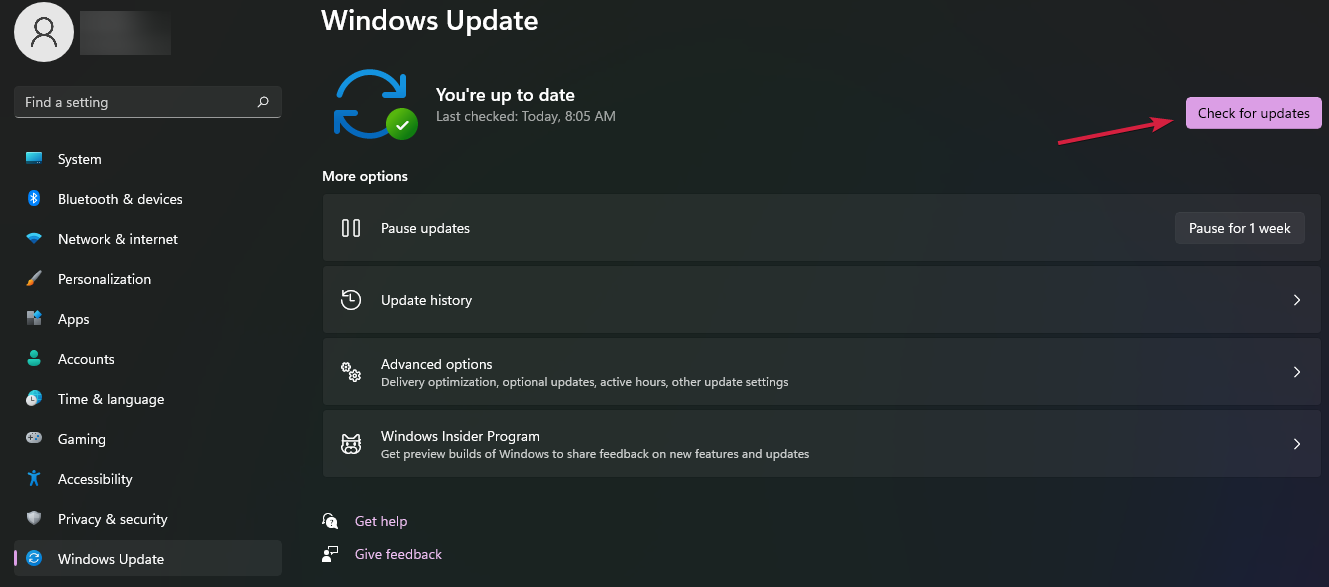
- If there are any new updates, the system will download and install them. You will be prompted for a restart.
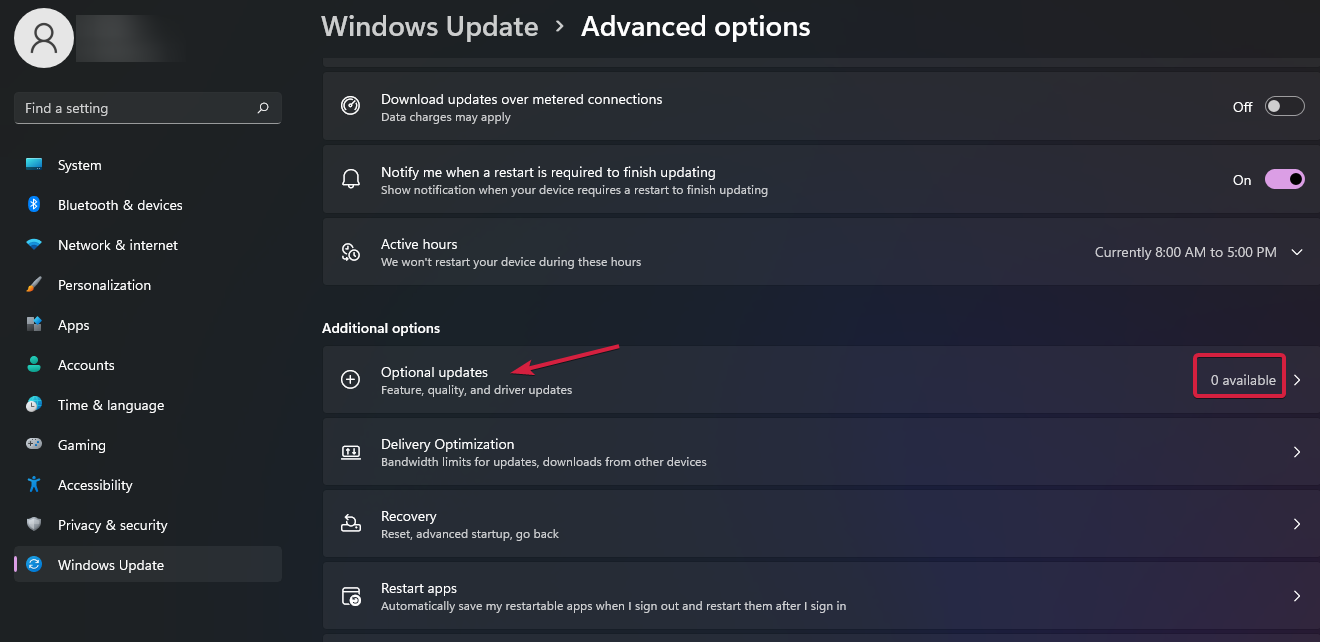
- You can also click on the Advanced options to get to the optional updates.
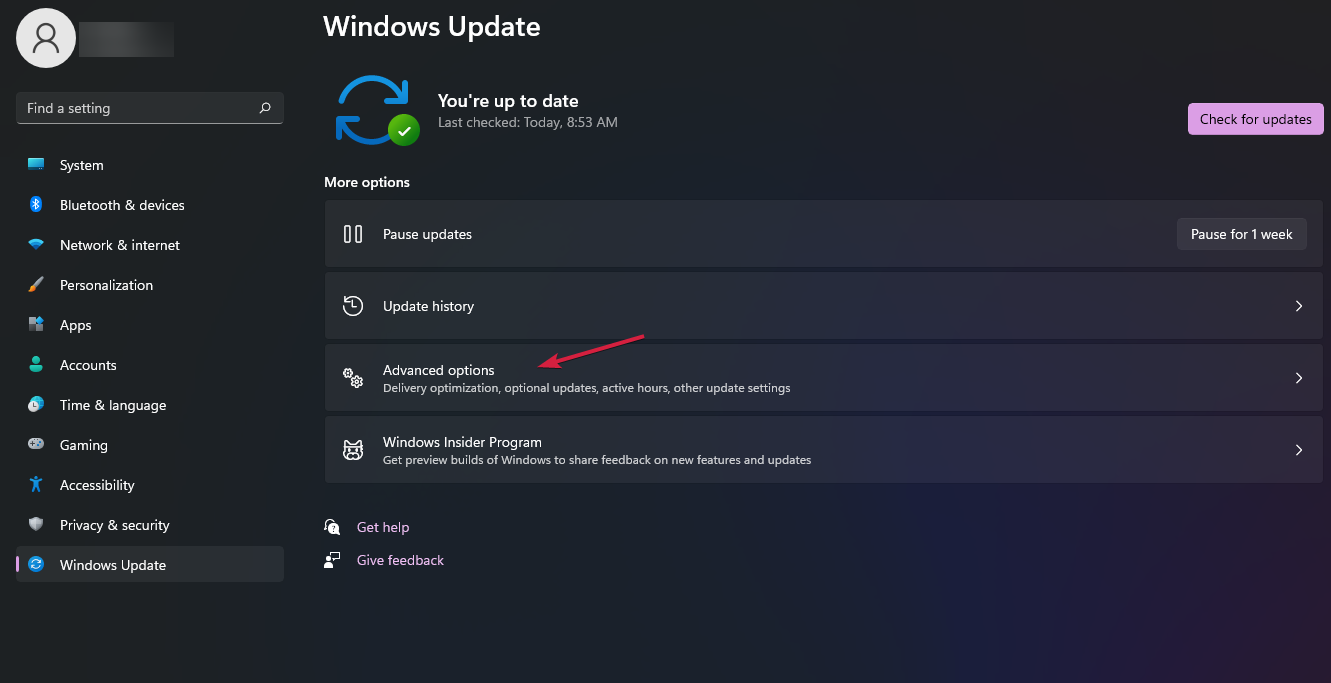
- Look at the right to the Optional updates section and if you see that there are any updates, click on the option and install the one related to graphics drivers.
That’s the easiest method to update the drivers and especially the one for the graphics card because usually, the manufacturers provide them for a system update.
However, it can be the case that it’s not published yet for your system so you will need to navigate to the manufacturer’s website and get it yourself.
We also have plenty of solutions if the Settings app crashes on Windows 11 and you can’t perform this procedure.
1.2 Install the driver manually
- Go to the dedicated drivers download page of the graphics card manufacturer. In our example, we went to NVIDIA’s webpage.
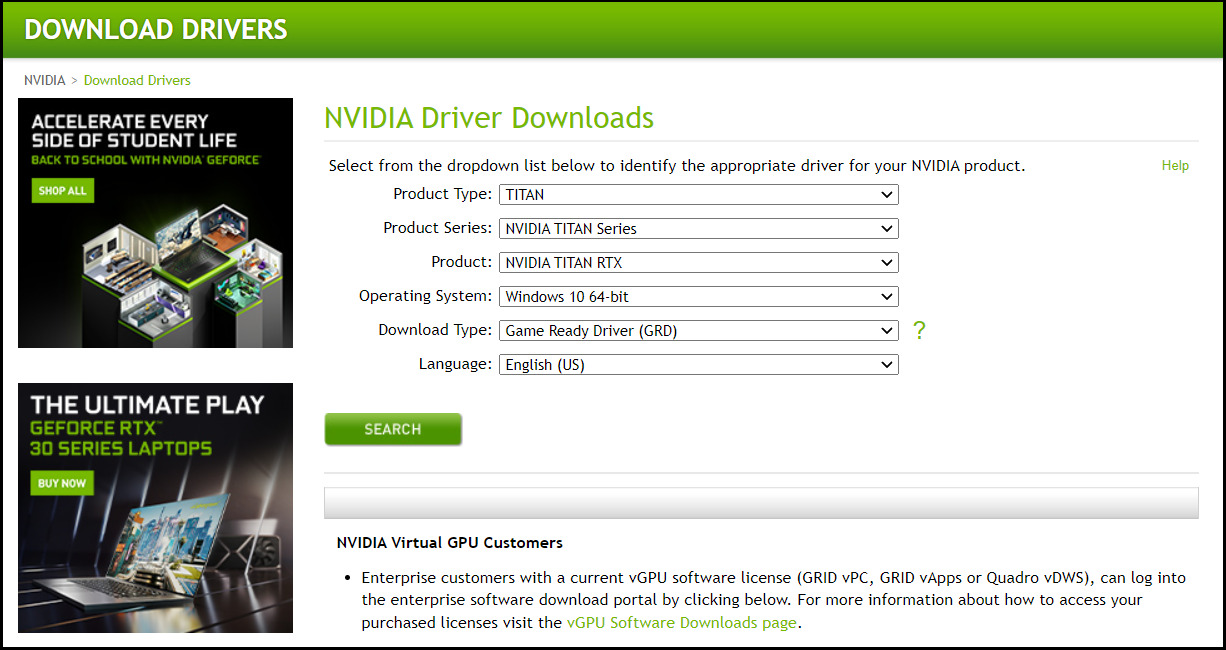
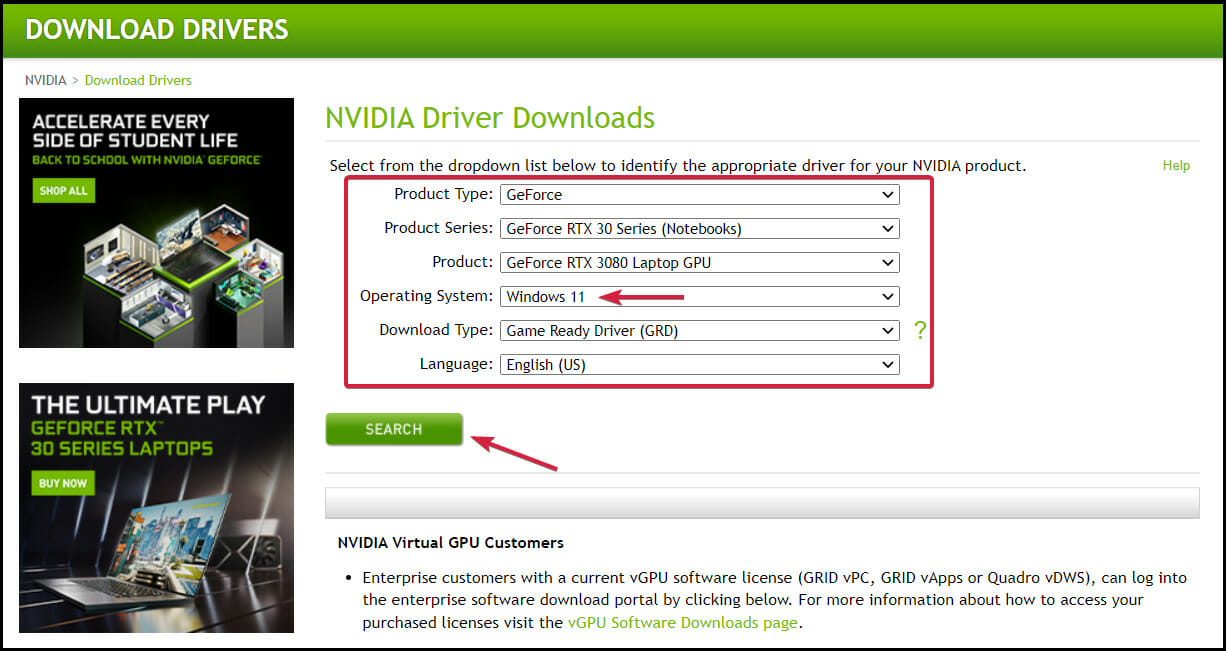
- Enter all the data about your graphics card and specify the Windows 11 OS in the list, then hit the Search button.
- In the next window, click the Download button.
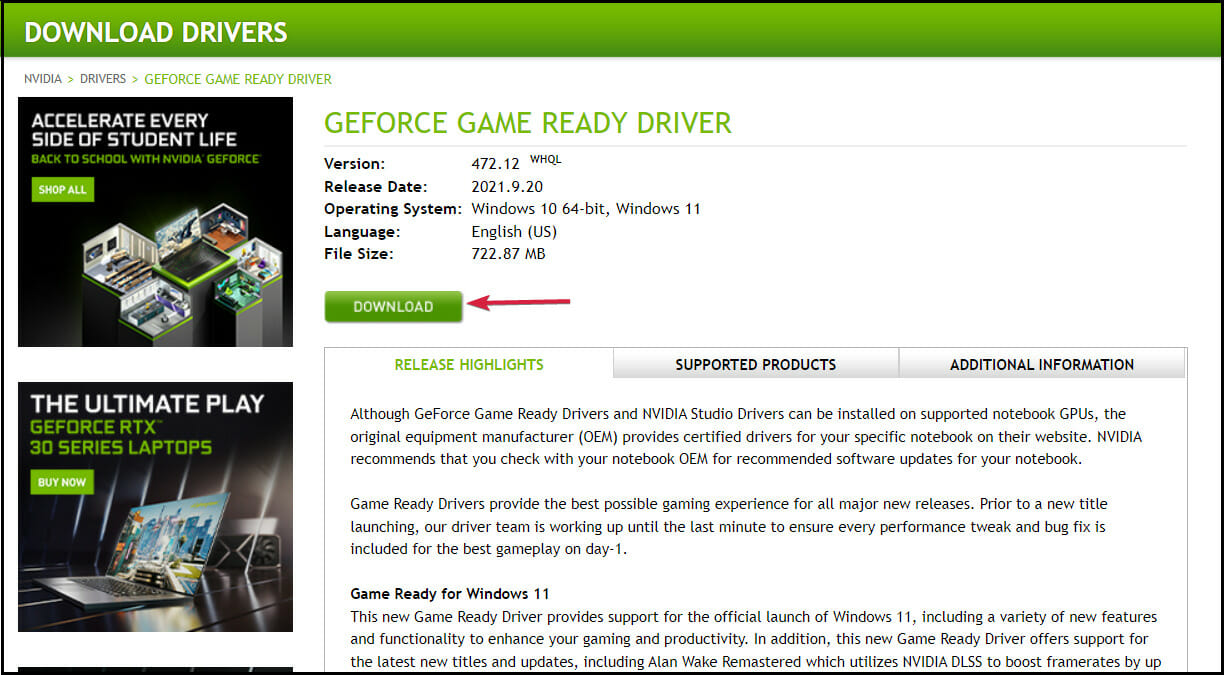
- We were also prompted that the download will also include the GeForce Experience software. Things may be different in your case. Click the Download button again.
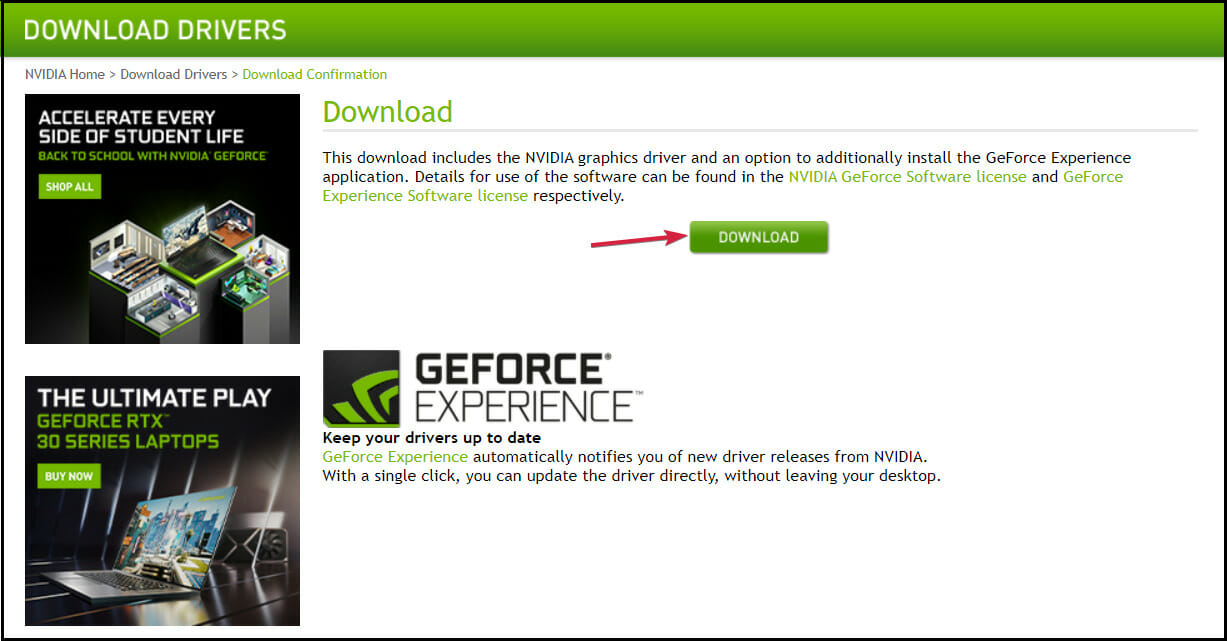
- You will receive an executable file that is the driver and software installer for your graphics card so the only thing left to do is to run it after it downloads on your PC.
This is a lot better than letting the system decide which driver to install. Even though the existing one might work for your graphics card, it may not run all its features.
Even more, for automatic scans of missing or outdated drivers, we recommend using a dedicated tool such as DriverFix.
2. Run a SFC scan
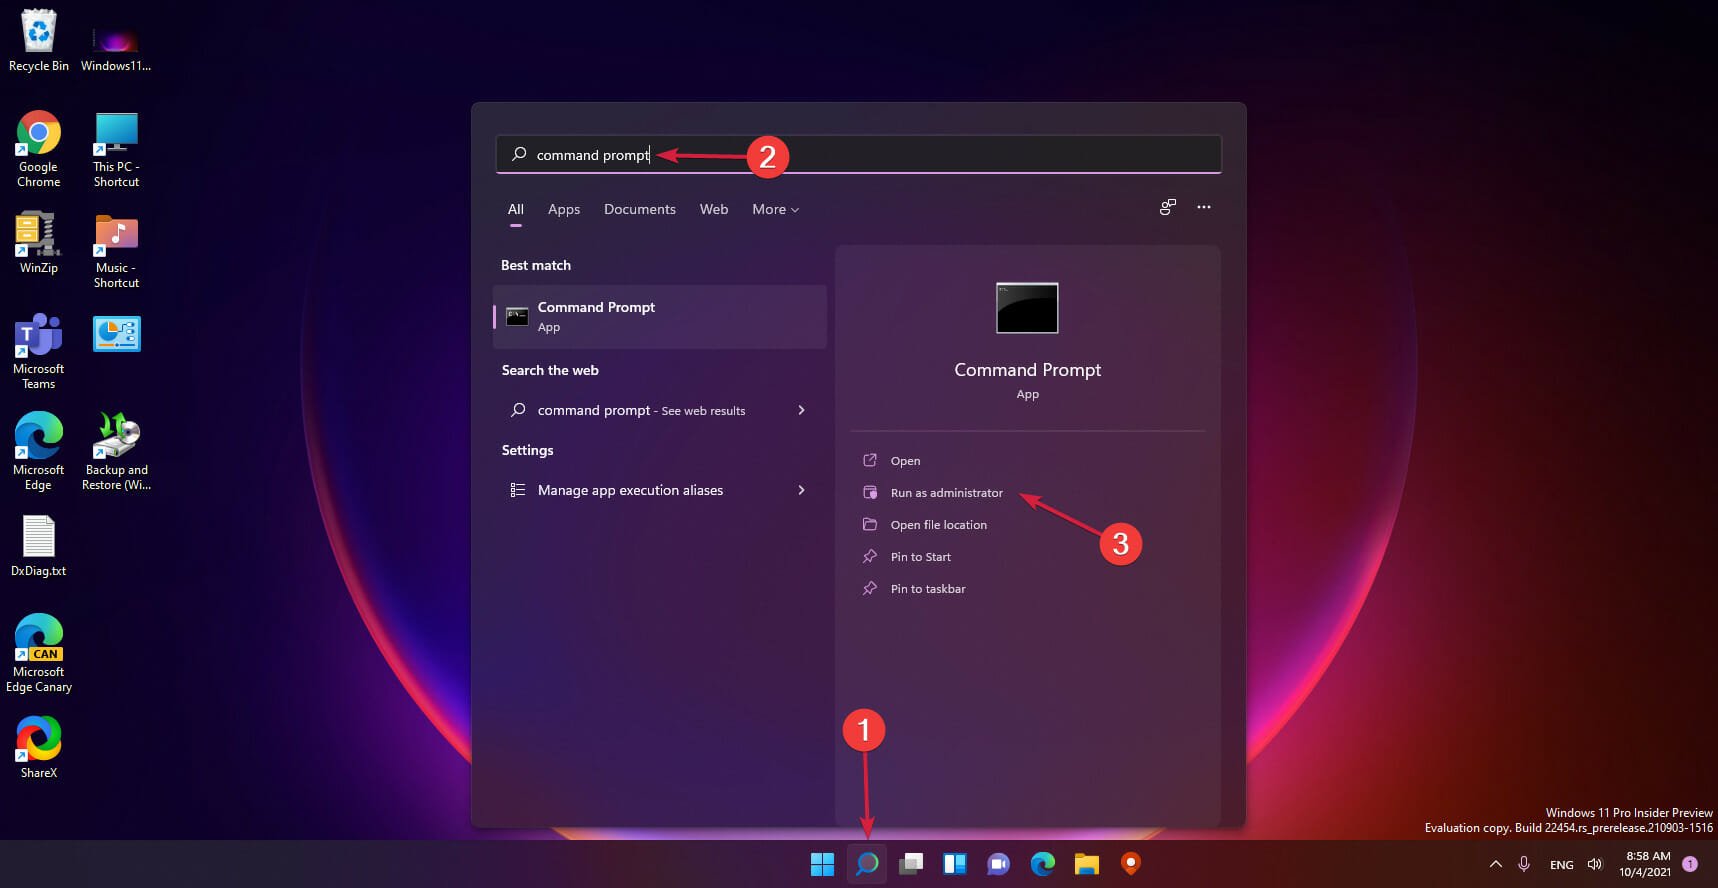
- Click the Search icon on the Taskbar, type command prompt and select Run as administrator to start Command Prompt with full privileges.
- Type the following command and press Enter to run it:
sfc /scannow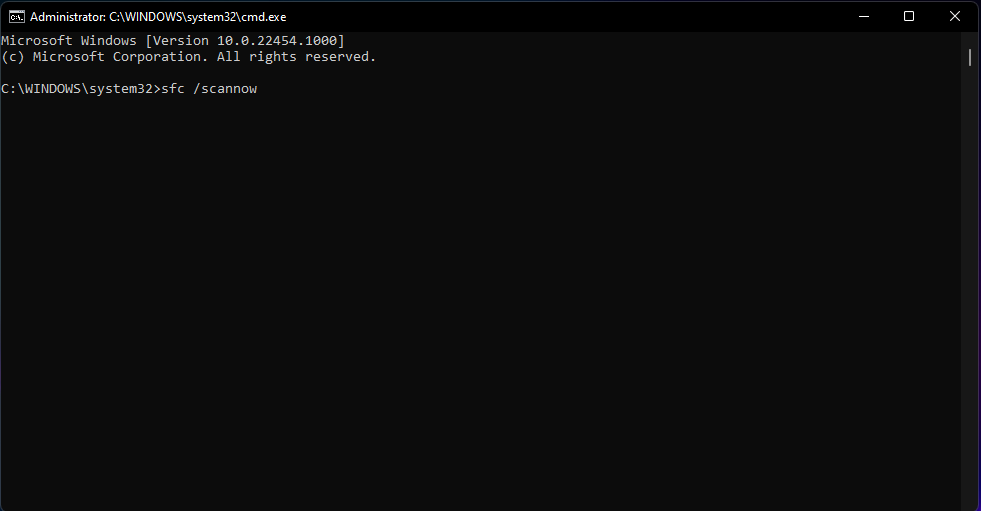
- Wait until the scan is completed, then close the Command Prompt window and restart your PC.
3. Change the video performance settings
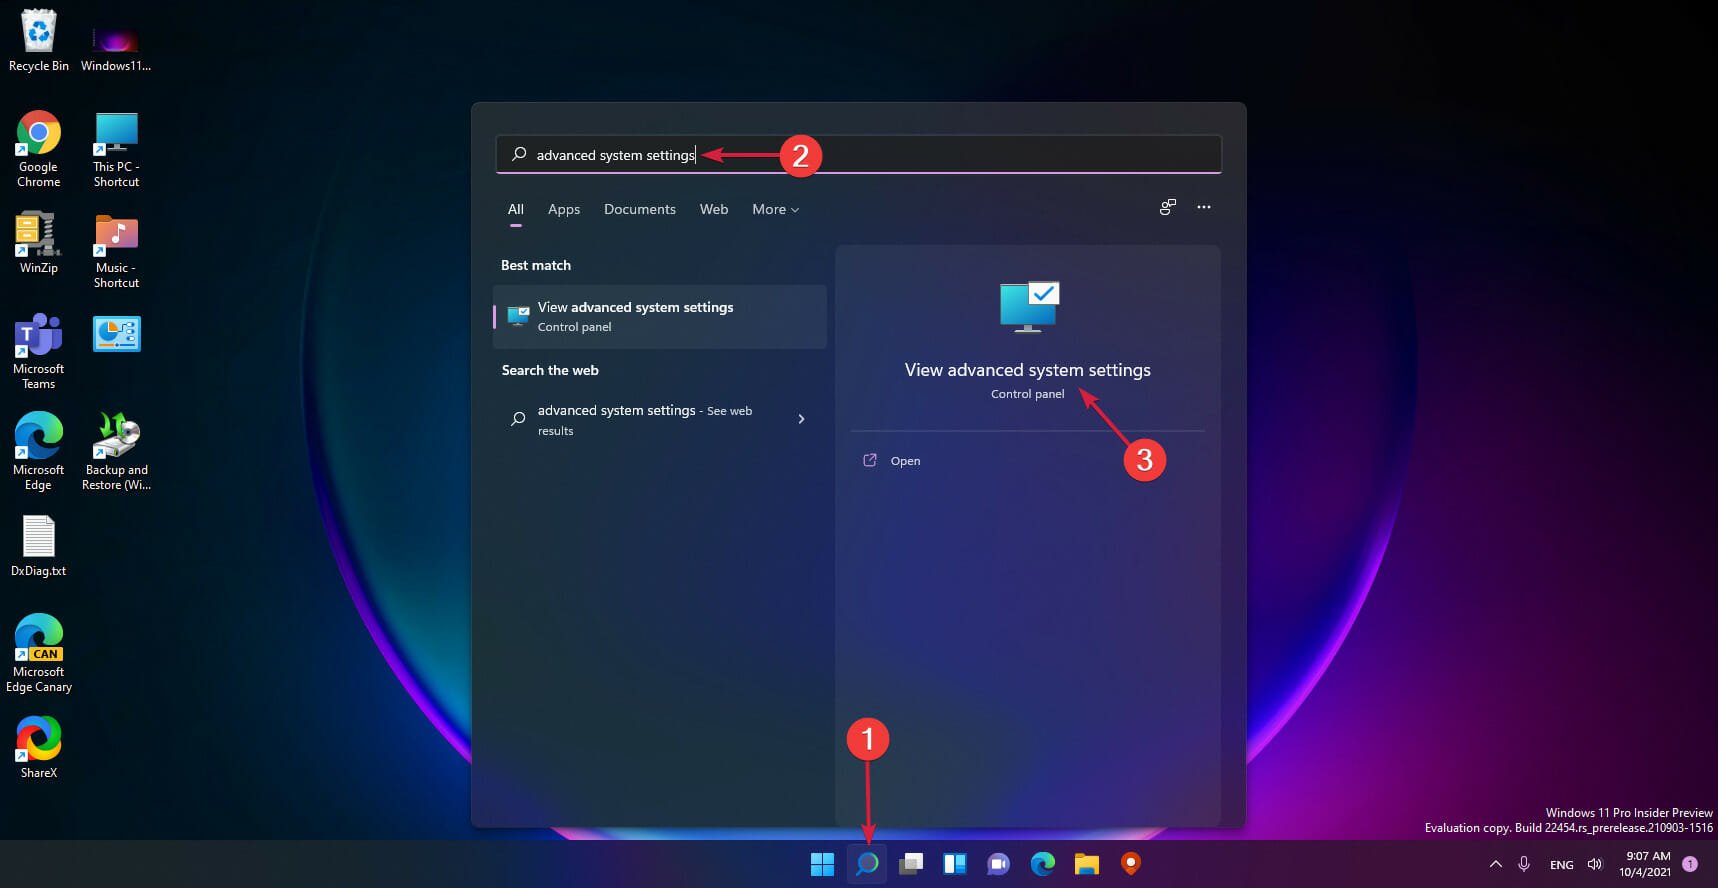
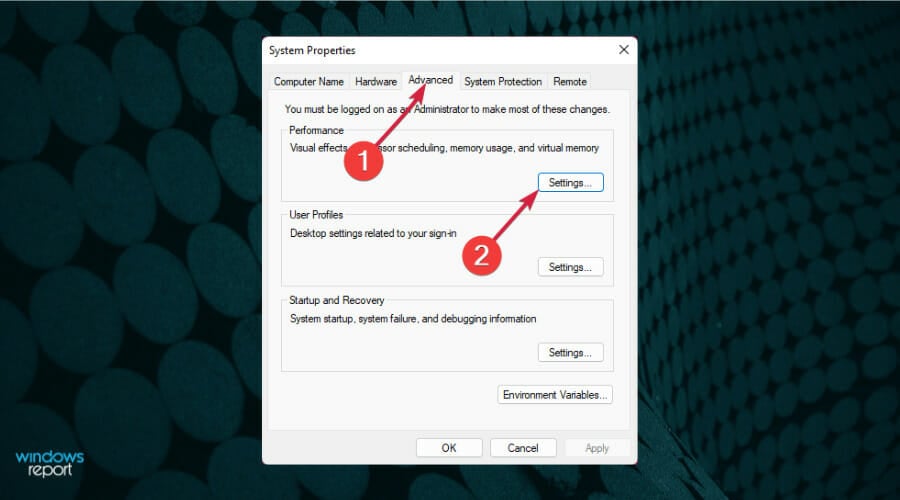
- Click the Search button from the Taskbar, type advanced system settings and click the app from the results.
- Select the Advanced tab and then click on Settings under the Performance section.
- Now choose the Data Execution Prevention tab and check the second option, Turn on DEP for all programs except those I select.
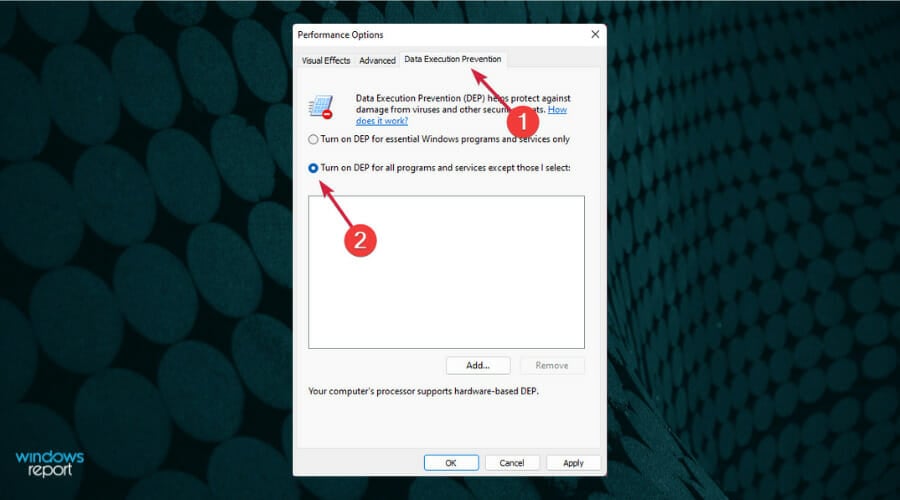
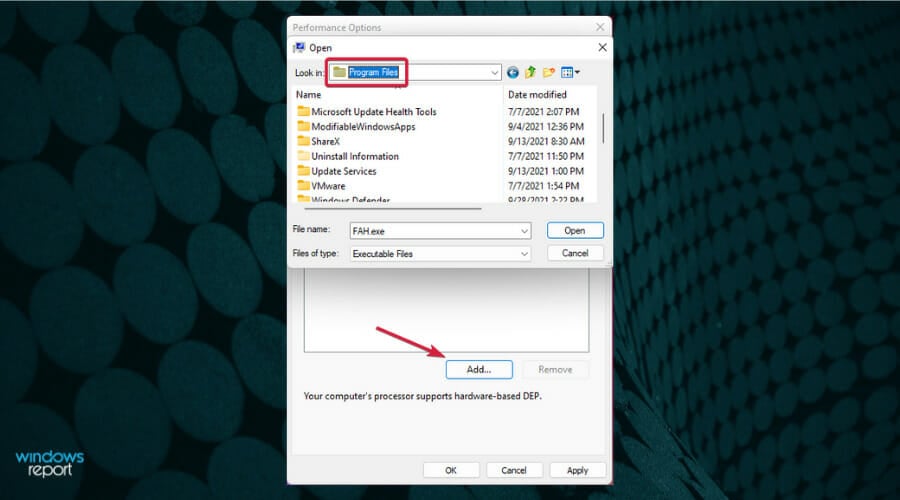
- Next, click the Add button and select the game executable that you have problems running. However, it only works for 32-bit applications.
This procedure will prevent the system to apply Data Execution Prevention to your game and this basically adds an exclusion for it.
4. Uninstall Sonic Studio 3
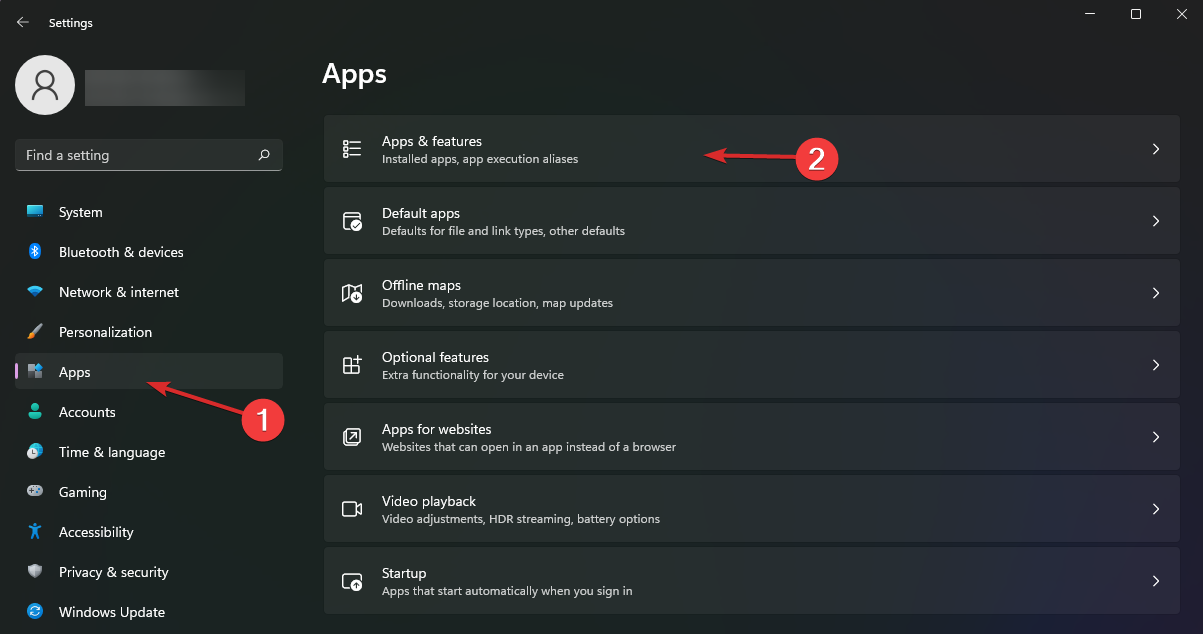
- Click the Start button and select Settings.

- Choose Apps from the left pane, then click on Apps & features.

- Look for Sonic Studio 3 in the list of apps, click the vertical dots from the right, and select Uninstall.

Some of our readers fixed this problem by uninstalling the Sonic Studio 3 app so if you have that software installed, try removing it at least temporarily and see if the game runs well.
Also, if the game was working fine until you installed third-party software, try uninstalling it and try running the game again to see if it crashes again.
5. Uninstall and reinstall your game
- Select the Start button and choose Settings.

- Click on Apps from the left pane, then select Apps & features.
- Select your game from the list of apps, click on the three vertical dots from the right and select Uninstall.

- Now press the Windows key + E to start File Explorer.
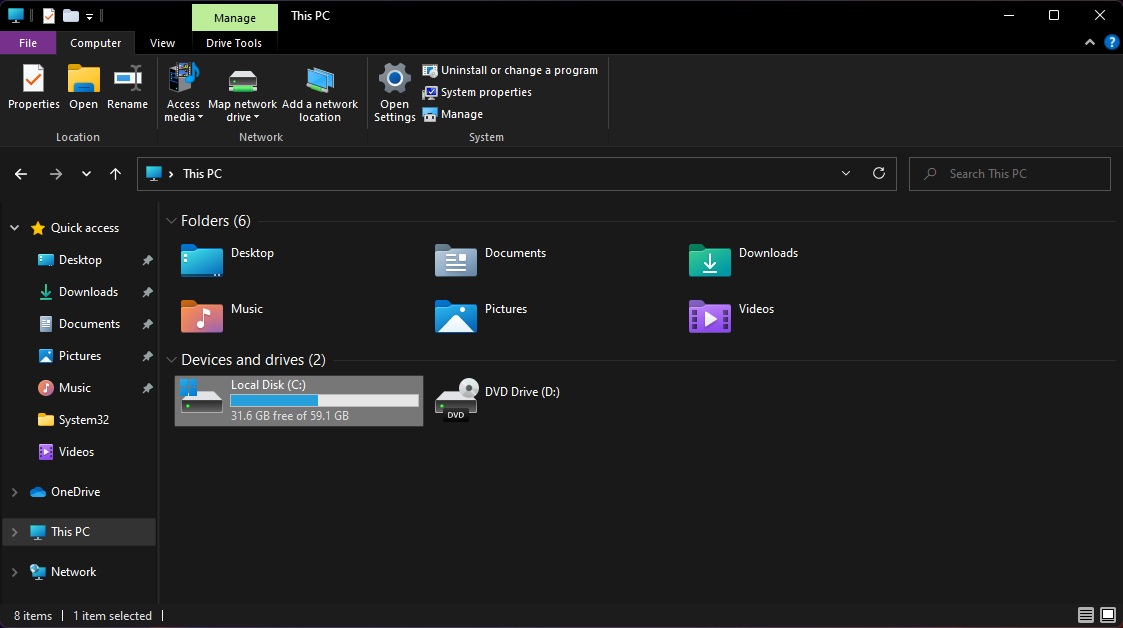
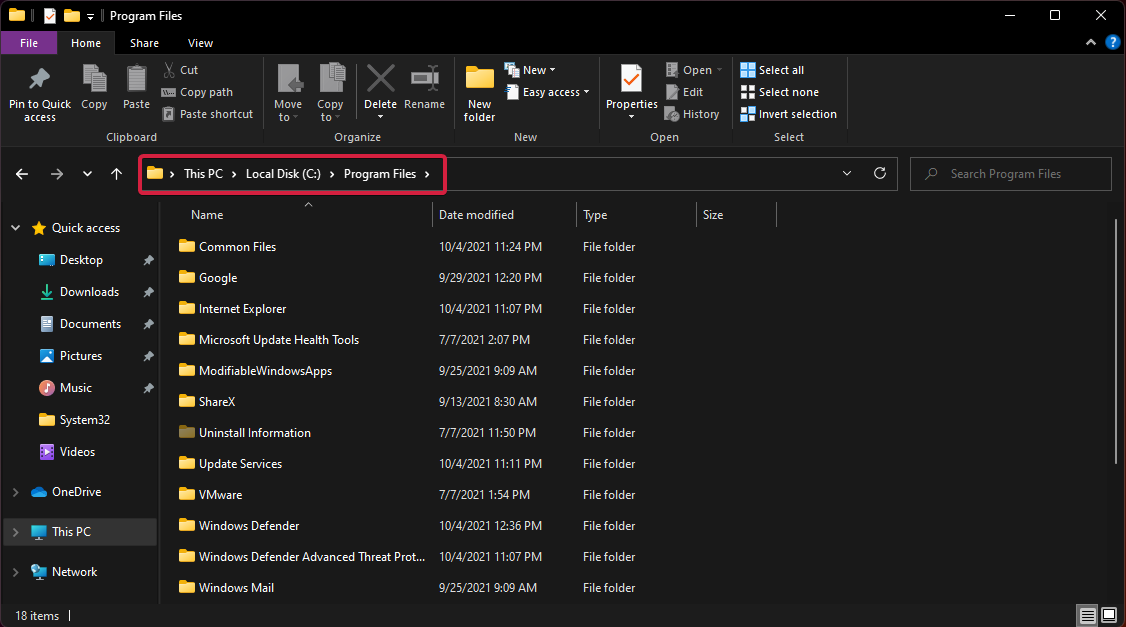
- Look for the game’s installation folder and delete it. By default, the programs are installed on the system drive under the Program Files folder. If you installed it in a different location, go to that exact folder and delete it.
- Now install the game again from the setup file you have stored on your drive.
Repeated game crashes and freezes may be caused by a problem with the initial installation or if you reinstalled it on top of an older version.
So, make sure you completely uninstall the game this time and delete its folders before installing it again. If you have problems with Windows Explorer, see what to do if Explorer keeps crashing on Windows 11.
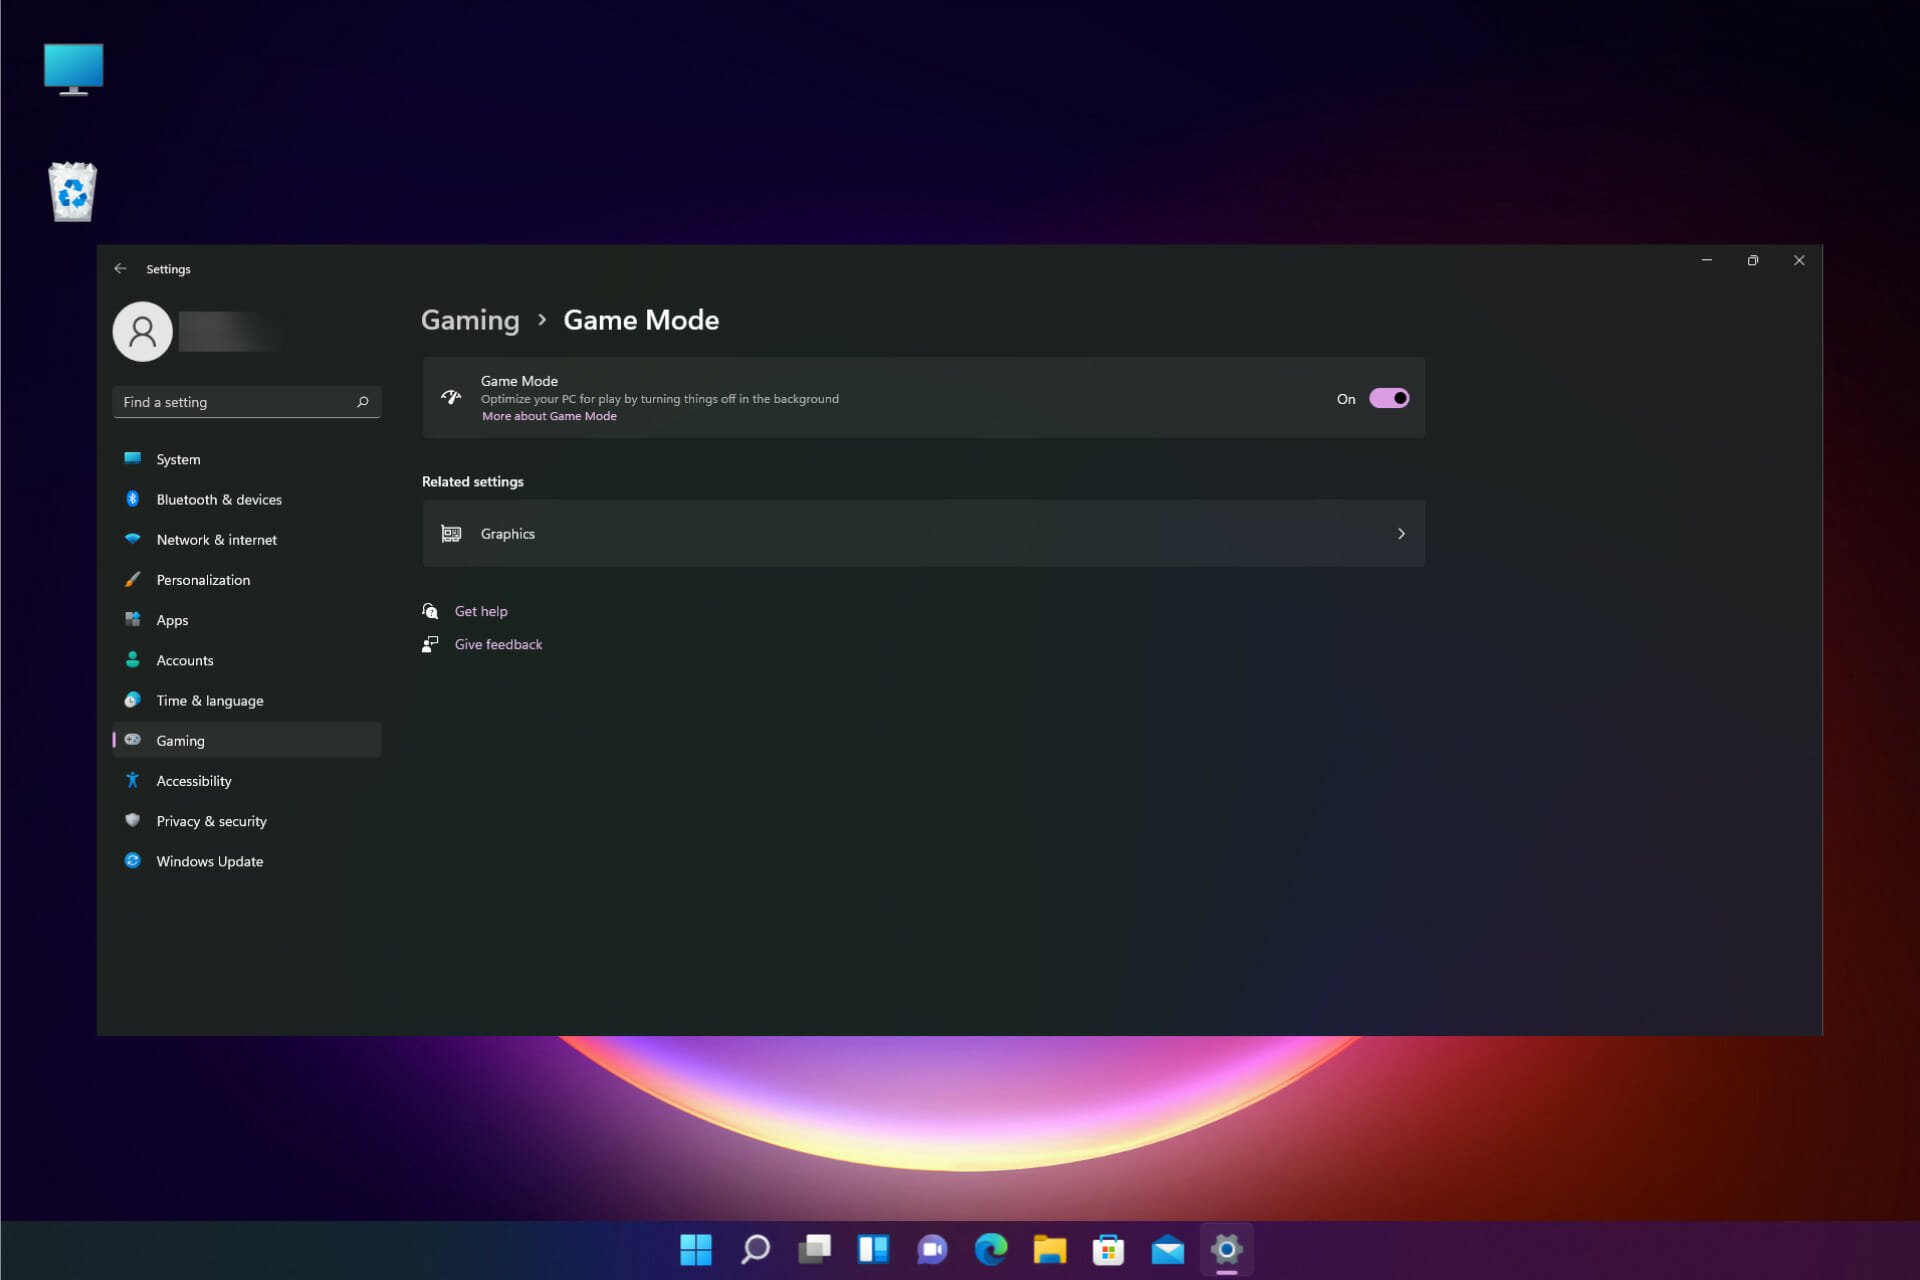
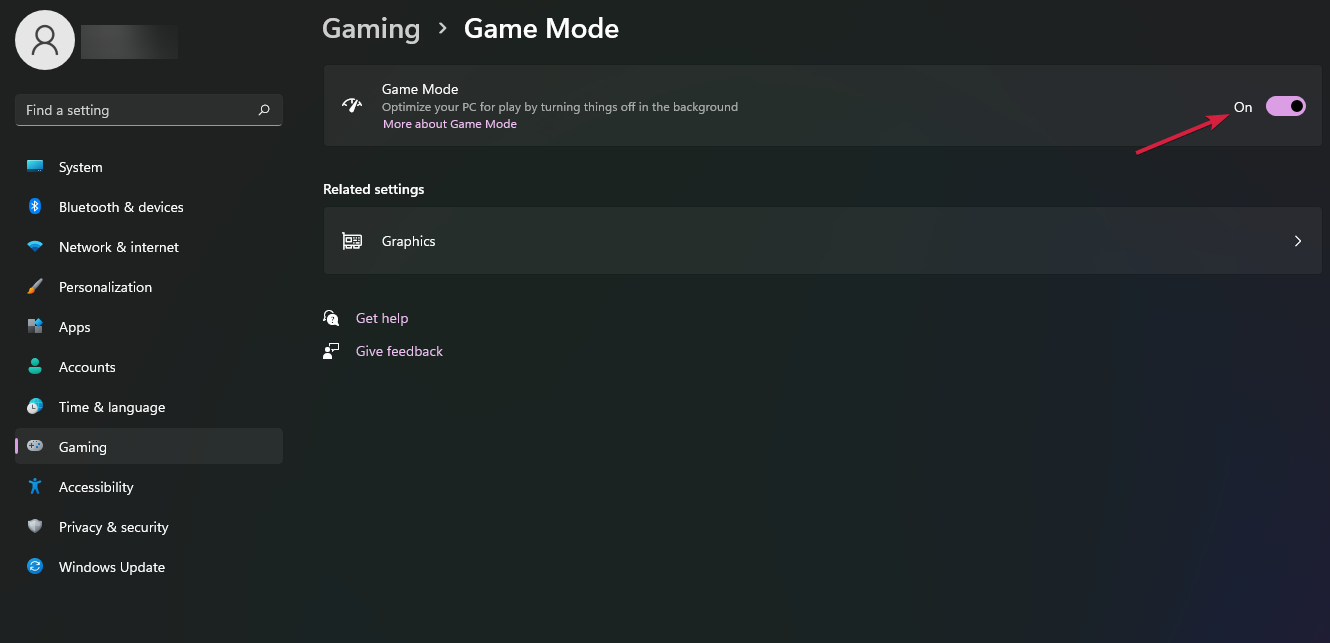
How to turn on the Game Mode in Windows 11?
Microsoft optimized Windows 11 for games and it comes with a few cool features like Game Mode, Auto HDR, and DirectStorage.
So, let’s see how to quickly optimize the gaming experience by turning on the Game mode in Windows 11.
- Click the Start button and select Settings.
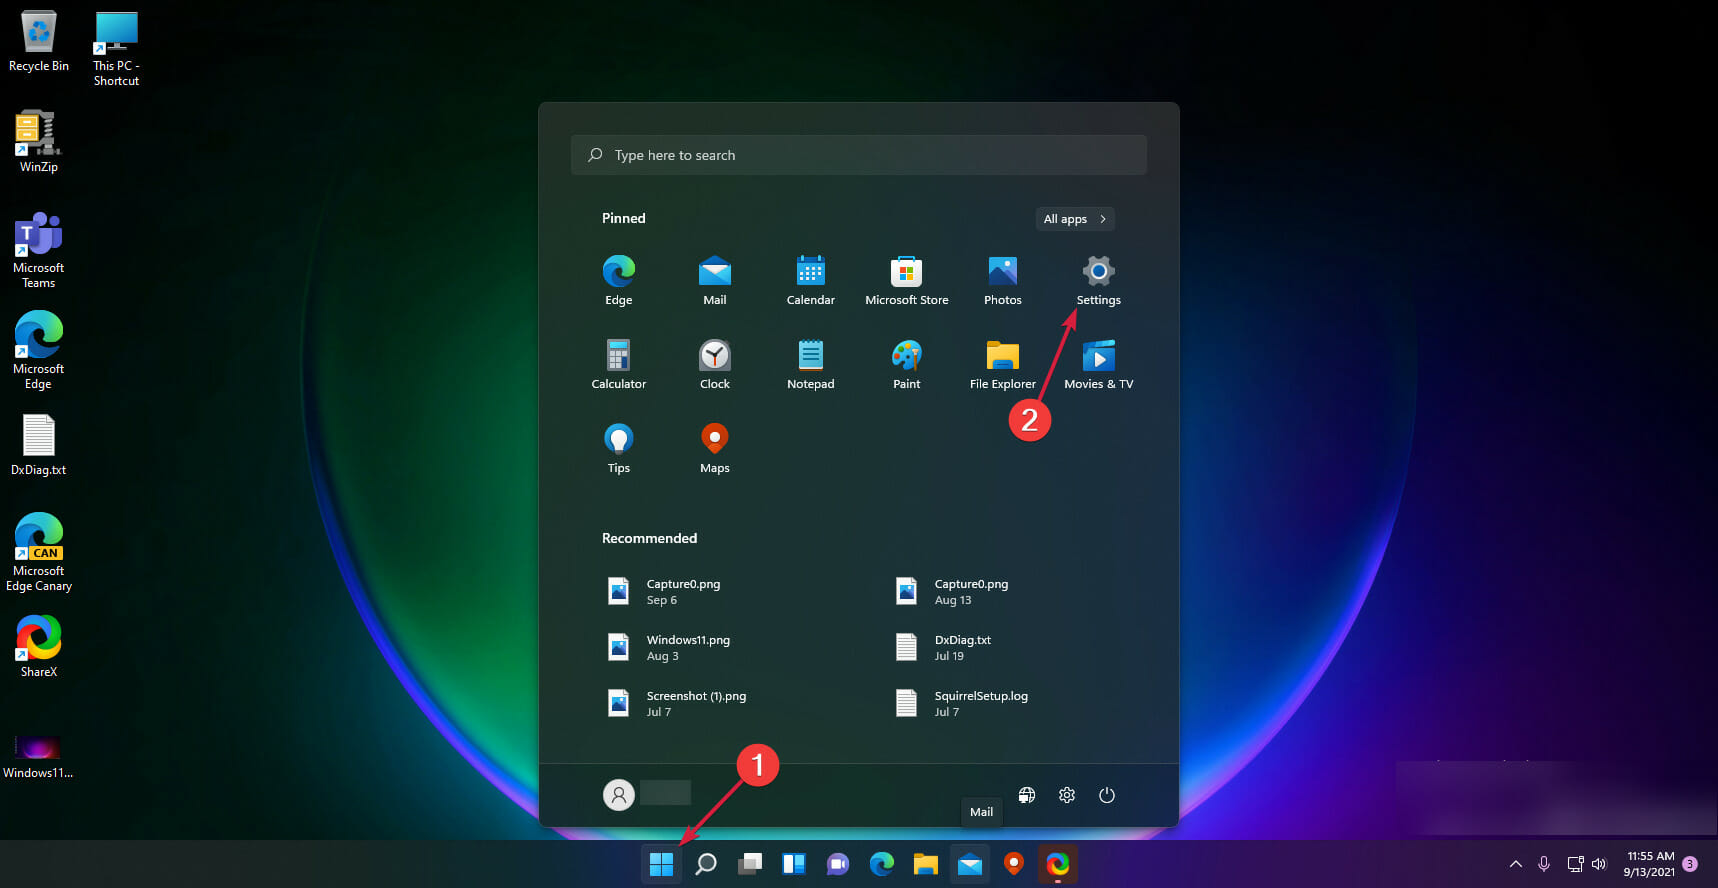
- Choose Gaming from the left pane, then click the Game Mode option from the right.
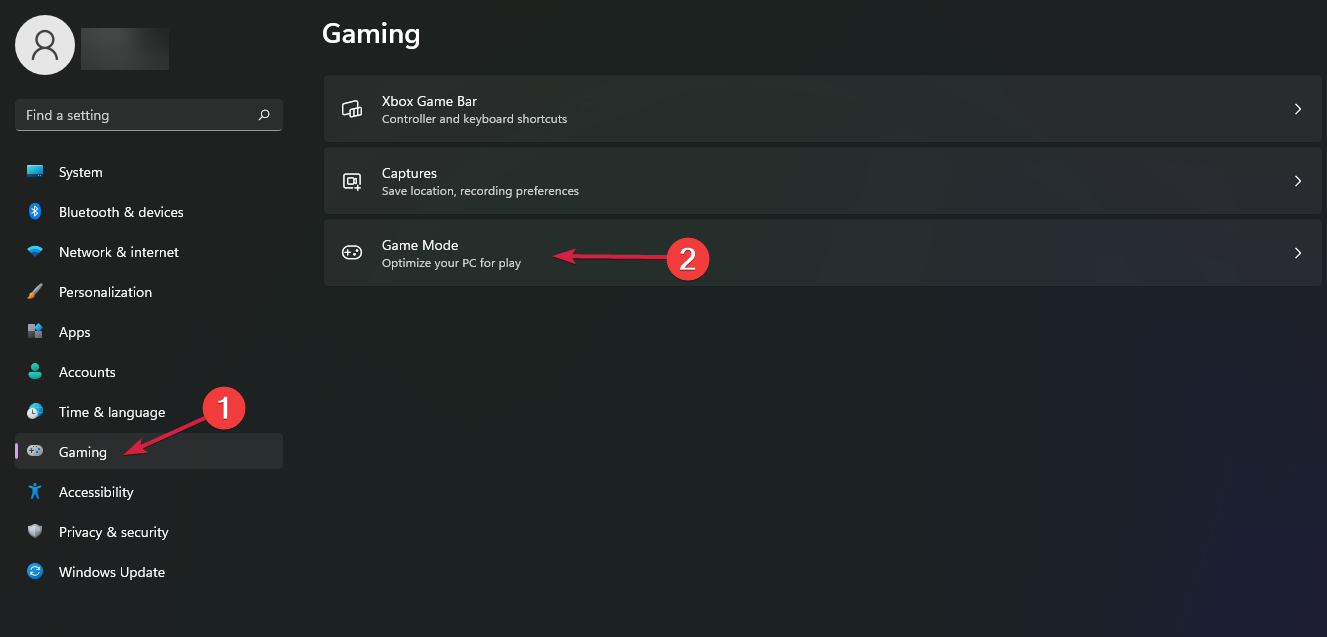
- Now click the switch to turn on Game Mode.
If you bought the game from Microsoft Store, this problem may be also caused by the app crashing during the download although it says that it downloaded the game.
In this case, we have a guide to deal with Microsoft Store crashing on Windows 11 that might help.
We hope that our steps helped you fix the game issues you were experiencing, and now you can enjoy it without interruptions.
For any questions or suggestions, leave your comment in the dedicated section below and we will get back to you as soon as possible.
Start a conversation