
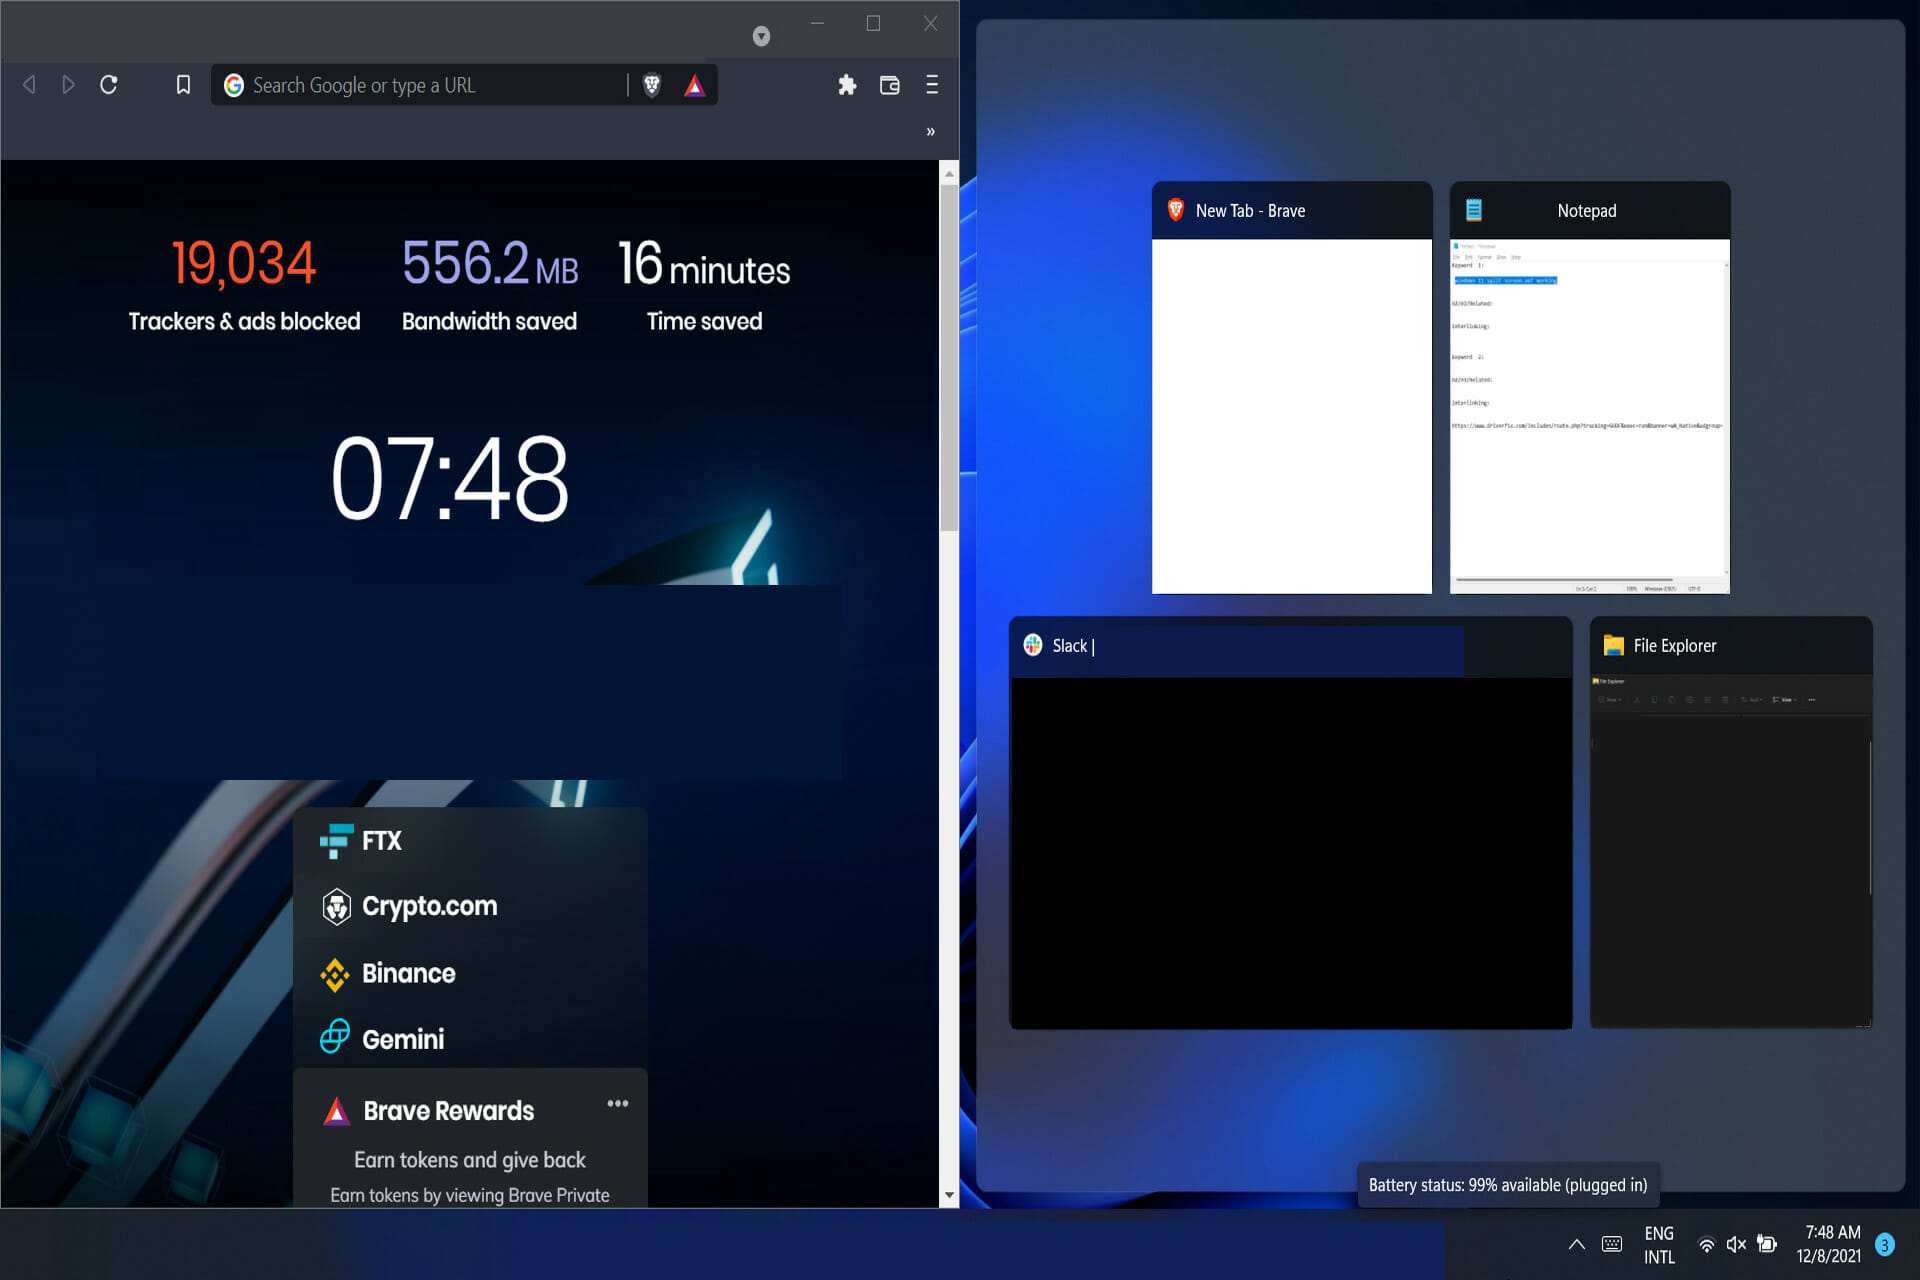
- Splitting the screen is one of the most popular options for Windows 11 users who wish to multitask during their work.
- If you can’t split your screen, you have to enable the Snap windows option from Settings.
- Alternatively, you can run the SFC diagnostic tool to find repair damaged system files.
XINSTALL BY CLICKING THE DOWNLOAD FILE
Microsoft’s Windows 11 operating system allows you to launch up to four or six windows at the same time by dividing the screen into various portions.
Using Snap Layouts, which are built directly into the maximize button for each window, you may split the screen much more quickly and easily.
It is possible that the Snap windows feature is active by default on the operating system, however, it is a good idea to double-check this before proceeding with more complex troubleshooting methods.
Before we get into the solutions to the splitting screen problem, let’s have a look at whether or not there is a Tablet mode in Windows 11.
What happened to Tablet mode in Windows 11?
The Tablet mode has been eliminated from the operating system according to Microsoft. It is no longer possible to use this function with Windows 11.
Is this a sign that Windows 11 will not support tablet computers? No, touch devices and tablets are fully supported by it.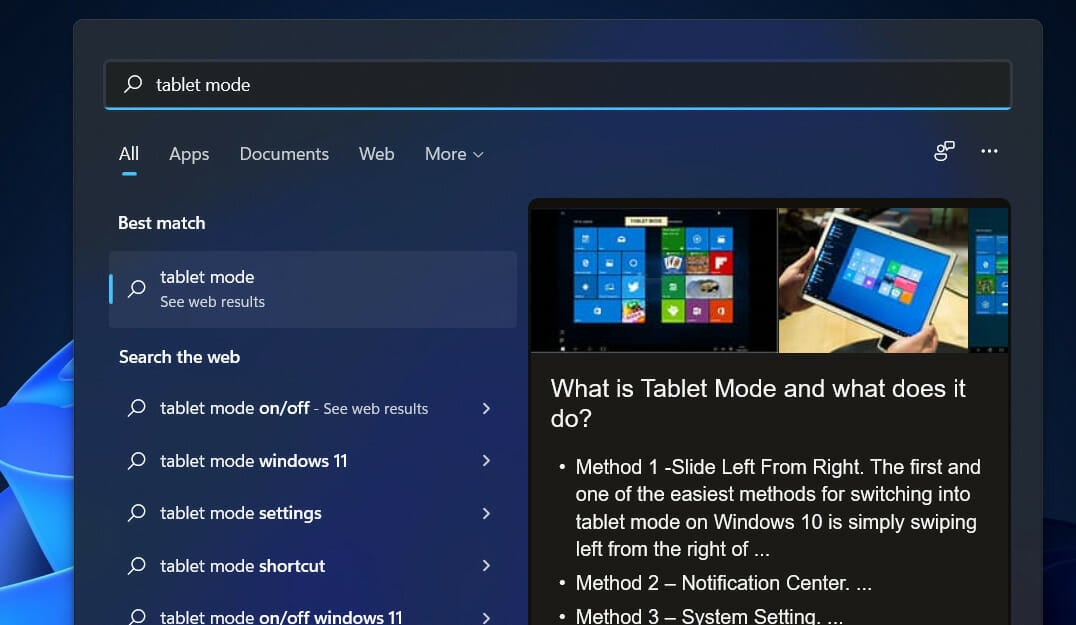
The point is, as soon as you remove the keyboard from your tablet, Windows 11 will automatically change its user interface to accommodate the tablet. Every functionality of the original Tablet mode will be activated by default.
It’s only that you won’t be able to manually activate the feature. Instead, when you remove the keyboard from your device, Windows 11 will automatically optimize the user interface (UI) for touch.
To put it another way, we may use the Tablet mode on our desktop PCs when using Windows 10 as well. Windows 11, on the other hand, makes it impossible to do so.
What can I do if the split screen isn’t working in Windows 11?
1. Enable Snap windows
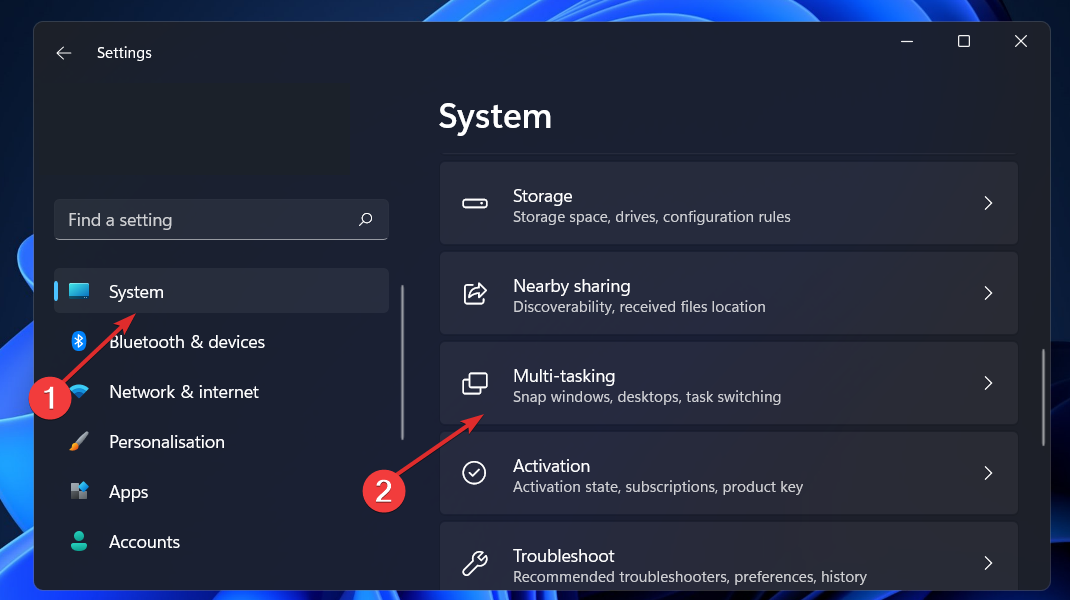
- Press the Windows key + I to open the Settings app, then go to System and look for Multi-tasking.

- Once you’re inside the Multi tasking window, switch the toggle button to enable the Snap Windows option and click on it to see a drop-down menu with all the detailed spplitting scenarios.
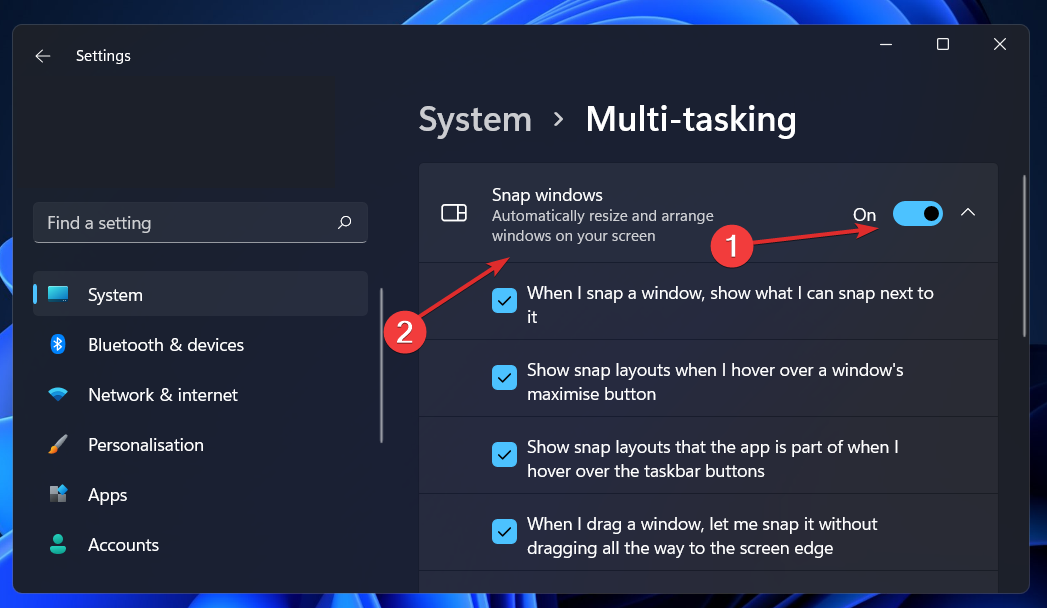
The feature should have been enabled by default once you installed Windows 11 on your computer, however, due to certain bugs or personal errors, the option ends up being disabled. Once you enable it, you can retry splitting your screen.
2. Restart explorer.exe
- Press the Windows key + S on your keyboard and type Task Manager, then click on the most relevant result.
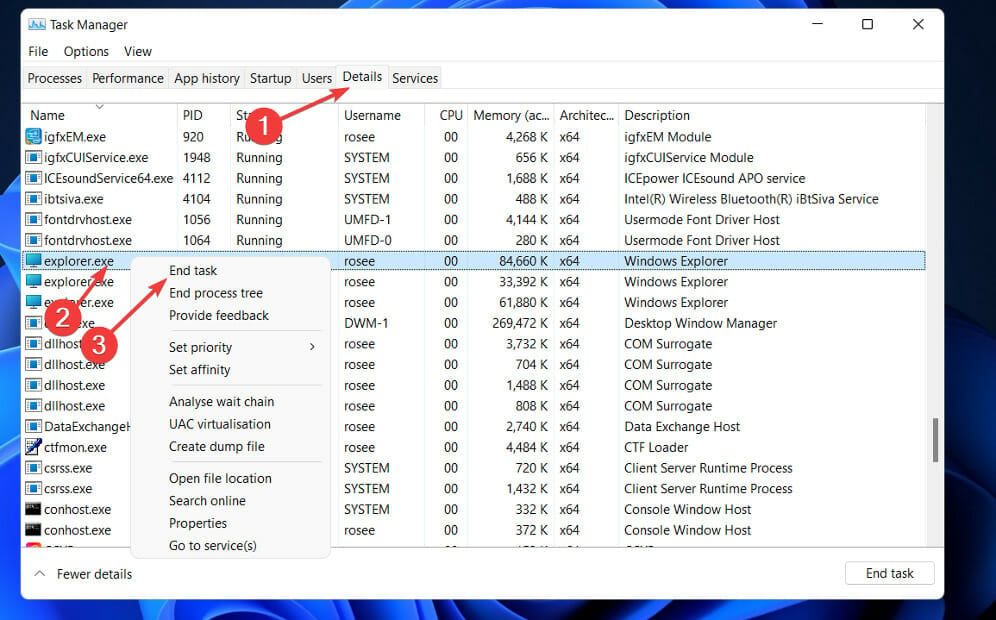
- After the Task Manager window opens, go to the Details tab and locate the explorer.exe task. Once you found it, right-click on it and choose End Task.
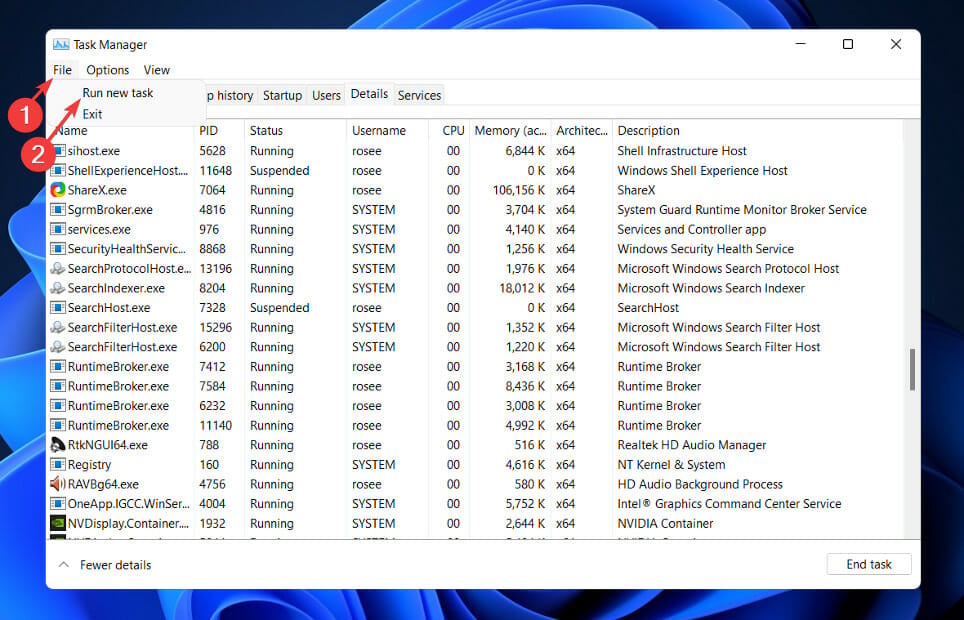
- Now go to File and choose Run new task.
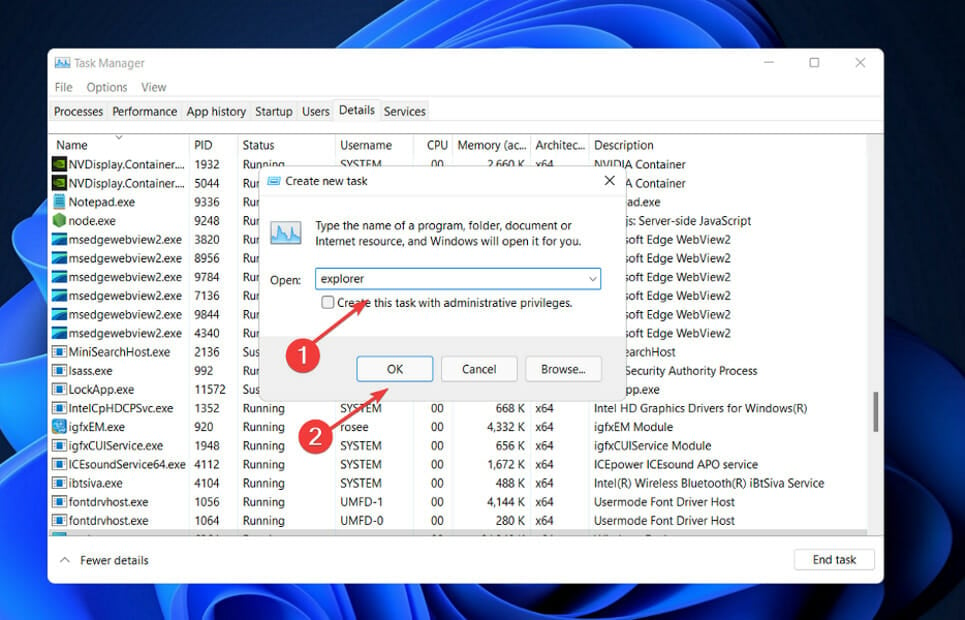
- Enter explorer and click OK.

Once you close the window and explorer.exe is restarted, the issue should be fixed. However, if it’s still persisting, you should restart your computer altogether and see what happens next.
3. Run the SFC scan
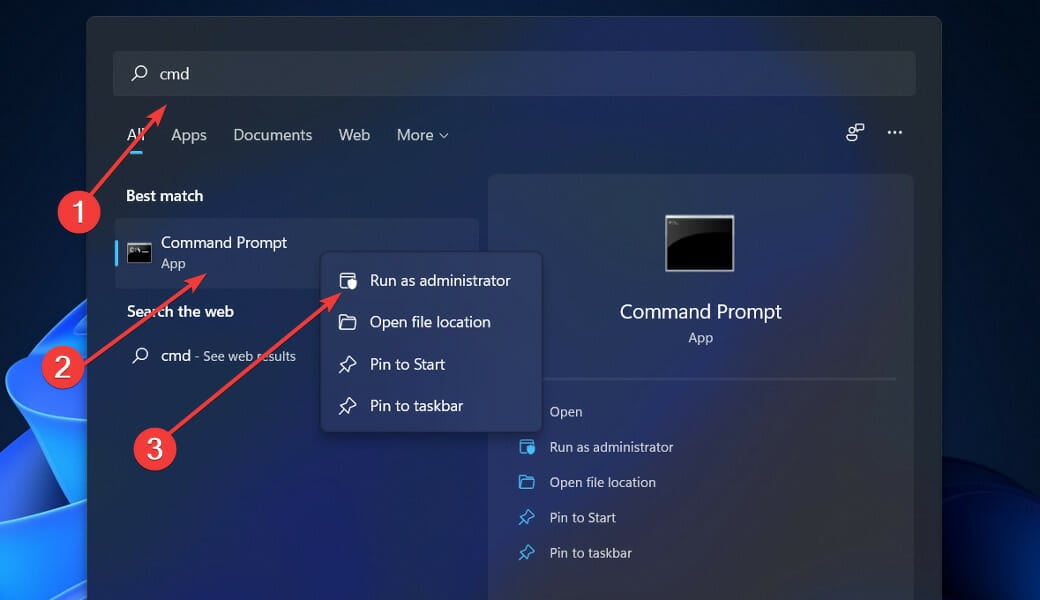
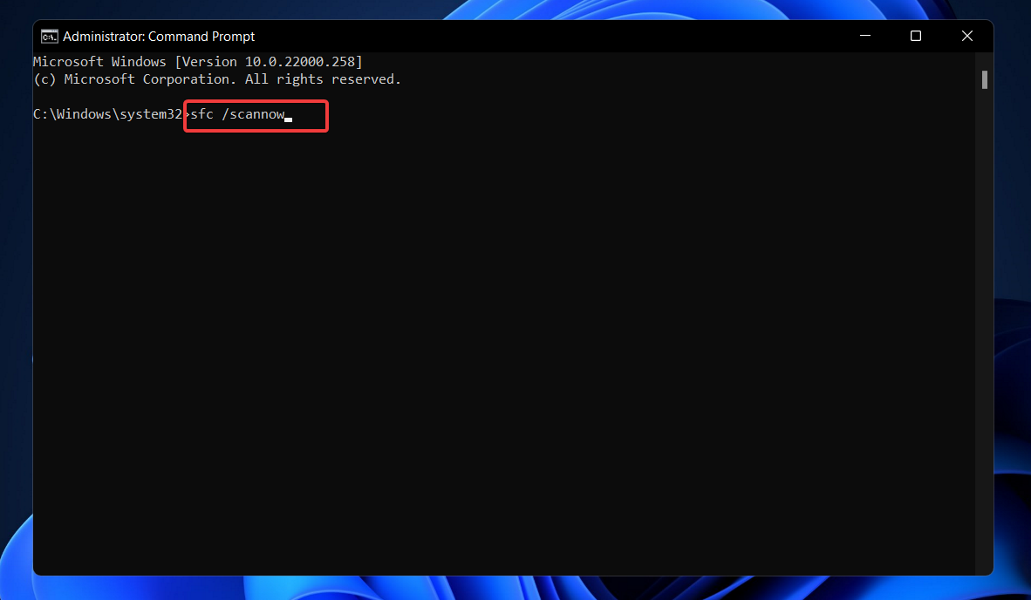
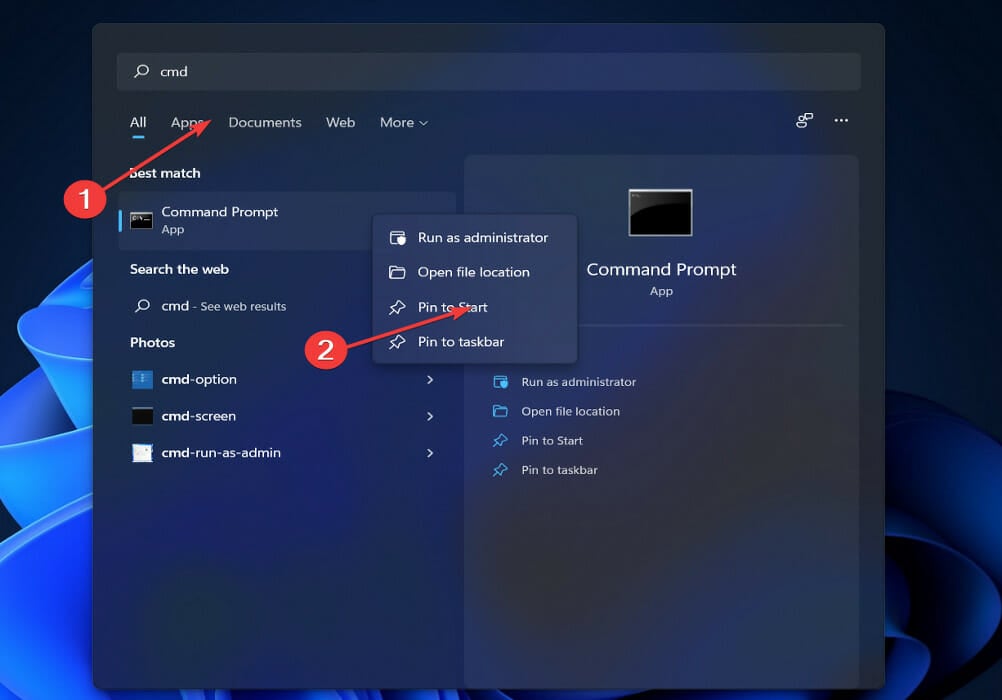
- Press the Windows + S key to open the Search bar, then type cmd and right-click on the result. Now click on Run as administrator to be sure you get all the privileges.
- Write or paste the command inside your cmd window and press Enter:
sfc /scannow
4. Resize your screen
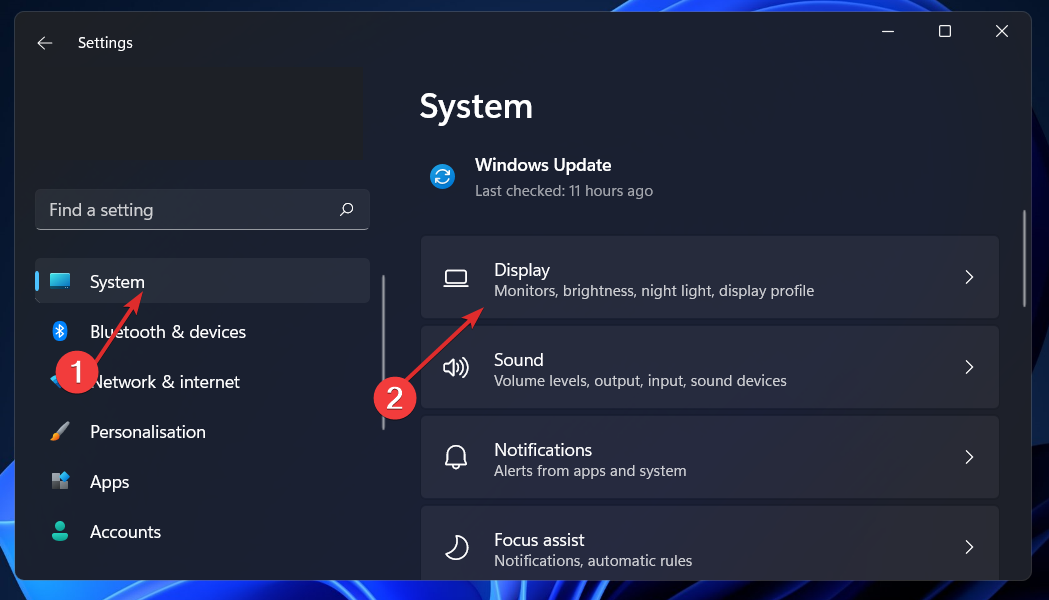
- Press the Windows key + I to open the Settings app, then go to System and look for the Display option.
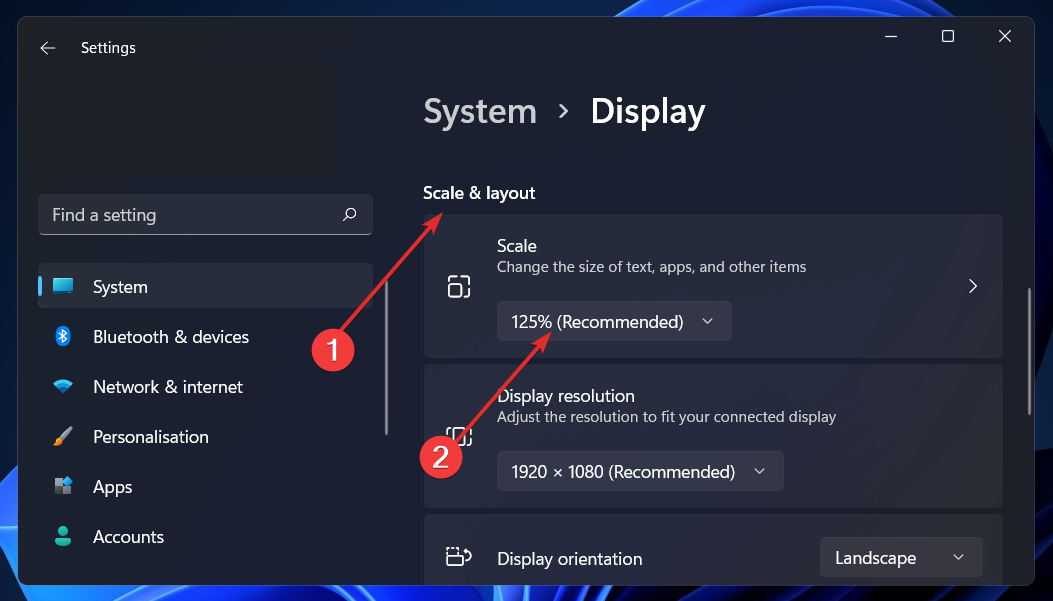
- Once you’re inside the Display window, scroll down until you meet the Scale & layout section and tinker the Scale value. You can either set it to the recommended value, or a smaller value.
Close the Settings window and retry to split your screen. Alternatively, you can try to change the Scale value to a higher number than the one recommended to see whether that fixes the issue at hand.
What’s missing in Windows 11?
With Windows 11, Microsoft has promised to take the Windows experience to a new level of sophistication. Many enhancements have been made to the design and usability of Windows 11 as compared to Windows 10. 
However, it is not without defects, and there are several missing Windows 10 features that consumers have already expressed their dissatisfaction with.
Many Taskbar capabilities were eliminated from Windows 11, but the one that has caused the greatest consternation is the inability to adjust the Taskbar. According to what can be seen, the Taskbar can only be pinned to the bottom of the screen at this time.
A further lost feature that many users would like to see restored is the Taskbar menu that used to appear when right-clicking on the Taskbar. When you right-click on the Taskbar in Windows 11, you will only see the Taskbar settings option at this time.
Additionally, in Windows 10, it was possible to drag and drop files onto the icons of applications in the Taskbar, which would then open the files in the application. Despite the fact that this feature was removed from Windows 11, fans are clamoring for it to be reinstated.
In case you’d like to know more about the specifics and other differences between Windows 10 and Windows 11, see our article with a full performance comparison between the two.
If you’d like more information on the Snap Assist function and comprehensive instructions on how to use it, as well as the Snap Layouts, we recommend that you read our post on how to split your screen in Windows 11.
Furthermore, in case you are experiencing issues with dragging windows, we have already prepared for you a comprehensive list of methods in case drag and drop is not working in Windows 11. Make sure to check it out!
For the users out there who use multiple screens to increase their productivity even more, learn how to manage the Windows 11 taskbar on multiple monitors.
Please let us know in the comments section below which method worked best for you, as well as which operating system version you prefer to use the most. Thanks for reading!
Start a conversation