
- The 0xc8000222 error occurs when you try to do the Dot Net Framework setup on your system and the installation does not succeed.
- One straightforward solution is to temporarily disable your antivirus software.
- Alternatively, you can perform an SFC scan to find and fix broken documents.
XINSTALL BY CLICKING THE DOWNLOAD FILE
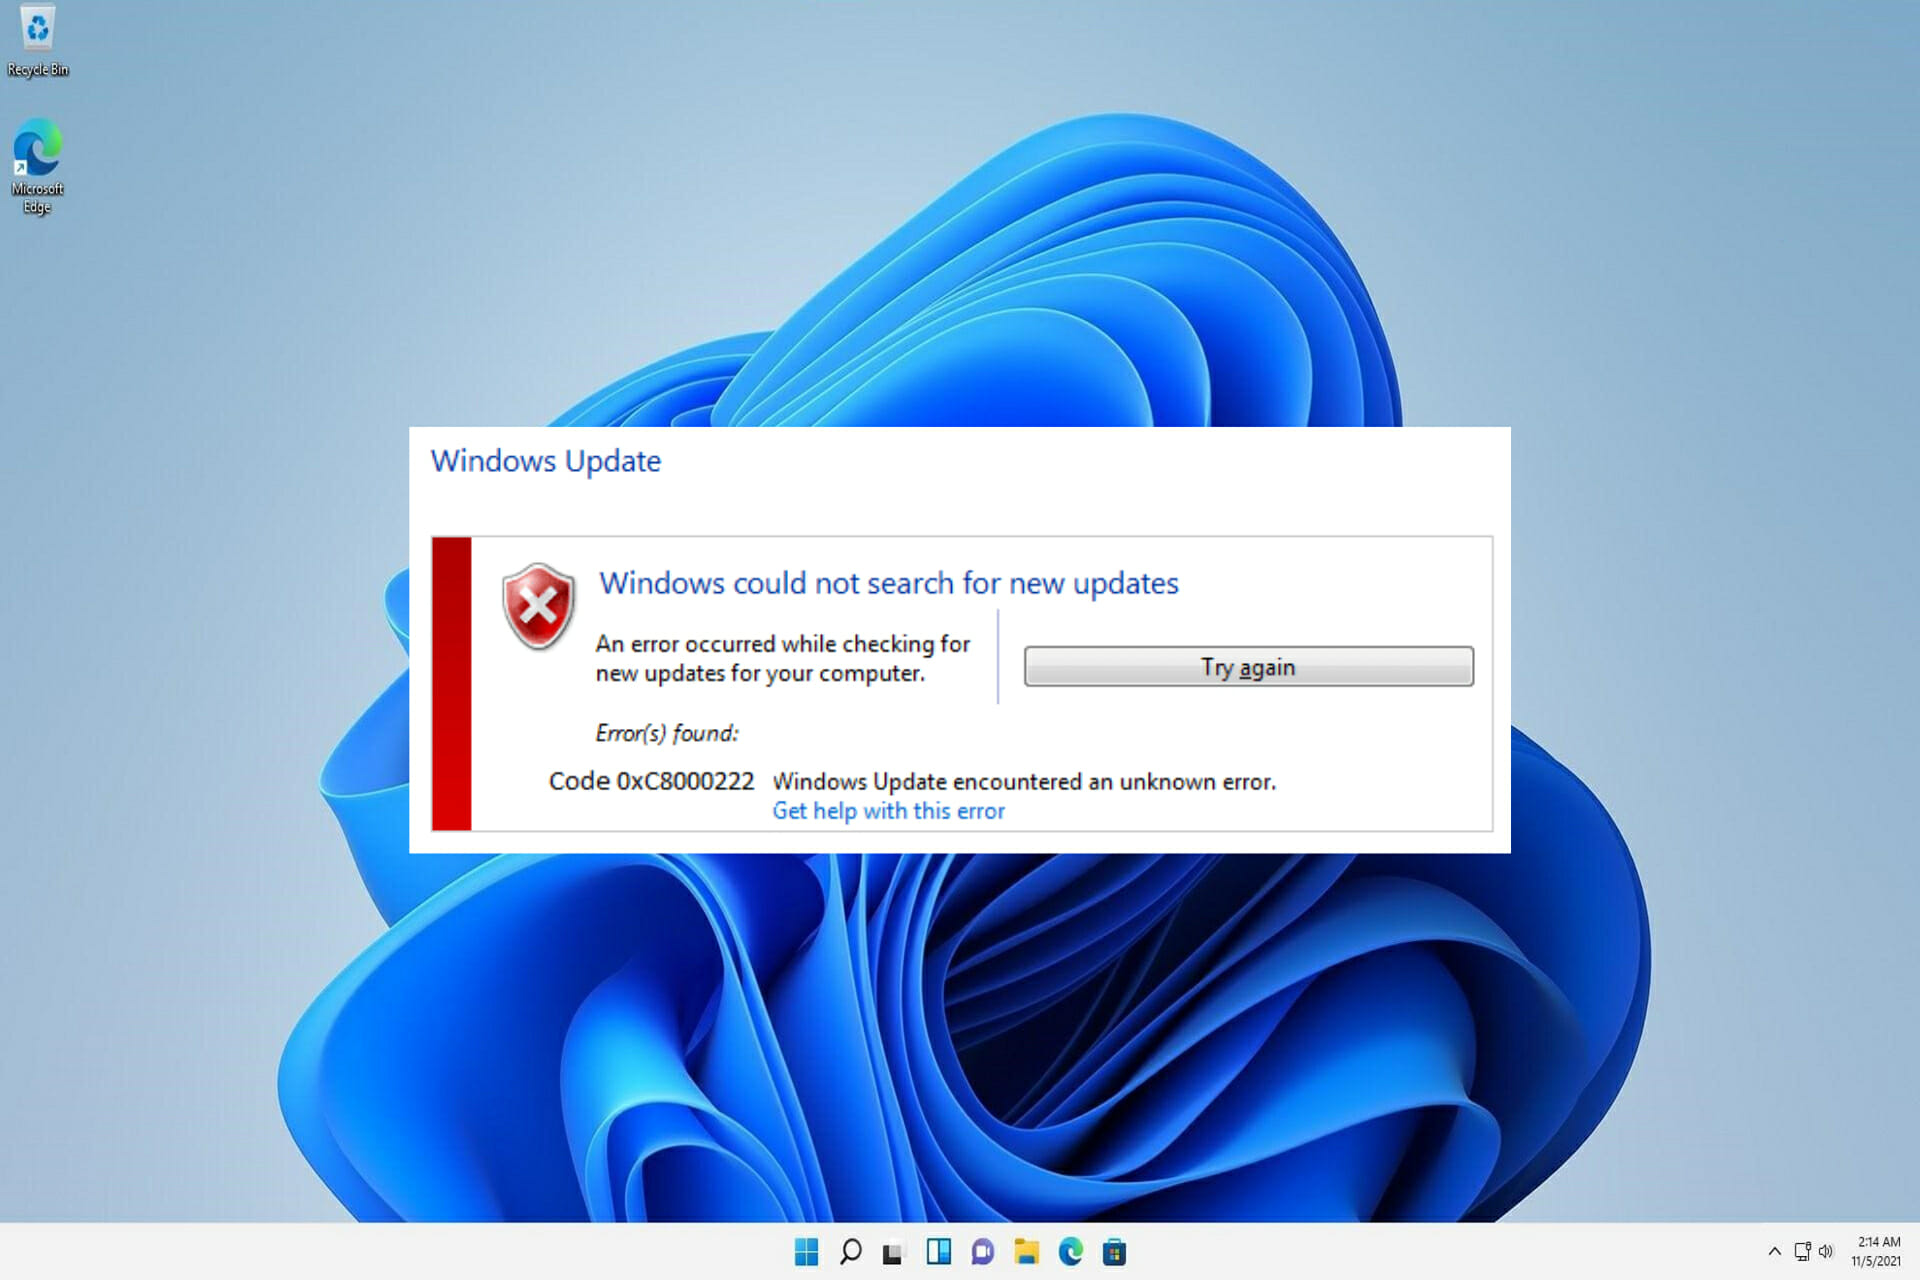
If you are attempting to install Windows updates but are unable to do so, it is conceivable that the updating process is failing with the error code 0xc8000222 as a result of a problem with your computer.
The problem might be caused by a variety of difficulties, including faulty Windows update files, a cache issue, a virus or malware infection, and so on.
System Update Readiness Tool is a software package produced by Microsoft to assist in the resolution of difficulties that prevent Windows updates from being applied. If the procedure is unable to complete properly, this utility will perform a health check on the operating system.
Instead of wasting time, let’s look at how to properly fix the Windows update error 0xc8000222 right after we understand what could have caused this issue to occur in more detail. Follow along!
What caused the 0x8000222 error?
It is most often caused by damaged or corrupt Windows system files, which is why this installer error 0xc8000222 is so widespread. This leads to the inability to obtain the information required for the proper operation of critical Windows files, programs, and applications.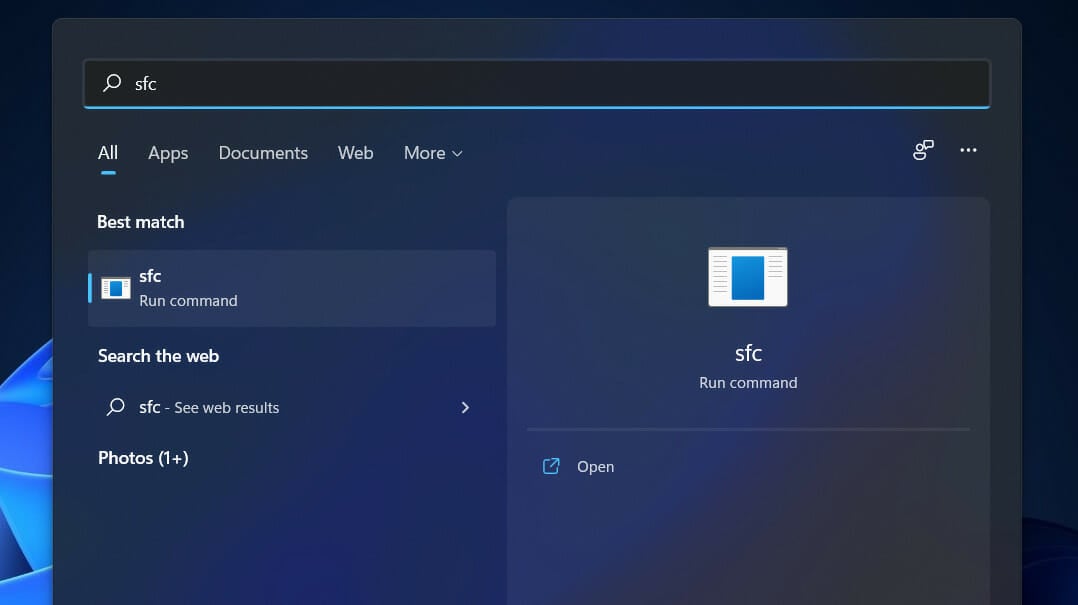
Among the other causes of the Windows Installer Error 0xc8000222 are the following:
➡ System shutdown that was not done correctly
➡ Problems with the hardware
➡ An attack on the system by malware or a virus
➡ Files in the shared library that have been corrupted
➡ File registry entries that have been deleted or corrupted
➡ Installation or removal of a program or application that is not completed
➡ The Windows update system has been misconfigured
➡ Downloaded files that are corrupt or incomplete are stored in the cache
Please keep in mind that the reasons we’ve given above are the most common ones that have been reported by many people. There may be more possible factors that have not been mentioned here that should be considered.
The methods provided below will assist you in resolving the Windows installer error 0xc8000222 and allowing you to proceed with your Windows update procedure without interruption.
What can I do if I get the 0xc8000222 error in Windows 11?
1. Run the Windows Update troubleshooter
- Press the Windows key + I to open the Settings app, and navigate to System in the left panel followed by Troubleshoot from the right side.
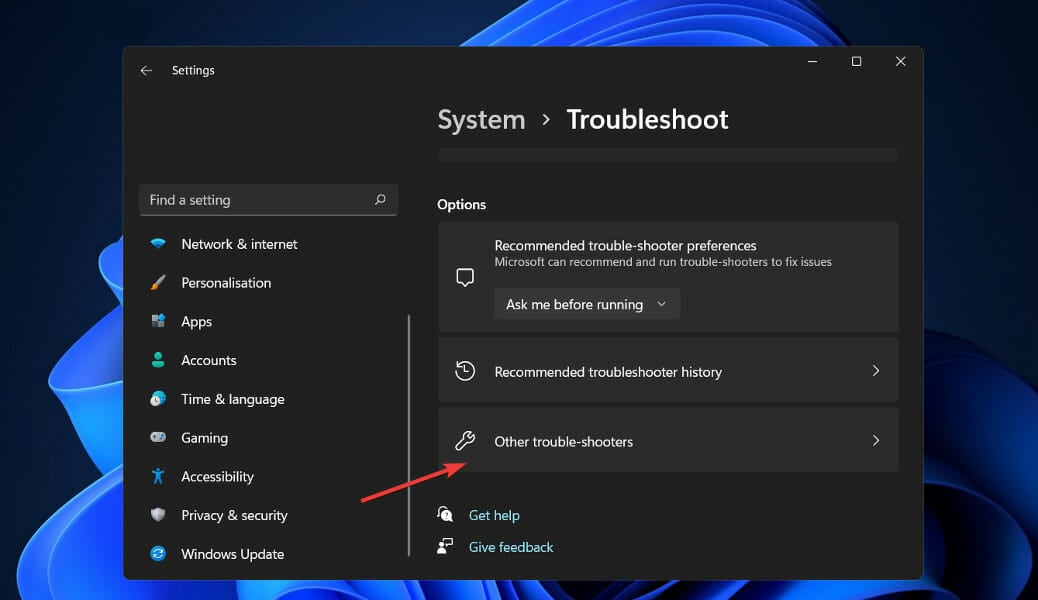
- Once you are inside the Troubleshoot menu, click on the Other trouble-shooters option.
- Now scroll down until you meet the Windows Update troubleshooter and click Run next to it.
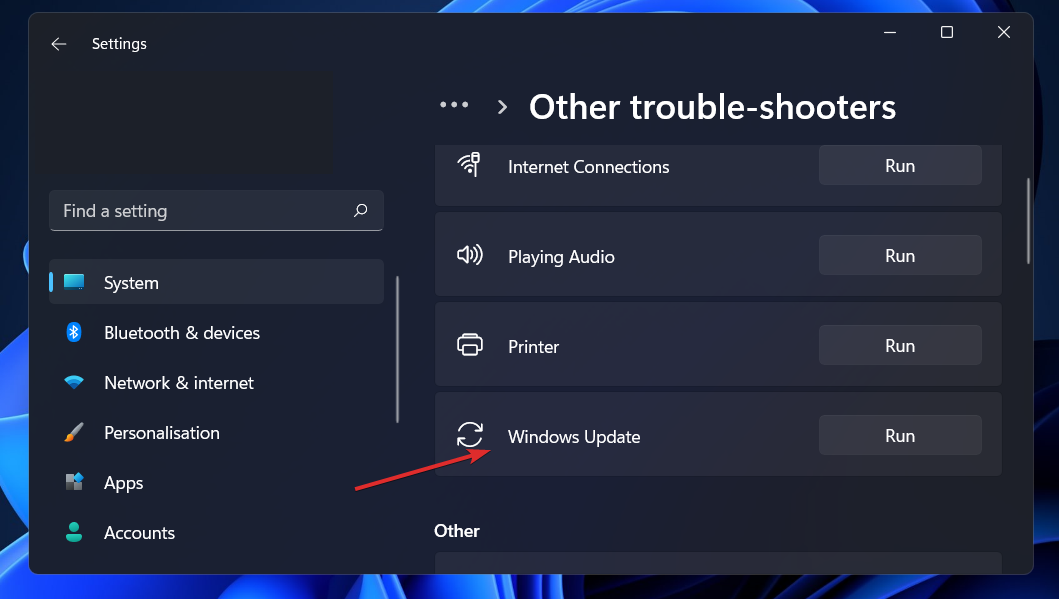
When the troubleshooter has finished searching for errors, it will reveal the specific bug that has happened as well as instructions on how to fix it. It is critical that you follow the instructions given exactly as they are written.
2. Perform an SFC scan
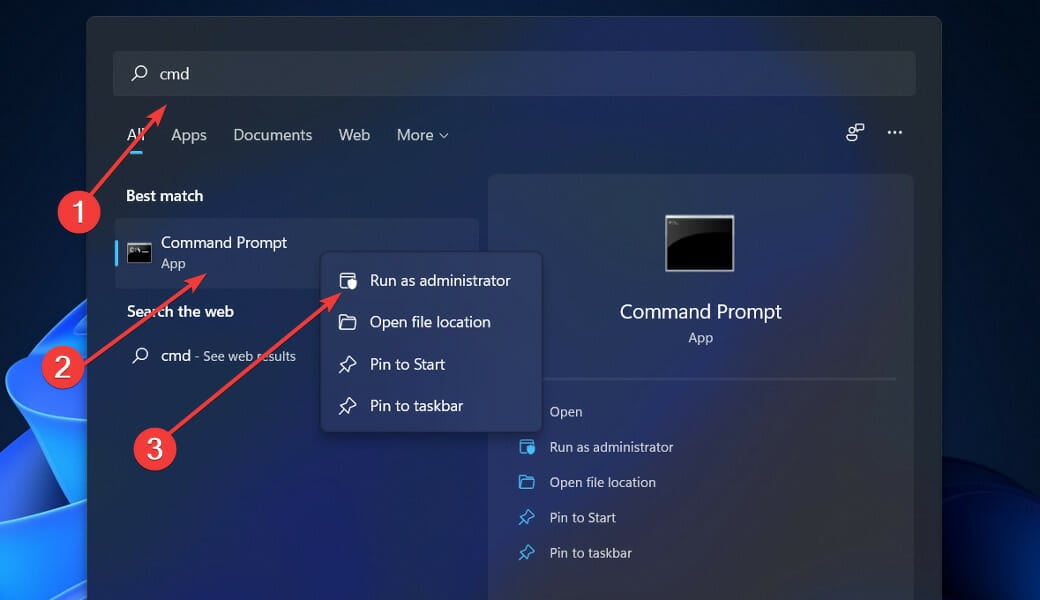
- Press the Windows + S key to open the Search bar, then type cmd, and right-click on the most relevant result to run it as an Administrator.

- Type or paste in the following command and press Enter:
sfc /scannow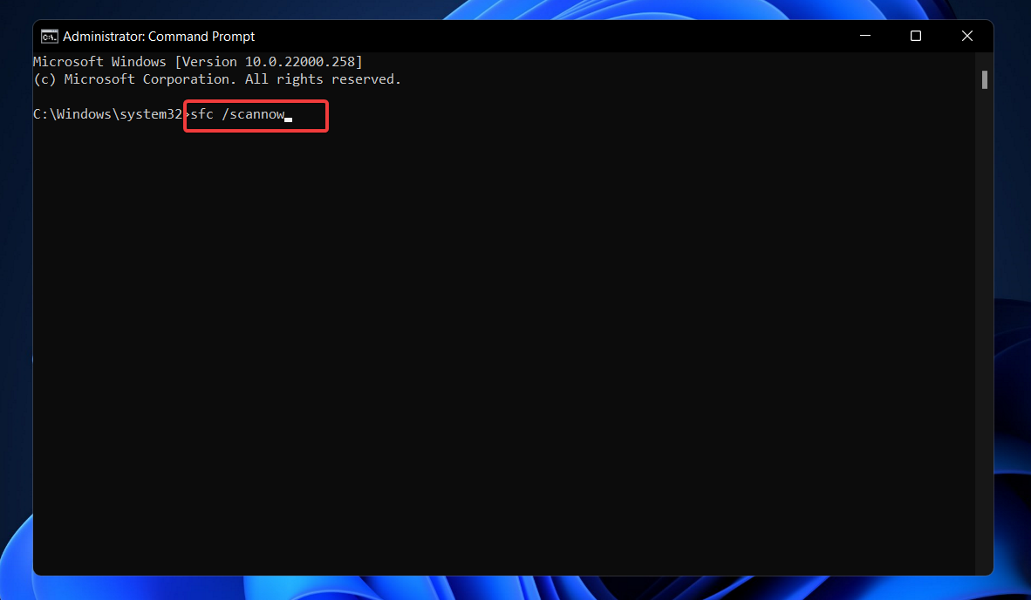
You only need to wait for the procedure to finish (which could take some time), then restart your computer to ensure that the modifications are applied. SFC will automatically detect and repair corrupted files and directories on your computer.
3. Use the CheckDisk tool
- Press the Windows key + S to open the search function, type in cmd, and right-click on the most relevant result to run it as administrator.
- After the Command Prompt launches, type in the following command and press Enter:
chkdsk C: /f /r /x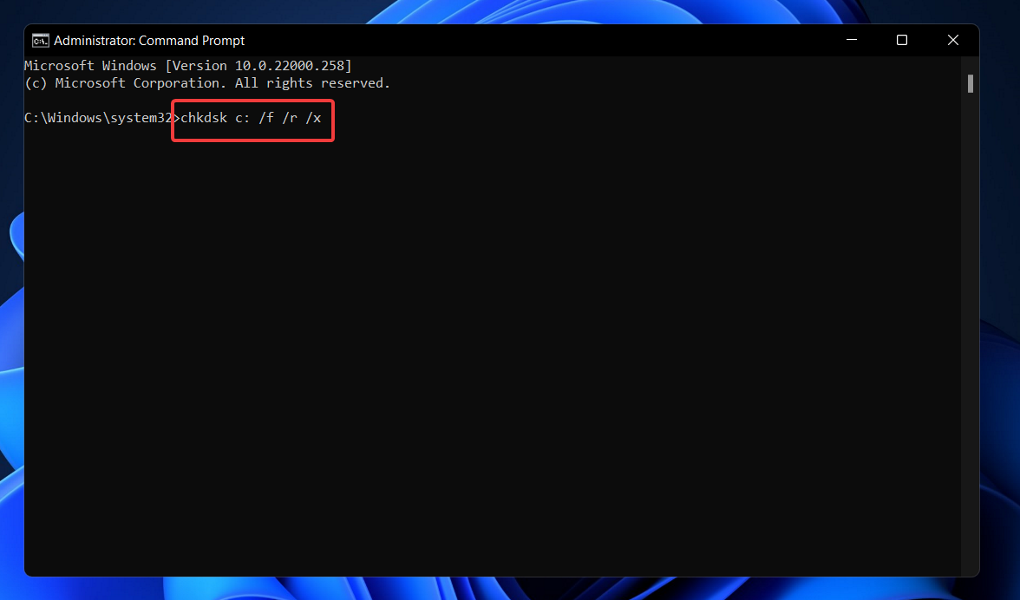
Another alternative is to use Check Disk to search for corrupt files, which is still another tool at your disposal. Because it is more thorough than an SFC scan, it takes longer to complete than an SFC scan. Once the process has been completed, restart your computer to finalize it.
4. Run DISM
- Press the Windows + S key to open the Search bar, then type cmd and right-click on the most relevant result to run it as an Administrator.
- Type or paste in the following commands and press Enter after each:
DISM /online /Cleanup-Image / ScanHealth DISM /Online /Cleanup-Image /RestoreHealth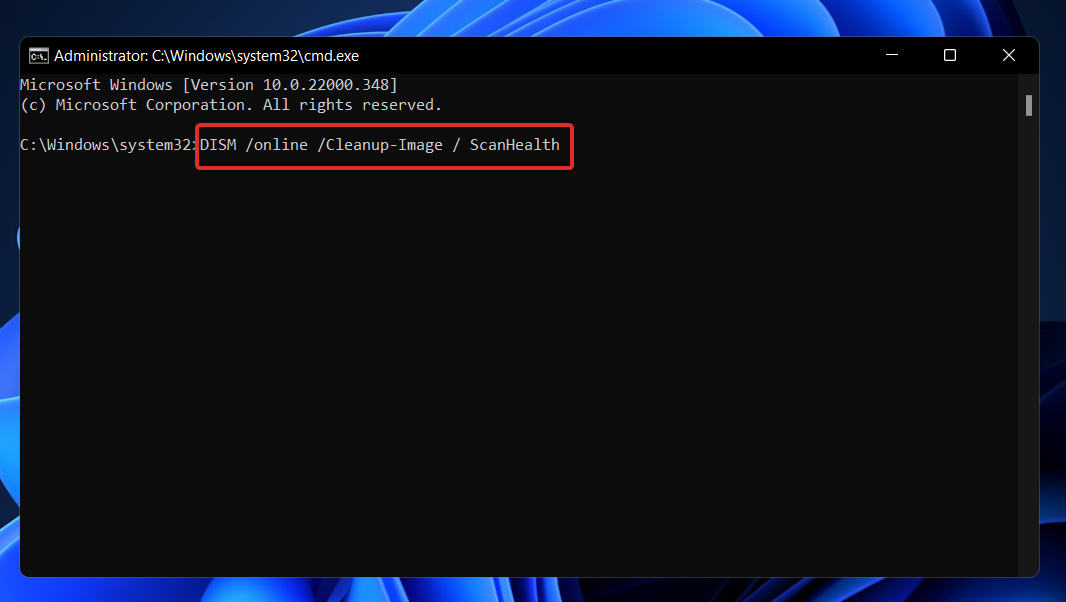
Relax and wait for the entire process to be done. You should keep in mind that the process could take up to ten minutes. Once you’ve done this, restart your computer to ensure that the changes are effective.
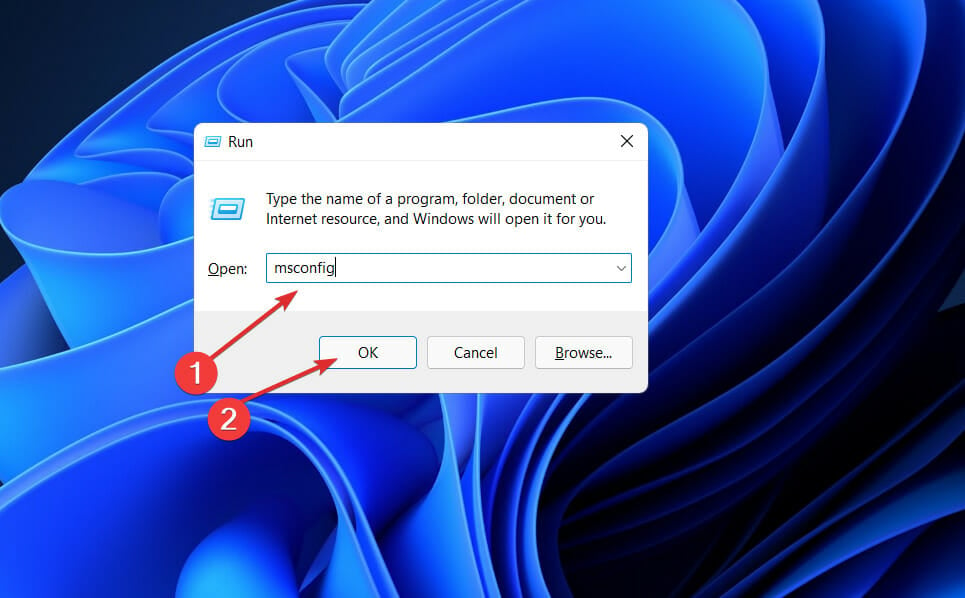
5. Perform a clean boot
- Press the Windows key + R to open a new Run box, then type or paste in msconfig and hit OK.
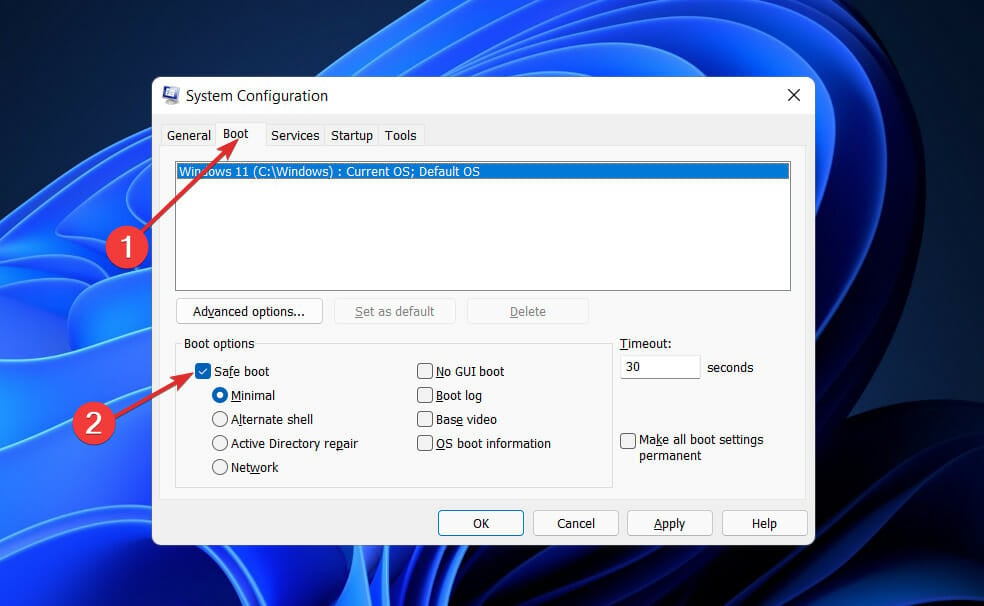
- Then navigate to the Boot tab and check the Safe boot option under Boot options.
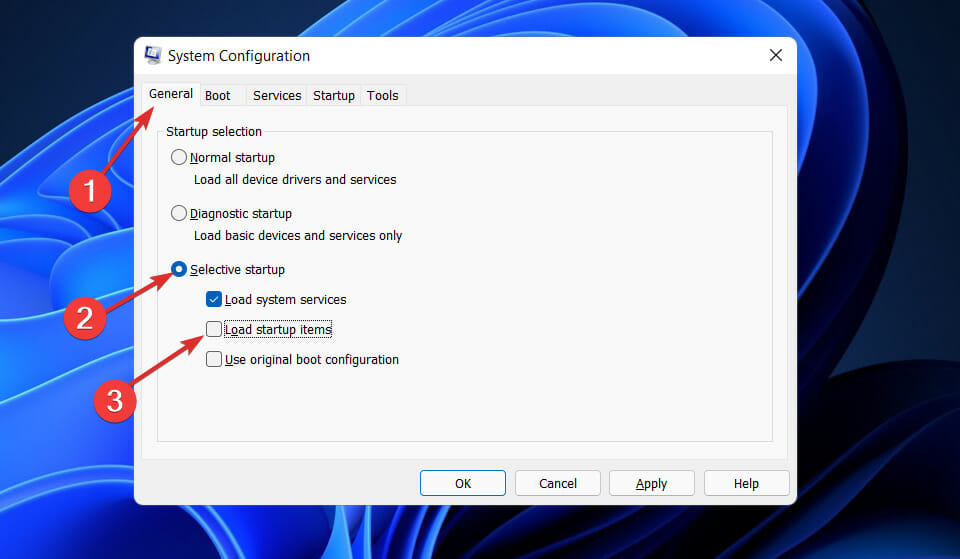
- Now go to the tab that says General and make sure that Selective startup radio button is checked but uncheck Load startup items under it.
- Select the Service tab and check the box Hide all Microsoft services then click Disable all to disable all the unnecessary services which might cause issues.
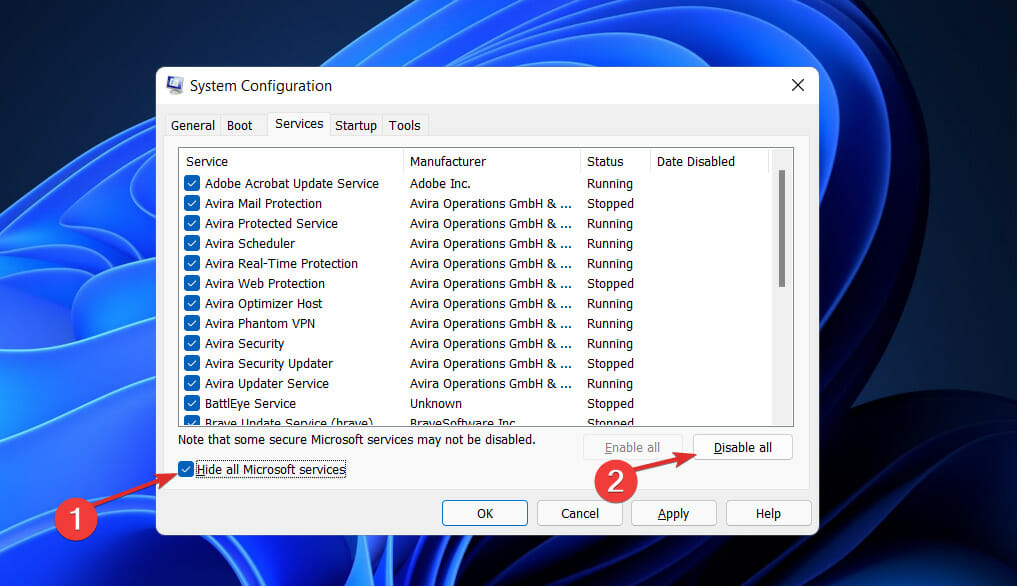
- On the Startup tab, click Open Task Manager and disable all the startup items which are enabled.
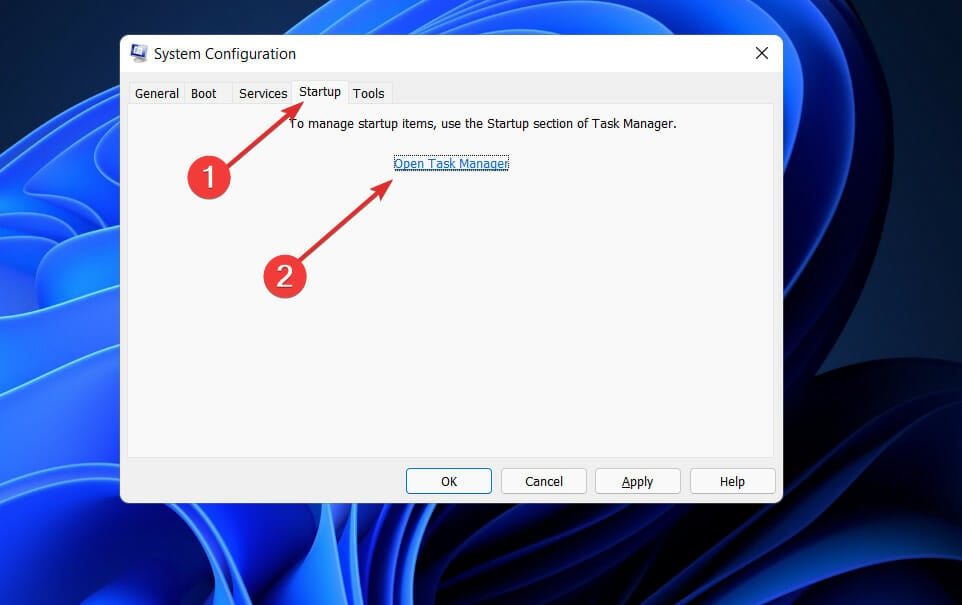
Following this, you may begin the rebooting procedure. Windows will take care of everything; all you have to do is sit back and wait for the procedure to be completed.
What does .Net do?
The Microsoft.NET Framework is the technology on which all other Microsoft technologies will be built in the future, and it is the foundation for all of them. 
It is a significant technological change introduced by Microsoft in order to capture market share from Sun’s Java. Only VC++ and Visual Basic were available to Microsoft to compete with Java a few years ago, but Java was quickly gaining ground in the competition.
With the world growing increasingly reliant on the Internet and Java-related products becoming the preferred choice for web applications, thousands of programmers have switched from Visual C++ and Visual Basic to Java. In order to restore the market, Microsoft announced the.NET Framework.
Microsoft, on the other hand, has a wonderful track record of getting off to a late start and catching up rapidly. This holds true in the case of .NET as well. As a bonus, several of Microsoft’s most talented engineers were assigned to a top-secret project known as Next Generation Windows Services (NGWS).
If the above solutions proved to be futile for your issue, you should check out our guide on what to do if the Windows 11 installation has failed, to see more methods in which you can tackle the problem.
Alternatively, we have prepared a similar article on how to fix the Windows 11 installation error 0xc1900101. Make sure to take a look at it if you encounter the same issue!
And lastly, in the case that you bump into the 0x80070643 error, read our post on how to fix it in Windows 11. The solutions may be applicable to the above error as well.
Do not hesitate to let us know in the comments section below which solution worked best for you.
Start a conversation