
- Insiders have been testing out some of the revamped apps lately.
- Apparently, Photos is still automatically adjusting brightness levels.
- However, there is a quick way to stop it from doing all these tweaks.
- This article contains the exact, detailed steps you need to follow.
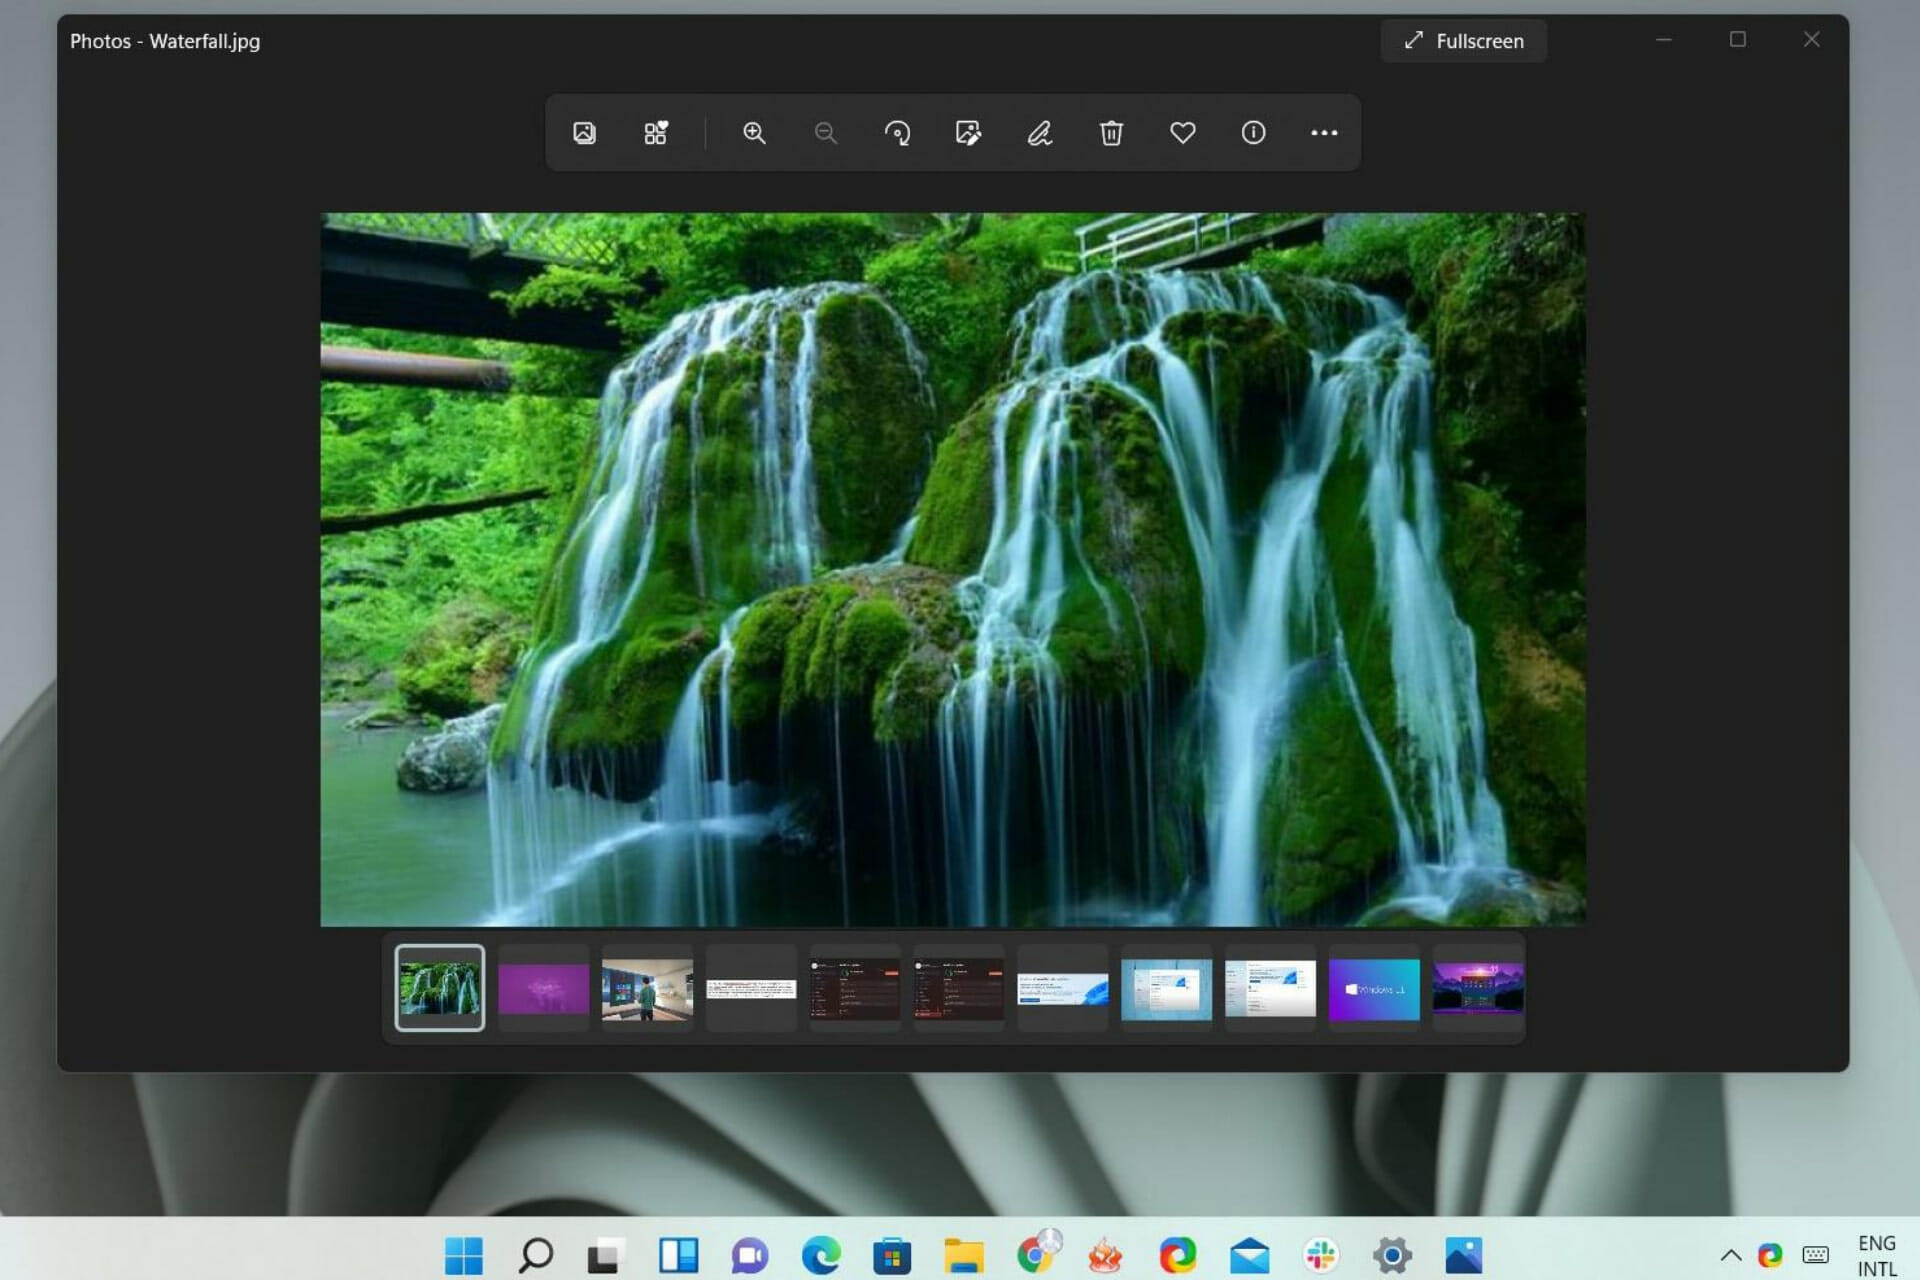
Same as its predecessor, Windows 11 is still darkening photos dramatically in the Photos application for a lot of users.
Basically, it will show the photo properly for about a quarter second then alter the current brightness level to a much darker and somber setting.
Many have even said that the new and improved software insists on reorienting portrait mode pictures to landscape, which may be even more annoying than adjusting the brightness.
How do I prevent Photos from adjusting brightness levels?
Ever since the Redmond tech company announced the revamp process for Paint and Photos back in August, everyone was excited to take these new versions out for a test drive.
And while everything seems to be fine with these system applications, users are starting to complain about Photos.
Apparently, the app has a mind of its own and will start tweaking brightness settings even without your command, or consent.
Although this is not a system-threatening issue, many are seriously annoyed by this and would like a way to put an end to it.
Luckily, we are here to assist you and make sure that you enjoy your images without having to worry about this.
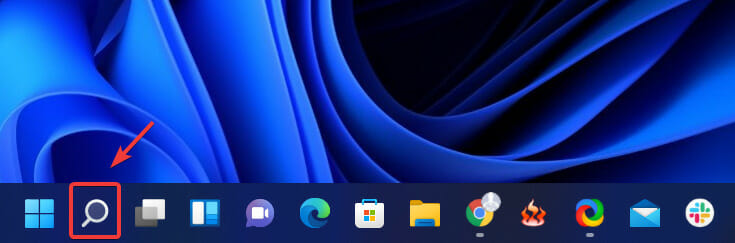
- Click on the Search icon on your taskbar.
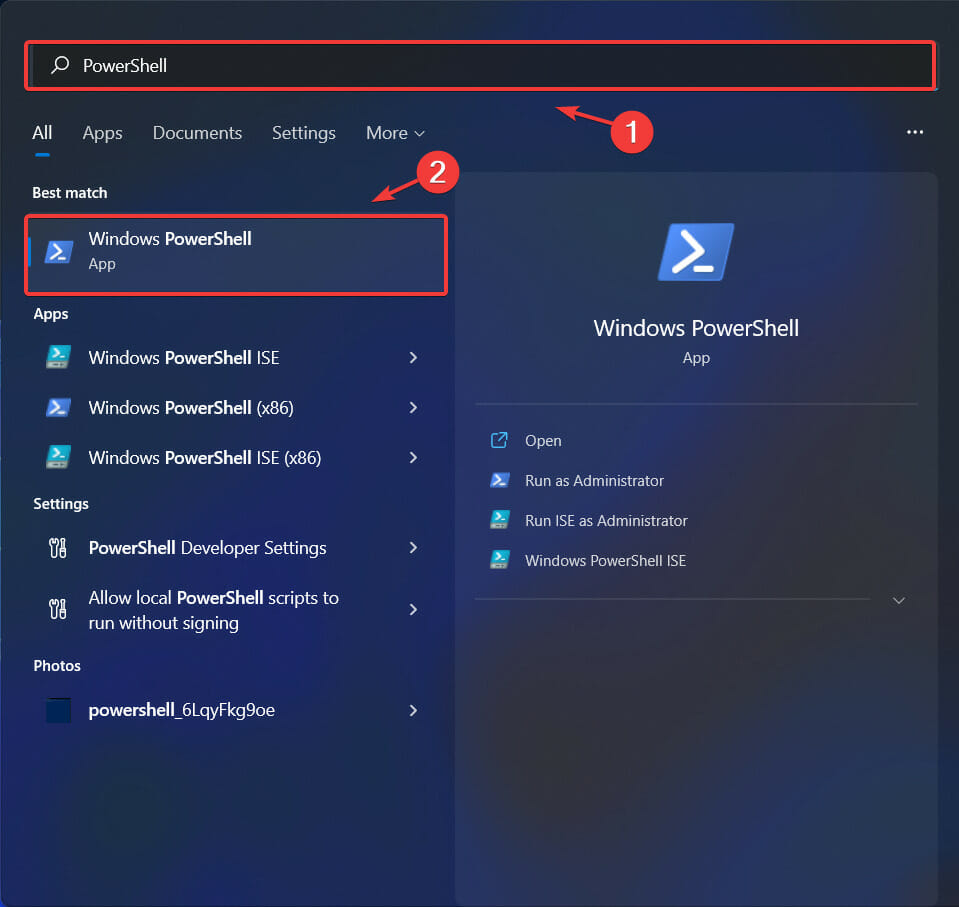
- Type PowerShell and click to open the app.
- Enter the following command and press Enter: Get-AppXPackage -AllUsers | Foreach {Add-AppxPackage -DisableDevelopmentMode -Register “$($_.InstallLocation)AppXManifest.xml”}
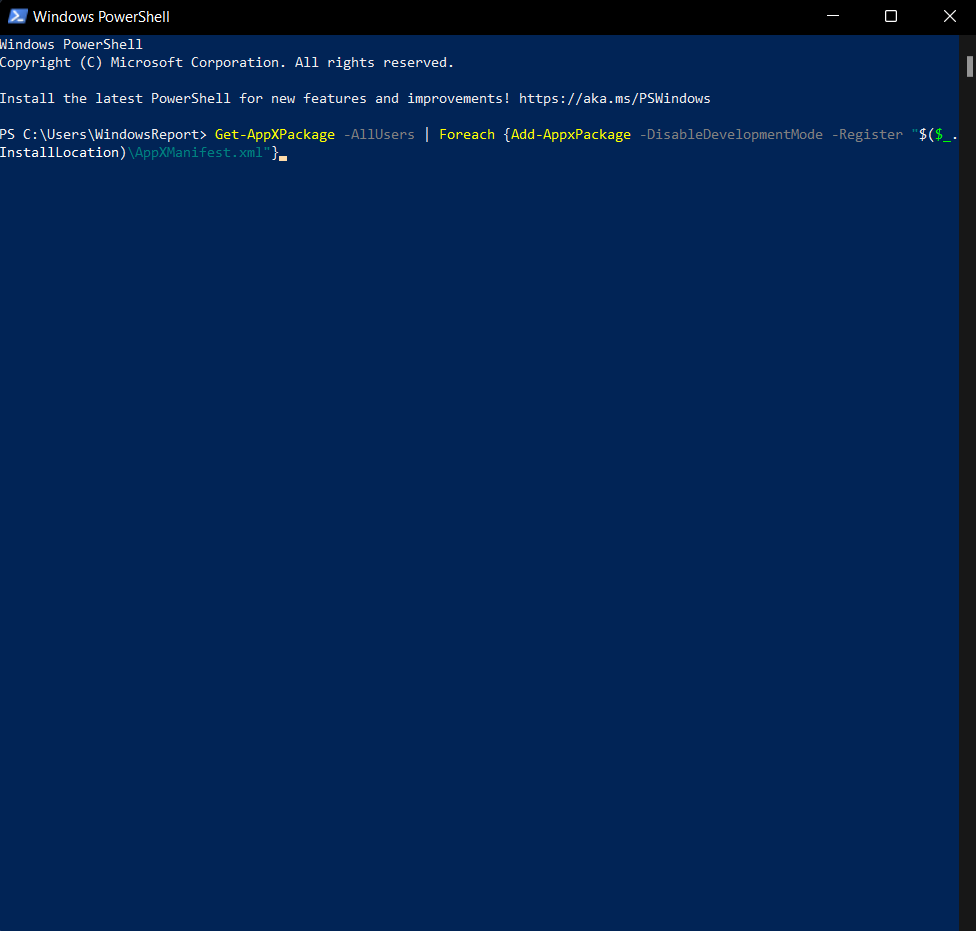
- Restart your PC.
However, before doing this, also consider creating a new user account and checking if you’re able to view images normally.
If the problem persists, refer to the above-mentioned method in order to reverse this unwanted behavior.
Was this article helpful to you? Let us know in the comments section below.
Start a conversation