
Valve’s portable PC gaming handheld has proved to be a roaring success, but the Steam Deck (opens in new tab) has a notable limitation. It’s totally reliant on its Linux-based SteamOS operating system, which excludes specific titles from true compatibility, primarily due to reliance on anti-cheat hooks designed for Windows. Dual booting is still not an official option, but that doesn’t mean you can’t boot into Windows on your Steam Deck.
Installing Windows on an external storage device is easier than you might think. All you need is one of the best SD cards for Steam Deck and some patience. I’ve been tinkering with my 256GB model for a while, and my Samsung EVO Select card has proved more than capable of running my copy of Windows 11, so I can show you exactly how to set everything up.
Which version of Windows should I install on my Steam Deck?
Windows 11 is the preferred option for the Steam Deck since Valve routinely updates its list of drivers (opens in new tab). Previously, Windows 10 was the stable choice, but improvements to firmware on the handheld meant that either is now viable. For this guide, I’ll be using Windows 11 Home (64-bit.)
How to prepare your SD card in Windows
Installing Windows 11 to an external storage device like a micro SD card is a much safer method for the integrity of your Steam Deck’s internal drive. If you toggle an upcoming option, it won’t affect the default SteamOS installation either. Although there is no official dual-boot solution, you can still switch to Windows when you power up the console by holding the volume down and power buttons together and accessing the standard boot menu.
- Navigate to the official Windows 11 download page (opens in new tab).
- Under the ‘Create Windows 11 Installation Media‘ section, click Download.
- Find mediacreationtool in your downloads directly and launch the app.
- Select the correct language for your region.
- Ensure Windows 11 is selected in the ‘Edition‘ drop-down box.
- Click ‘Next‘ and select the ‘ISO file‘ radio button.
- Choose a suitable download location for your Windows.iso and exit the app when finished.
- Navigate to the official Rufus download page.
- Under the ‘Download‘ section, click on the ‘Last updated‘ version.
- Find Rufus in your downloads directly and launch the app.
- Under the ‘Device‘ section, select your microSD card*.
- For ‘Boot selection,’ choose ‘Disk or ISO image.’
- Click the ‘SELECT‘ button, find your ‘Windows.iso,’ and click ‘Open.’
- For the ‘Image option‘ drop-down menu, choose ‘Windows To Go.’
Important: It’s critical that you follow this step carefully and choose ‘Windows To Go.’ This is what allows us to run Windows 11 directly from external storage rather than creating a boot drive to install elsewhere.
* If your device doesn’t appear, click ‘Show advanced drive properties‘ and check ‘List USB Hard Drives,’ but be careful. This is extremely risky if you select the wrong drive. If your SD card isn’t on the list, it is more likely a defective unit or a type of formatting error. Drives on this advanced list are not intended to be used with Rufus.
- Leave the remaining options in Rufus alone and click ‘START.’
- For ‘Version selection,’ select your matching edition and press ‘OK.’
- On the ‘Windows User Experience‘ popup, select the following:
- ✔ Prevent Windows To Go from accessing internal disks
- ✔ Remove requirement for an online Microsoft account
- ⬜ Create a local account with username: __
- ✔ Set regional options to the same values as this user’s
- ✔ Disable data collection (Skip privacy questions)
Important: The second-most vital option to check is ‘Prevent Windows To Go from accessing internal disks.’ This keeps the integrity of your Steam Deck and SteamOS intact by keeping Windows 11 isolated to your SD card. The larger the card, the more space you’ll have for games.
- Rufus will warn that all data on your card will be destroyed, press ‘OK.’
- Wait for the ‘Status‘ bar to show green* with a ‘READY‘ message.
* This part can take a long time, depending on your device. Creating a Windows To Go drive is a generally lengthy process, taking almost 34 minutes for my Samsung EVO Select 256GB micro SD card to finish. Be patient, and don’t interrupt the process or close Rufus while it’s working.
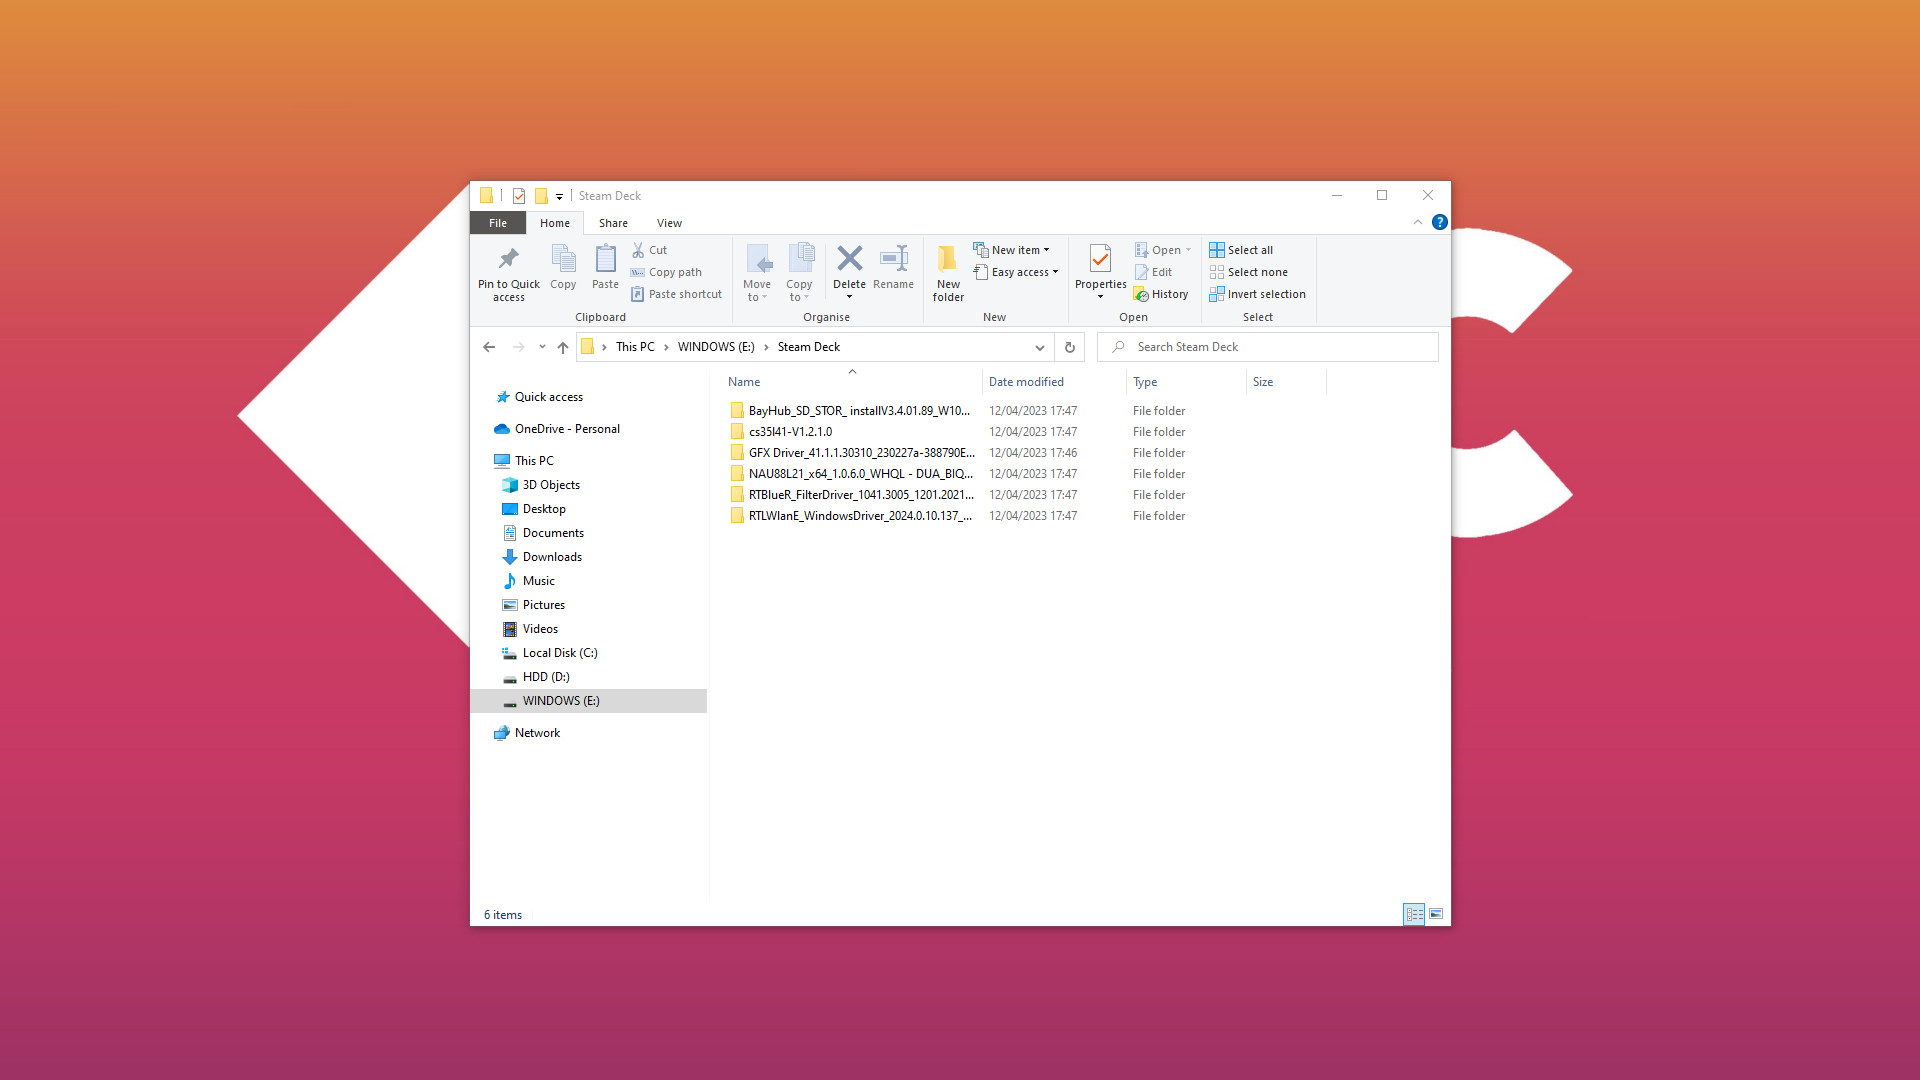
- Close Rufus and navigate to your newly created drive in File Explorer.
- Create a new folder with a name you’ll remember, like ‘Steam Deck.’
- Navigate to the official Windows Resources download page (opens in new tab).
- Download all the driver archives* and unpack them to your new folder.
* We’ll need these drivers when Windows completes its initial installation. Although most functionality is intact with generic offerings from Microsoft, it’s important to use the packages provided by Valve to ensure compatibility. Be sure to download both audio drivers and consider saving the Windows Resources page to your bookmarks.
How to boot and install Windows on Steam Deck
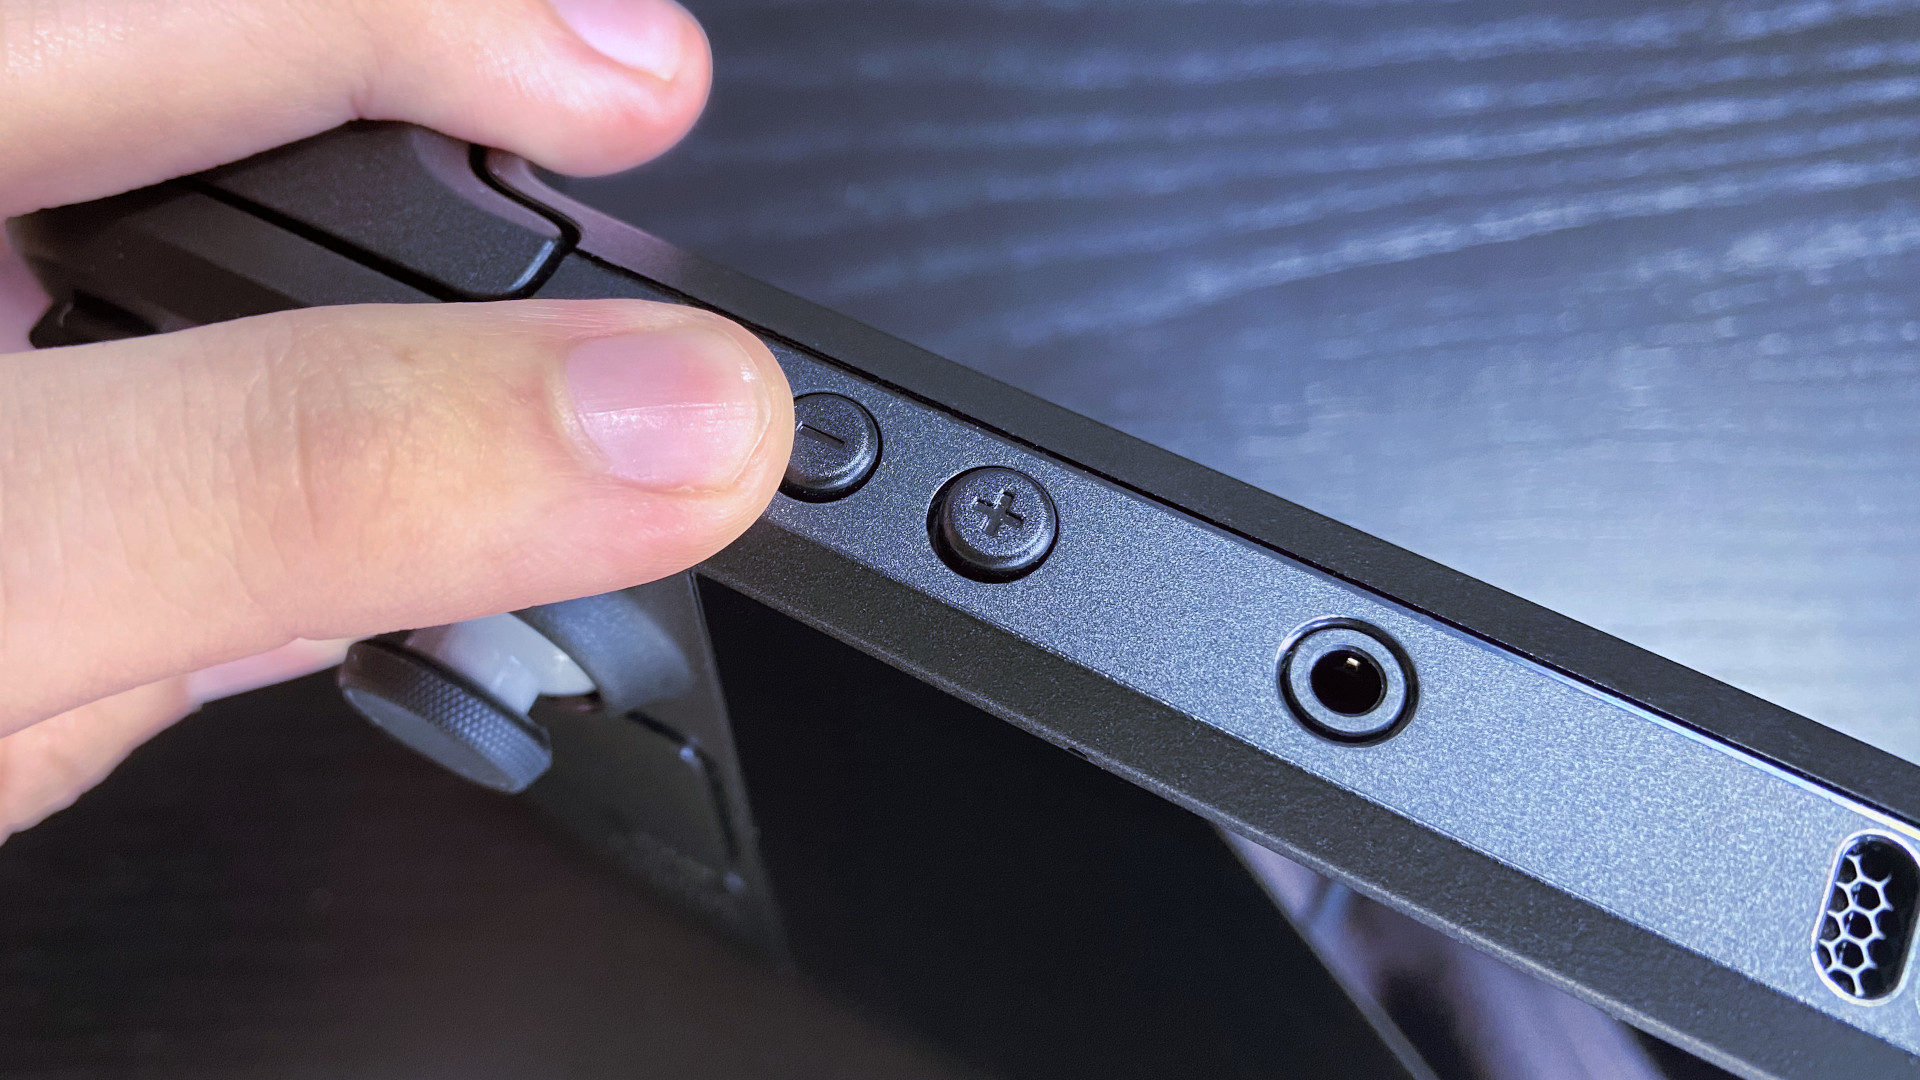
Now that you have a micro SD card set up as a portable edition of Windows, you can safely remove it from your computer. Turn off your Steam Deck by holding the power button and selecting ‘Shutdown‘ from the menu before inserting the SD card.
You’ll be accessing a hidden ‘Boot Manager‘ screen to use Windows instead of SteamOS with this method every time, at least until Valve adds proper dual-boot support. The Steam Deck touchscreen should work fine during the setup process, or you could connect a mouse via USB-C or with the official docking station or an alternative like the JSAUX Steam Deck dock.
- Hold the volume down and power buttons until you hear a chime.
- In the ‘Boot Manager,’ select ‘EFI SD/MMC Card‘ and press the A button.
- You’ll see a ‘Getting ready‘ message on the screen in portrait mode.
- On the ‘Let’s connect you to a network‘ screen, press ‘I don’t have internet.’
- You’ll be prompted to connect again, so press ‘Continue with limited setup.’
Although the Steam Deck can detect Wi-Fi networks and connect during the setup stage, the default drivers aren’t as capable as the ones provided by Valve. Connecting to a wireless access point now would extend the whole process since your download speeds can be significantly reduced with Microsoft’s drivers. You have better drivers on your SD card, so don’t worry about skipping this.
- Enter a username when asked, ‘Who’s going to use this device?‘
- The password field can be left blank, pressing ‘Next‘ to continue.
If you prefer to add a password, you can. However, booting into Windows on your Steam Deck will naturally be slightly slower since you’ll need to enter a password every time. If you only plan to use this SD card to play games otherwise unavailable on SteamOS, I recommend leaving the password blank. Still, a secure password is recommended if you’re storing sensitive files in Windows.
- Navigate to the folder you created containing drivers in the C: drive.
- Install each driver by following Valve’s instructions (opens in new tab):
- APU driver
- Run setup.exe to install.
- Wi-Fi driver
- Run install.bat to install.
- Bluetooth driver
- Run installdriver.cmd to install.
- SD Card reader driver
- Run setup.exe to install.
- Audio drivers
- Right-click* cs35l41.inf and select Install.
- Right-click NAU88L21.inf and select Install.
* The default Windows touchscreen drivers should allow you to access the right-click menu by tapping and holding for a moment; then, the context menu will appear. Both audio drivers use .inf files, whose icons resemble a sheet of paper with a cogwheel, rather than a traditional .exe or even .bat file. If you can’t see ‘Install‘ on the right-click context menu, first press ‘Show More Options.’
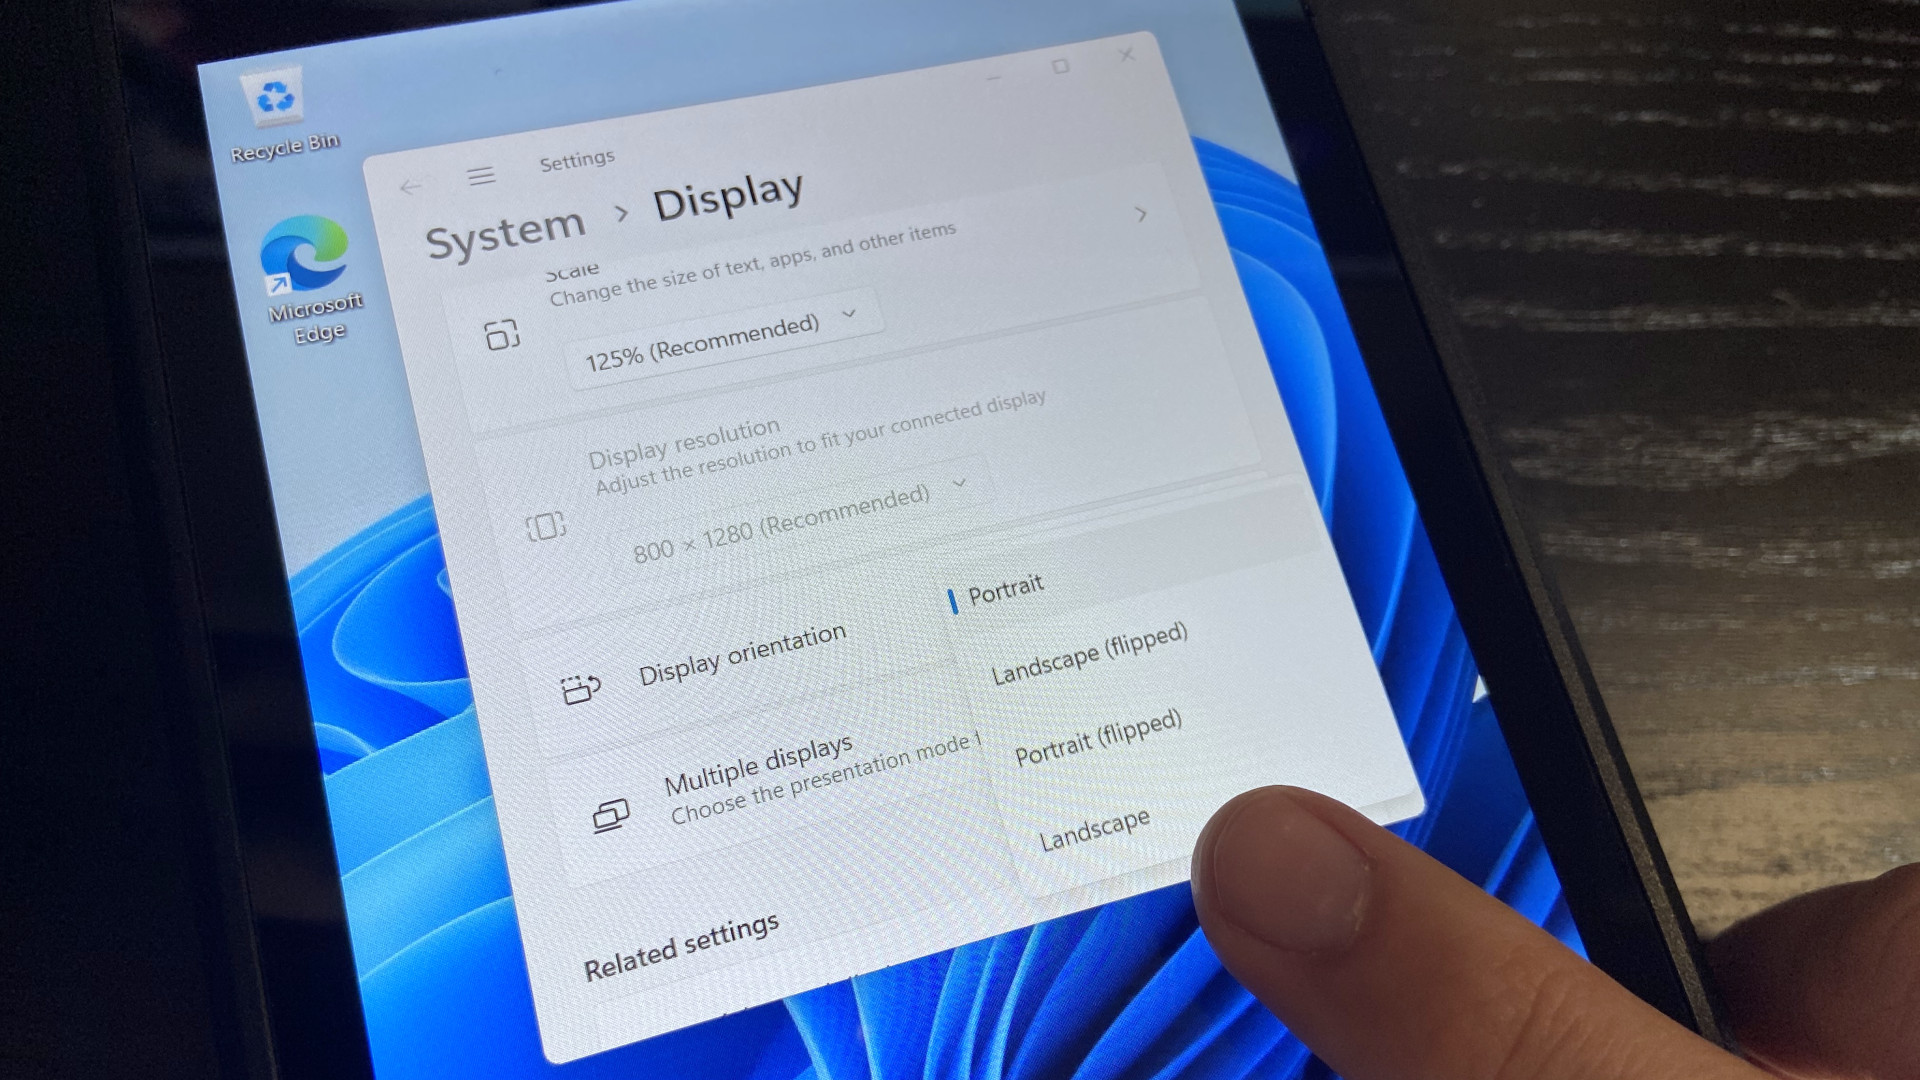
- Right-click the Windows desktop and select ‘Display settings.’
- Find ‘Display orientation‘ to select ‘Landscape‘ from the drop-down menu.
- Shut down Windows from the Start menu as you usually would.
- Again, hold volume down and power until you hear a chime.
- In ‘Boot Manager,’ select ‘EFI SD/MMC Card‘ again.
- Connect to your Wi-Fi network* in Windows.
* If you’re unfamiliar with Windows 11, follow our straightforward guide on how to connect to a Wi-Fi network (opens in new tab). Tapping the networking icon in the system tray on the right side of the Start menu next to the clock is usually the fastest way to access a list of nearby networks.
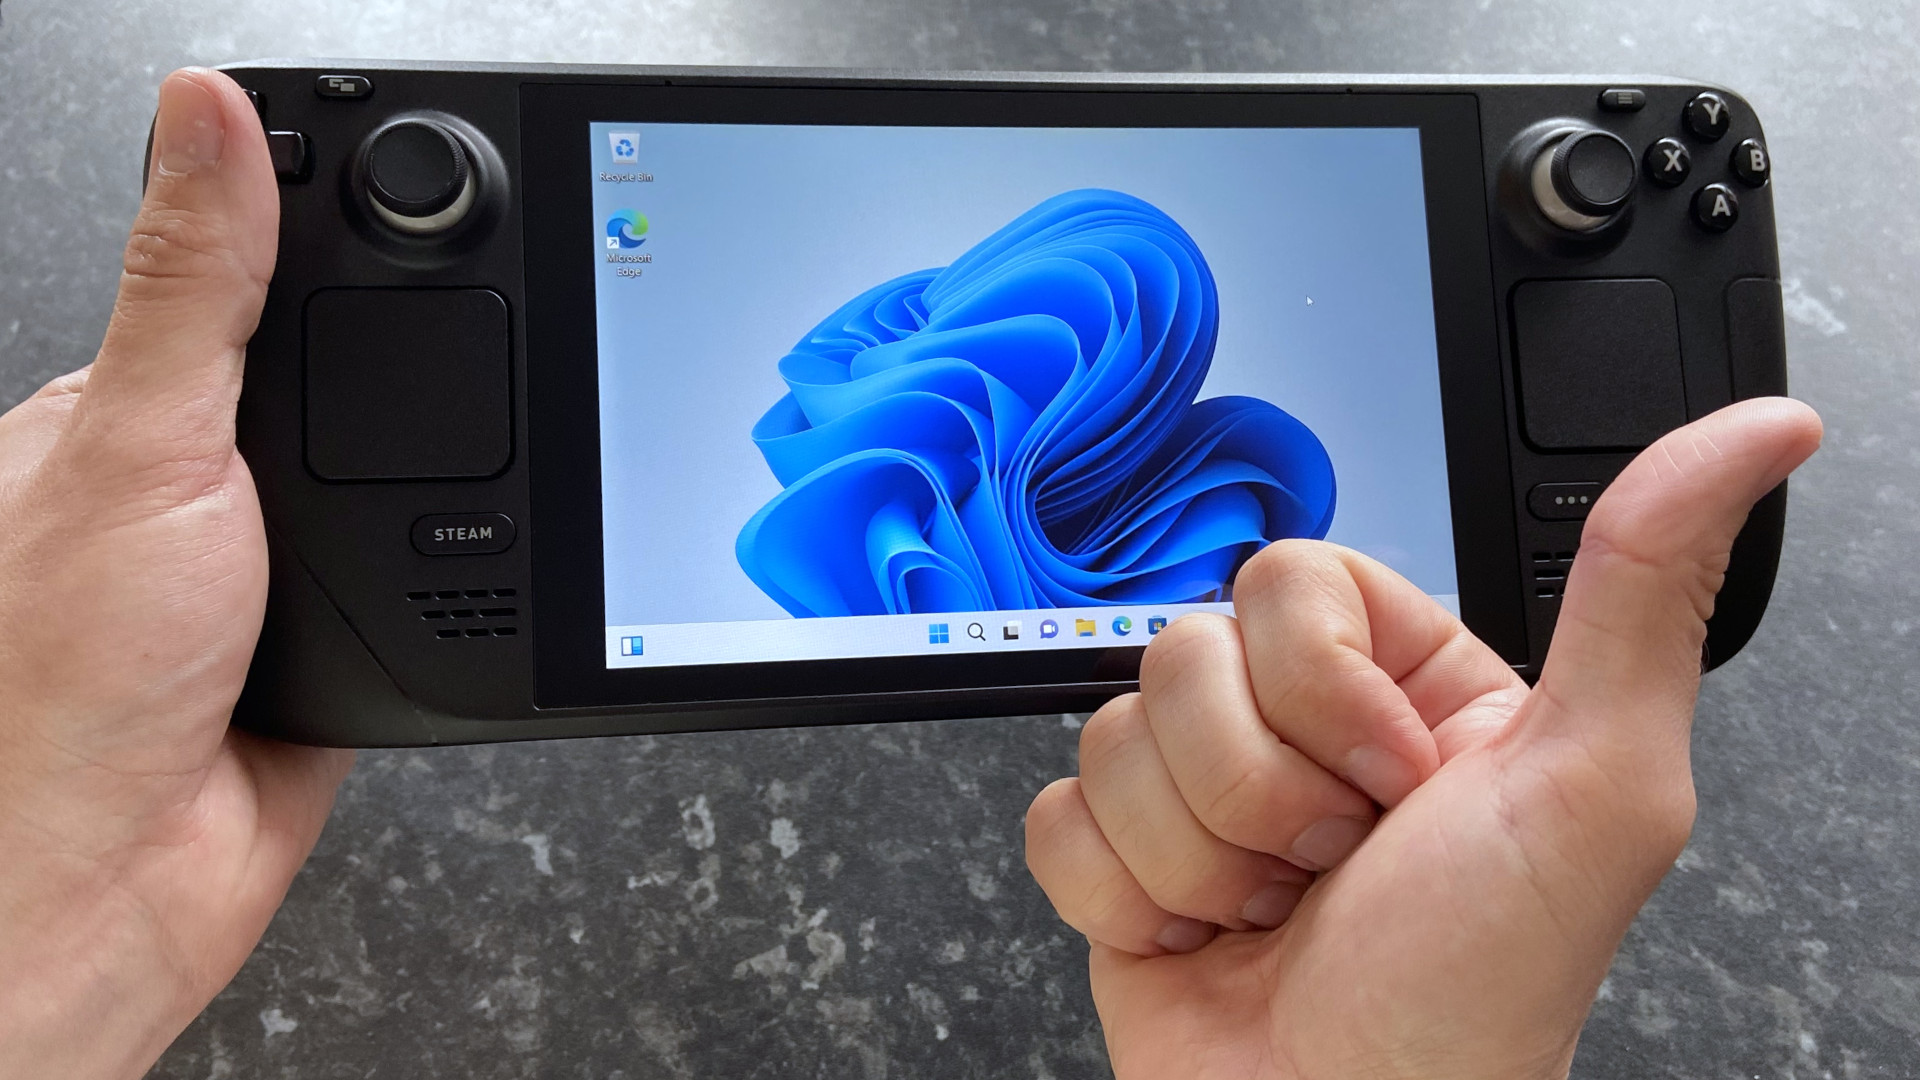
Congratulations, now you can boot into Windows on your Steam Deck! What you install and play is up to you, but downloading the official Steam desktop client (opens in new tab) is the most obvious recommendation. Besides accessing your usual library, you’ll benefit from launching games through Steam’s Big Picture mode to use the full range of Steam Deck controls.
A few extra tools will make Windows easier to use on Steam Deck, but otherwise, you’re free to use any application or game that isn’t currently compatible with the Linux-based SteamOS. Bear in mind that the Steam Deck wasn’t designed for Windows, but Valve’s commitment to updating its collection of drivers keeps your options open. Either way, proceed with caution since this is still considered experimental territory.
Helpful tools for running Windows on Steam Deck
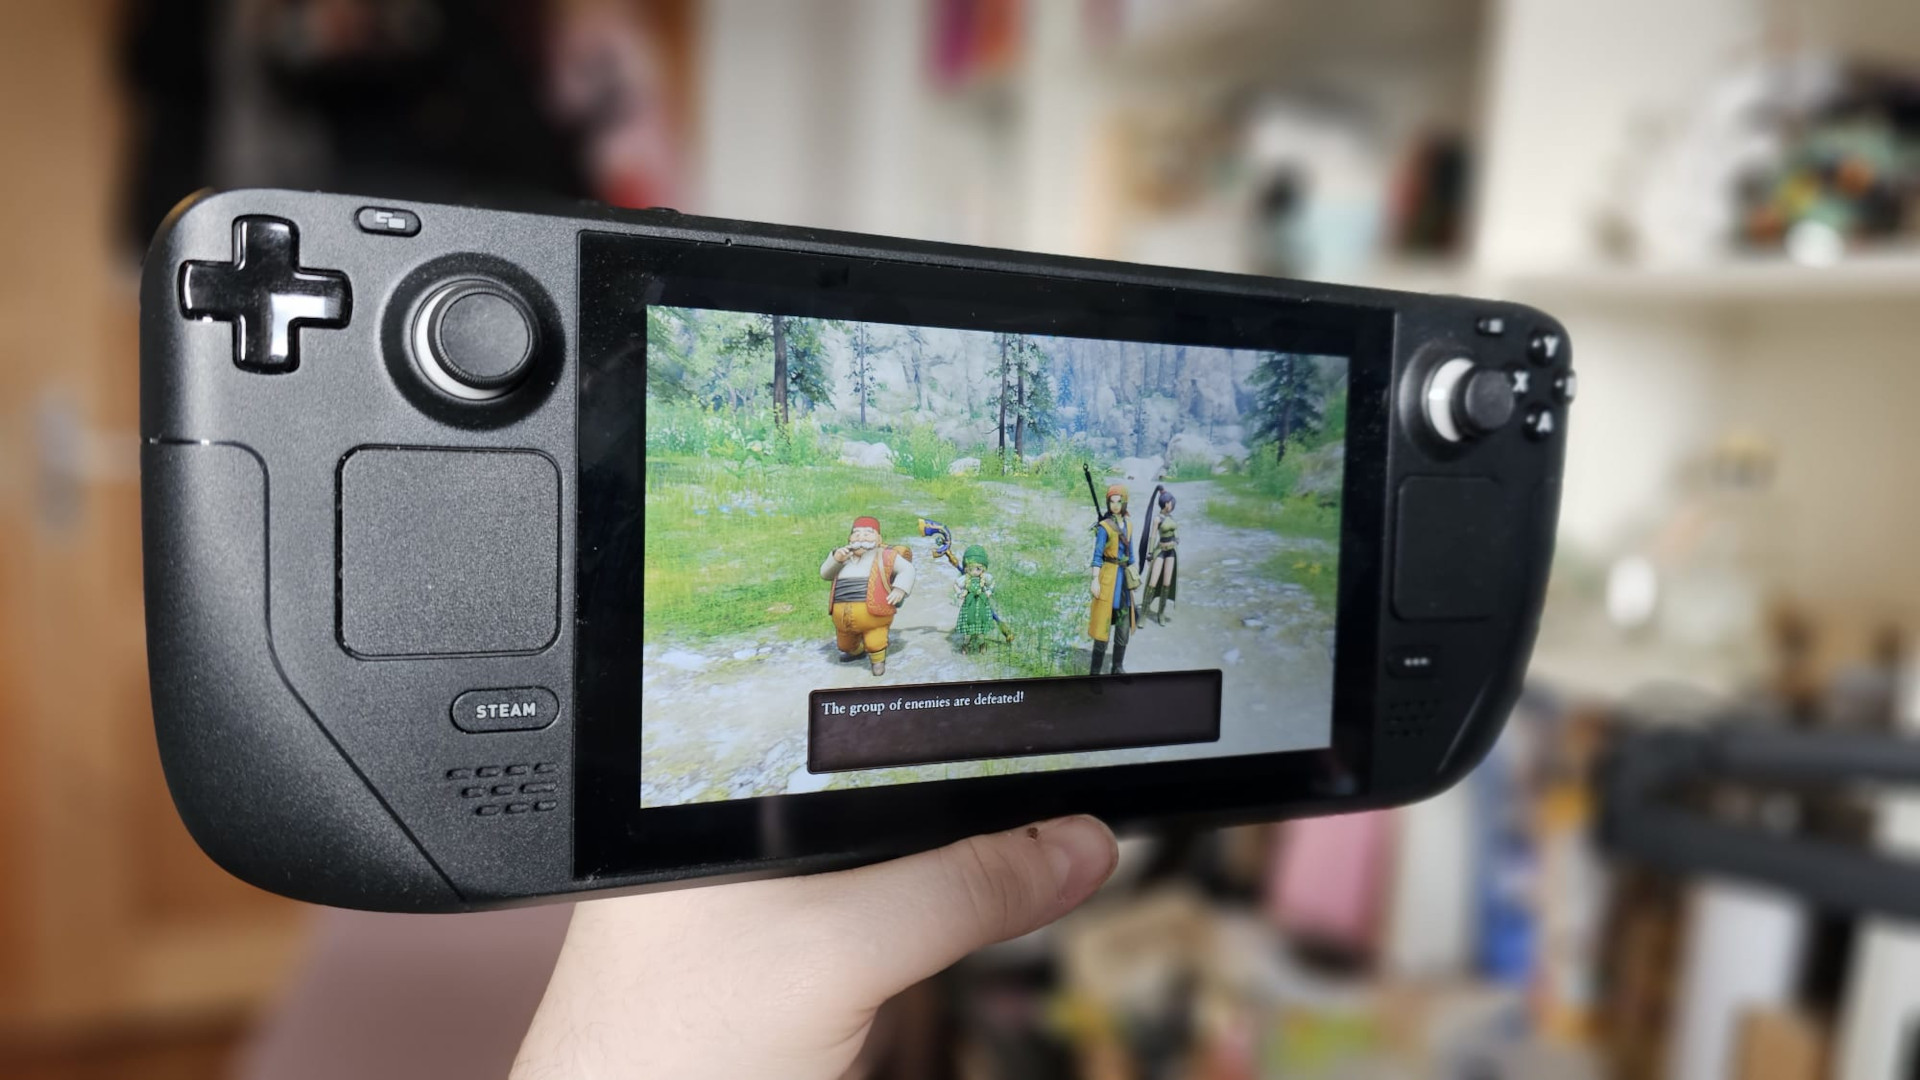
Switching to Windows on Steam Deck has its share of benefits. Still, there are a few downsides, including the lack of a proper performance overlay and questionable controller compatibility in some of the best PC games designed for Windows. Luckily, the PC gaming community already has a handful of ready-made solutions to some roadblocks you might discover while running Windows.
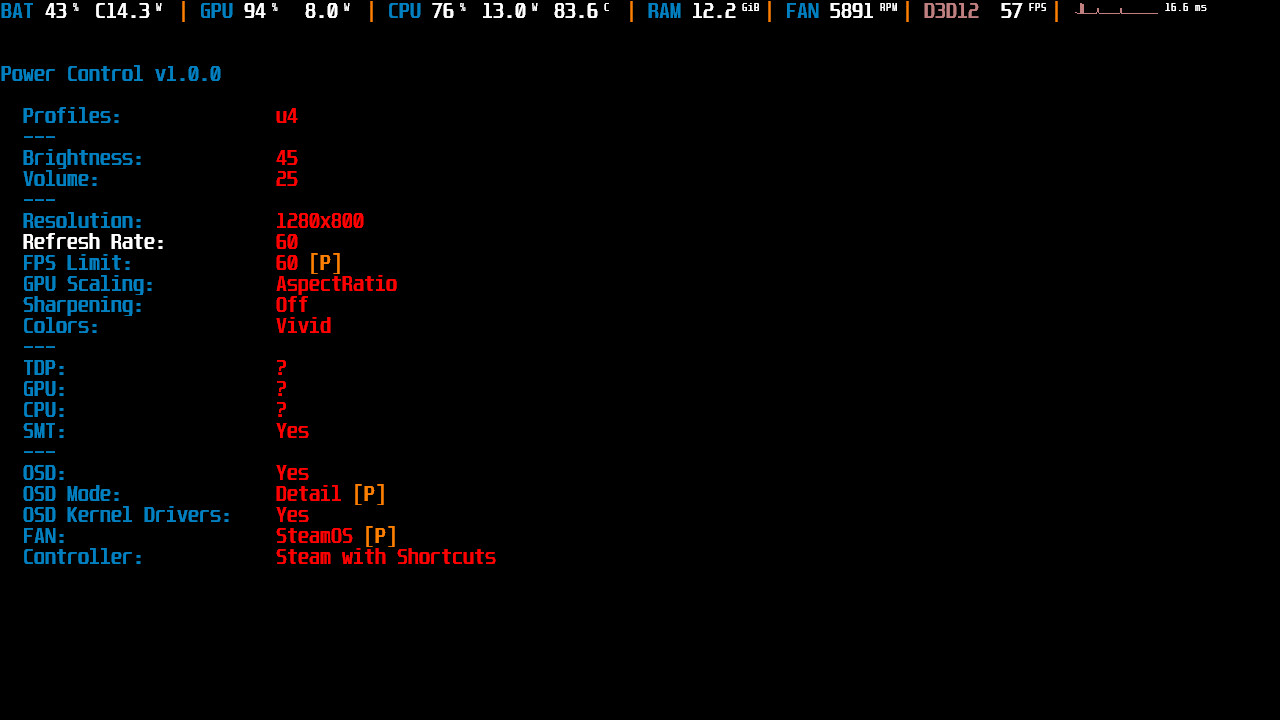
Headlined by Kamil Trzciński, also known as ayufan, the open-source (Windows) Steam Deck Tools (opens in new tab) project includes a collection of valuable extras to bring your external Windows drive almost on par with its native SteamOS. It contains an alternative to Valve’s performance overlay to show stats like battery life, power consumption, component usage and temperatures, and more.
Steam Deck Tools is particularly useful if you plan to play games from PC Game Pass since it enables full gamepad support with some helpful extra hotkeys. Power and fan control apps are also included, which can extend battery life by throttling the internal components for less demanding games. Highly recommended.
You can download the latest version from GitHub and see a complete list of applications and conditions for running the tools.
UWPHook
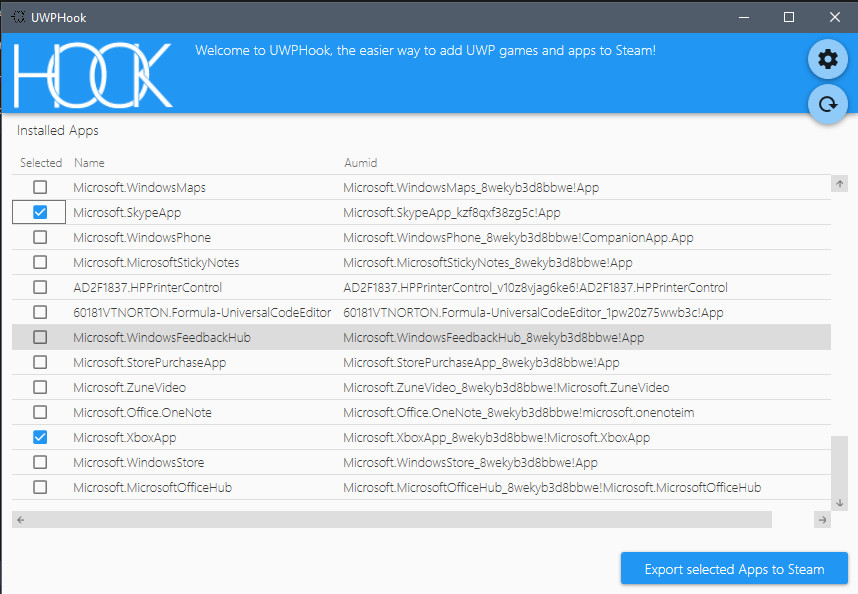
It might seem minor, but UWPHook (opens in new tab) offers the invaluable ability to add games from the Microsoft or Xbox Store to the desktop Steam app. If you install any UWP games, you can find them in UWPHook and export them to Steam.
Controller support isn’t guaranteed, but developer Brian Lima reports some users found success with the desktop mode if Big Picture mode doesn’t do the trick. Alternatively, the official UWPHook Reddit community (opens in new tab) is a good place for troubleshooting.
Download the latest version from the official UWPHook GitHub page (opens in new tab) and check out the latest bug fixes.
More resources
For more helpful articles, coverage, and answers to common questions about Steam Deck and Windows 11, visit the following resources:
