
- Windows 11 Hyper-V is great because it creates virtual machines in an individual environment without affecting your main workspace.
- If you wonder how to install it, the Control Panel will be the easiest method, but there are other useful ways as well.
- Running a specific command with Command Prompt will also enable Hyper-V in Windows 11.

Microsoft Hyper-V is a hypervisor software that allows you to create and run virtual machines on your computer. VMs let you create independent instances of an OS that don’t affect your host PC.
It is also used for running non-Windows OSs on a computer without installing the respective systems or to test the same software solution on multiple operating systems.
Of course, there are plenty of options for virtualization software, but being native to Windows, Hyper-V is ideal for your Windows 11 operating system.
Hyper-V hardware requirements
As you probably anticipated, enabling and running Hyper-V in Windows 11 will also require minimum hardware specifications. Take a look at the list below and discover them:
- A 64-bit processor with second-level address translation (SLAT) – SLAT represents a technology used by Hyper-V whenever it is asked to retrieve data or instructions. In other words, it translates a virtual address to a corresponding physical address, which saves memory and reduces CPU time.
- VM Monitor Mode Extensions
- At least 4 GB of RAM – Of course, more memory will result a better running.
- Virtualization support turned on in the BIOS (Basic Input/Output System) or UEFI (Unified Extensible Firmware Interface)
Some of these aspects coincide with the official Windows 11 specifications so make sure you check them to build a complete related perspective.
How can I install Hyper-V in Windows 11?
1. Use the Control Panel
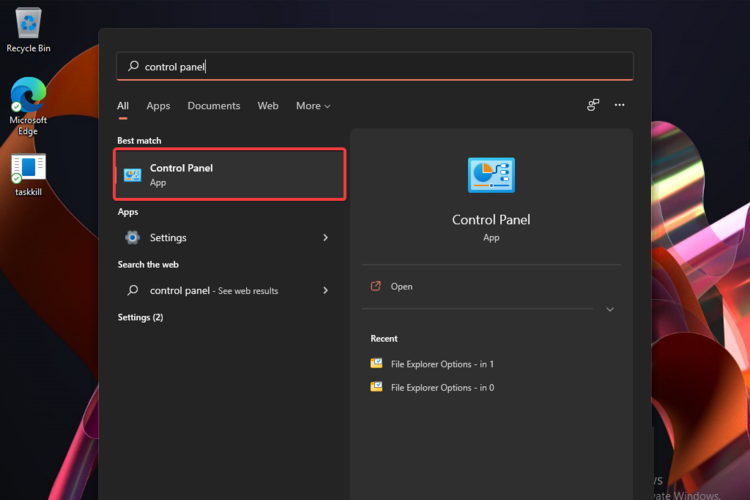
- Hit the Windows key, then type Control Panel, and open it.
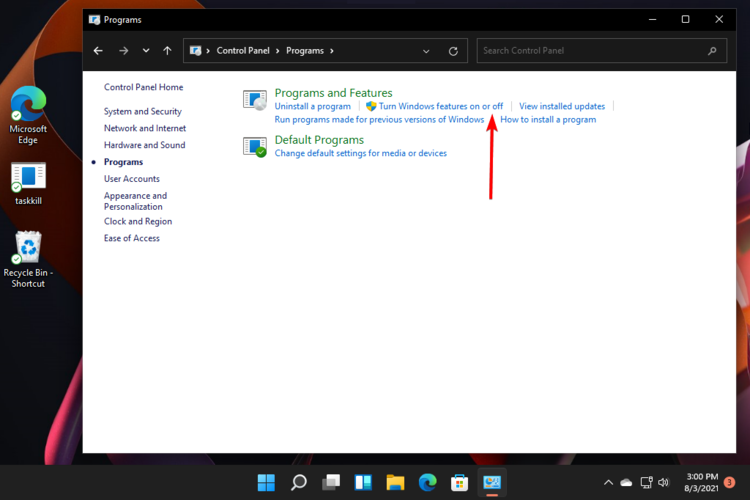
- Click on Programs.

- Select to Turn Windows features on or off.
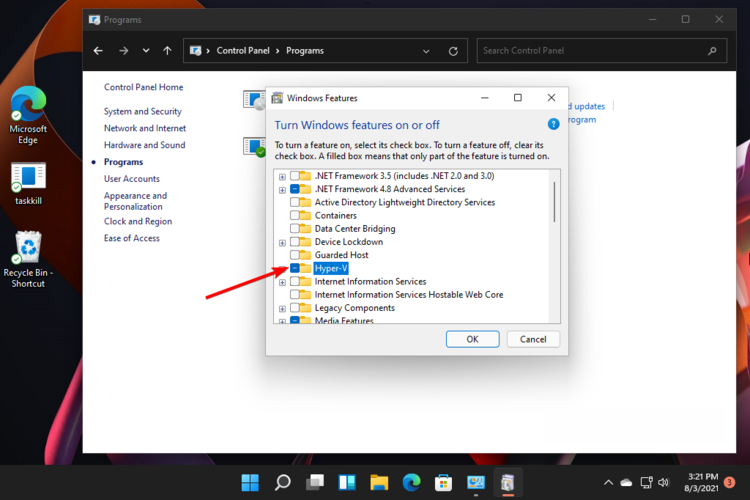
- Checkmark the Hyper-V option.
- Expand it, then make sure both options are checkmarked (If for some reason the second one can’t be selected as in the picture below, you’ll most likely need to enable hardware virtualization in your BIOS).
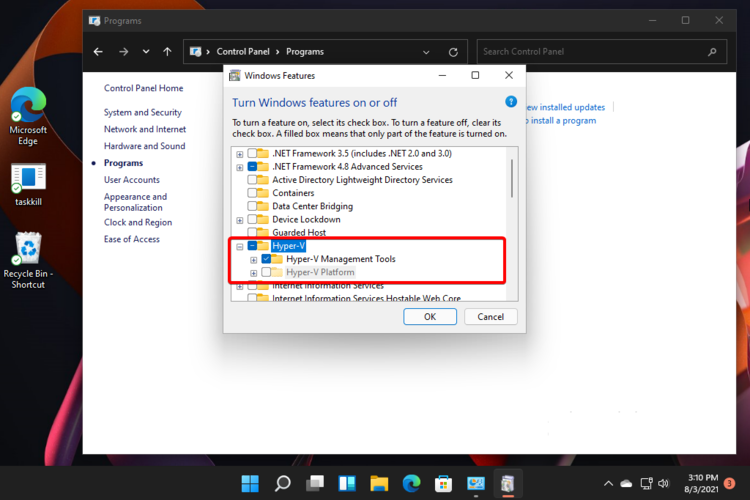
- Click on OK.
- You’ll have to reboot your PC, so click on the Restart now button.
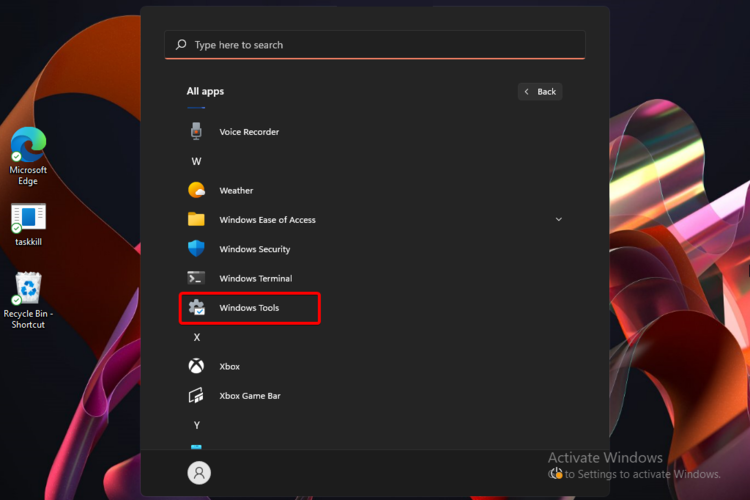
- Press on the Windows key, the click on All apps.

- Look for Windows Tools, then select it.
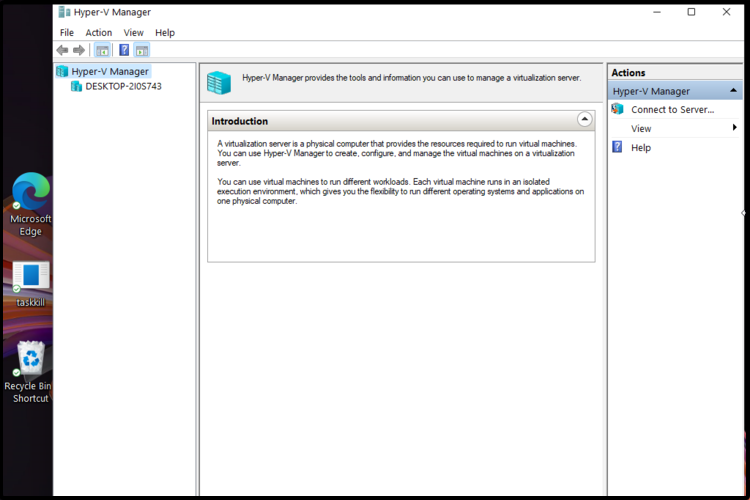
- Search for Hyper-V Manager, then double-click on it.

- Now you’ll be able to use a virtual machine, as needed.
2. Use Command Prompt
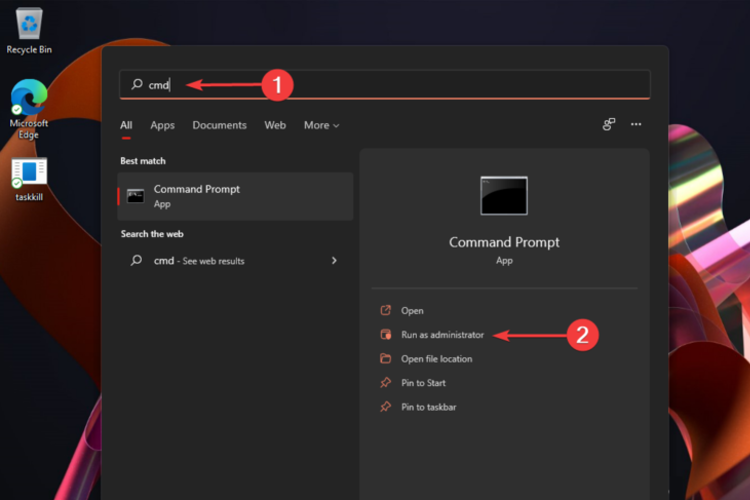
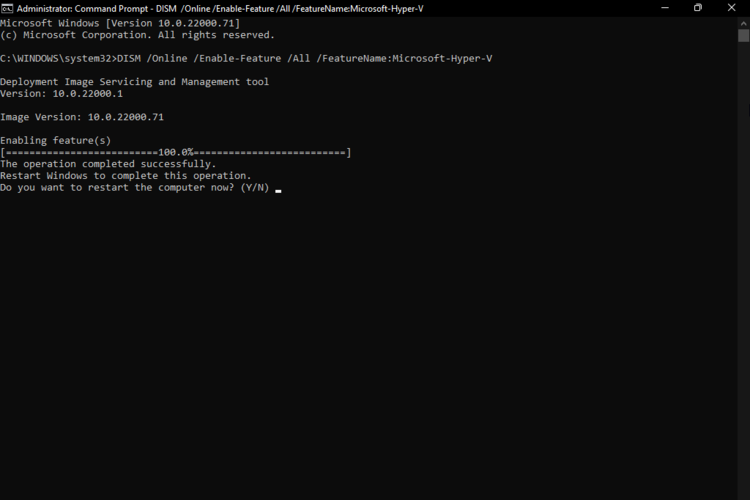
- Hit the Windows key, then type cmd, and select to Run as administrator.
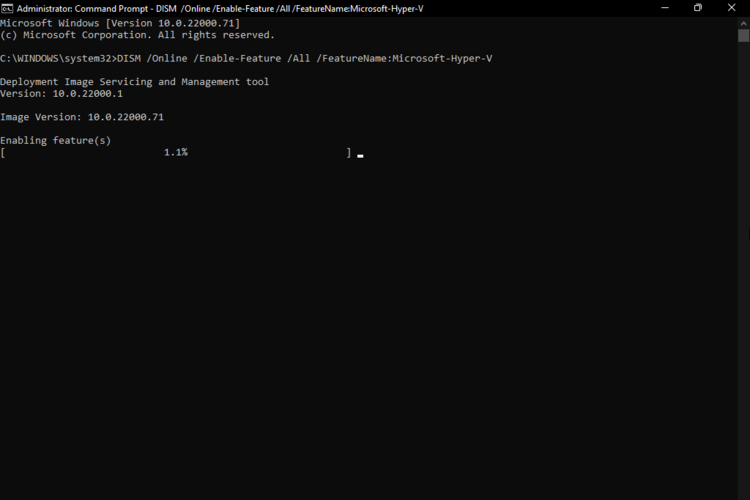
- Type the following command, then press on Enter:
DISM /Online /Enable-Feature /All /FeatureName:Microsoft-Hyper-V - The process will start to enable the Hyper-V feature and the status for it will be displayed in Command Prompt screen.
- Once the operation is successfully completed, you will be asked to restart the Windows. To do it, just press the Y key.
- After your computer, you will find that Hyper-V has been enabled and can be accessed.
3. Use PowerShell
- Hit the Windows key, then type PowerShell, right-click on it, and select to Run as administrator.

- Type the following command, then press on Enter:
Enable-WindowsOptionalFeature -Online -FeatureName Microsoft-Hyper-V -All - Your OS will restart the process to enable the Hyper-V feature.
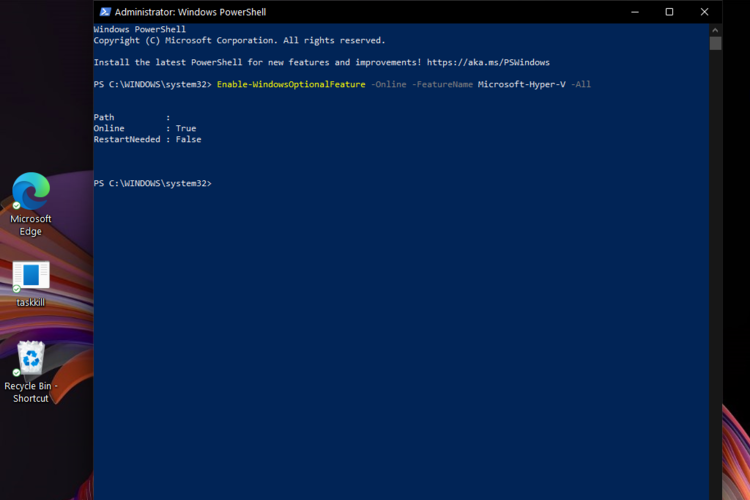
- Once the Hyper-V feature has been enabled, you will be asked to restart your PC. As in the Command Prompt option, press Y key to do it.

NOTE
Since your OS will install both necessary files and apps, keep in mind that the restart will take more time than usual.
How can Windows 11 Hyper-V help me?
If you think about installing Hyper-V in Windows 11, there are some interesting aspects you should consider. However, if you don’t have a clear reason to try it, the following list will offer a better perspective.
➡ Develops and tests apps, OSs and upgrades
As mentioned before, Hyper-V allows you to easily create VMs, which remain separate from the rest of your system. Thus, it becomes the perfect environment for testing new apps.
You can also build a virtual lab to experiment with different operating systems. In these terms, you’ll be able to see how programs act, without using more than one device. When your experimenting is finished, you can simply delete the VM.
➡ Scales your IT infrastructure to accommodate larger workloads
VMs are much easier to manage than physical hardware, and they also do not require acquisitions costs. You can maximize your server use by allocating its resources more effectively than with physical hardware alone.
➡ Improves business continuity
By creating VMS with Hyper-V you can reduce server downtime. And why is that? Because running workloads can be easily backed up and moved to another server without interruption.
Also, note that they can be automatically configured to restart those VMs affected by server failures.
➡ Saves or migrates data from a legacy system
Last, but not least, we can talk about saving and migrating data from a legacy system. Many companies maintain servers that support out-of-date hardware or software solutions because they want to preserve data.
Migrating business apps and content to a virtual machine frees up plenty of resources.
As you can see, some easy ways will support you in installing Windows 11 Hyper-V. We strongly recommend using them to get the best out of this Microsoft feature.
However, if you didn’t get the chance to try the latest OS versions, you can find out how to run Windows 11 on VM and test it to its limits.
Considering Windows 11 supports similar apps as the previous OS model, you can also explore alternative virtual machines for Windows 10.
For any other questions or opinions regarding this subject, feel free to leave a comment in the section below.
Start a conversation