
You may need to perform a system restore to get the settings back
Claire likes to think she’s got a knack for solving problems and improving the quality of life for those around her. Driven by the forces of rationality, curiosity,… read more
Published on
Alex Serban
After moving away from the corporate work-style, Alex has found rewards in a lifestyle of constant analysis, team coordination and pestering his colleagues. Holding an MCSA Windows Server… read more
- Windows 11 has a unique way of recovering from crashes and issues. You can use the Advanced options settings to troubleshoot such issues.
- However, these settings may sometimes be unavailable, especially if something went wrong with the installation of your OS.
- If this is the case, you may need a fresh install to recover the missing settings.

XINSTALL BY CLICKING THE DOWNLOAD FILE
Windows 11 has several options available to recover your Windows PC. But what happens when the advanced options settings are missing? You may have tried to recover your PC using the built-in recovery tools, but they don’t seem to be available.
Although there are various ways to enter Windows Recovery mode, when there are no advanced options where other apps and features are in Windows 11, it can be frustrating. So, if this option is missing in your Windows 11, we show you how to restore them.
Why are my Windows Recovery options not showing?
The Windows Recovery Environment provides a way to recover your PC from a problem. It’s designed for advanced users and provides access to the tools used to create recovery media and perform advanced recovery tasks.
In Windows 11, you can find these settings under Recovery as Advance startup options. If they’re mysteriously missing, below are some reasons:
- Resetting gone wrong – This can happen if you installed a new operating system and had problems, or if Windows has become unresponsive or hangs on startup.
- The recovery partition is broken – This can happen if the hard drive has been badly damaged by a virus or other software that has affected the operating system.
- Corrupt program – The windows recovery options may be missing because you have installed untrusted third-party software on your computer.
- Hardware change – Windows may fail to start after a hardware change, such as the motherboard or other hardware components. Some settings, such as the recovery options, may also not appear.
- Unlicensed OS – If you’re running an unofficial version of Windows or your product key isn’t working, some settings may be missing from your system.
- Missing updates – If you can’t locate your advanced options, your PC may be missing some important update files required for the environment.
- Corrupt updates – It is also possible that a recent update on your PC was corrupt which caused the advanced options to go missing in Windows 11.
How do I fix Windows Advanced Options missing in Windows 11?
We recommend you try the following basic steps before any advanced troubleshooting:
1. Run DISM and SFC scans
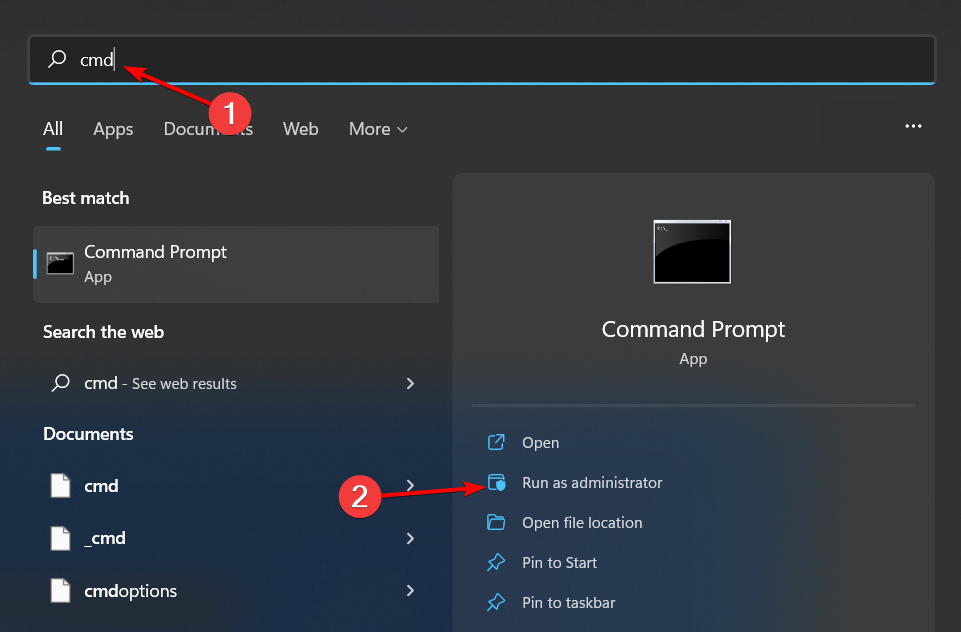
- Hit the Windows key, type cmd in the search bar, and click Run as administrator.
- Type the following commands and press Enter after each one:
DISM.exe /Online /Cleanup-Image /Restorehealthsfc /scannow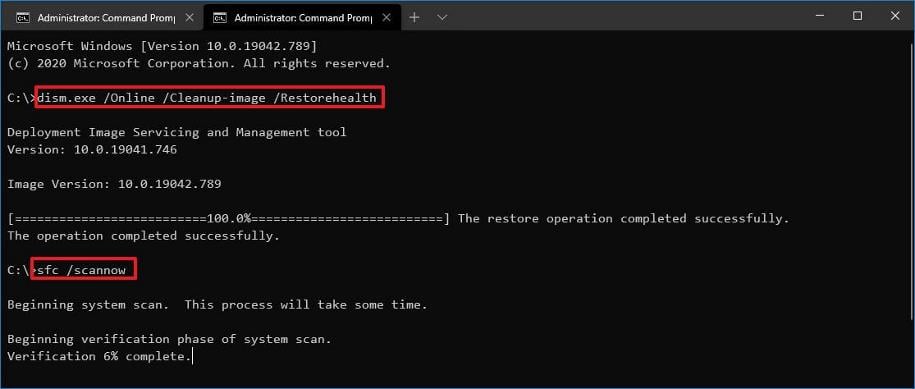
- Restart your PC.
2. Run a virus scan
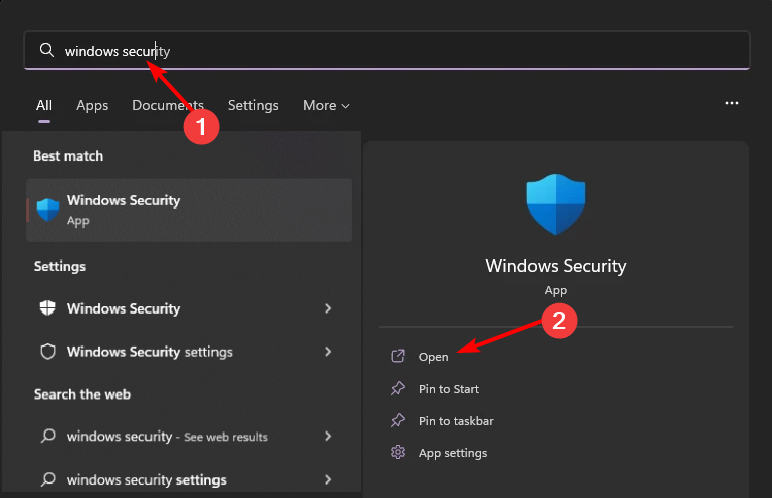
- Press the Windows key, search Windows Security, and click Open.
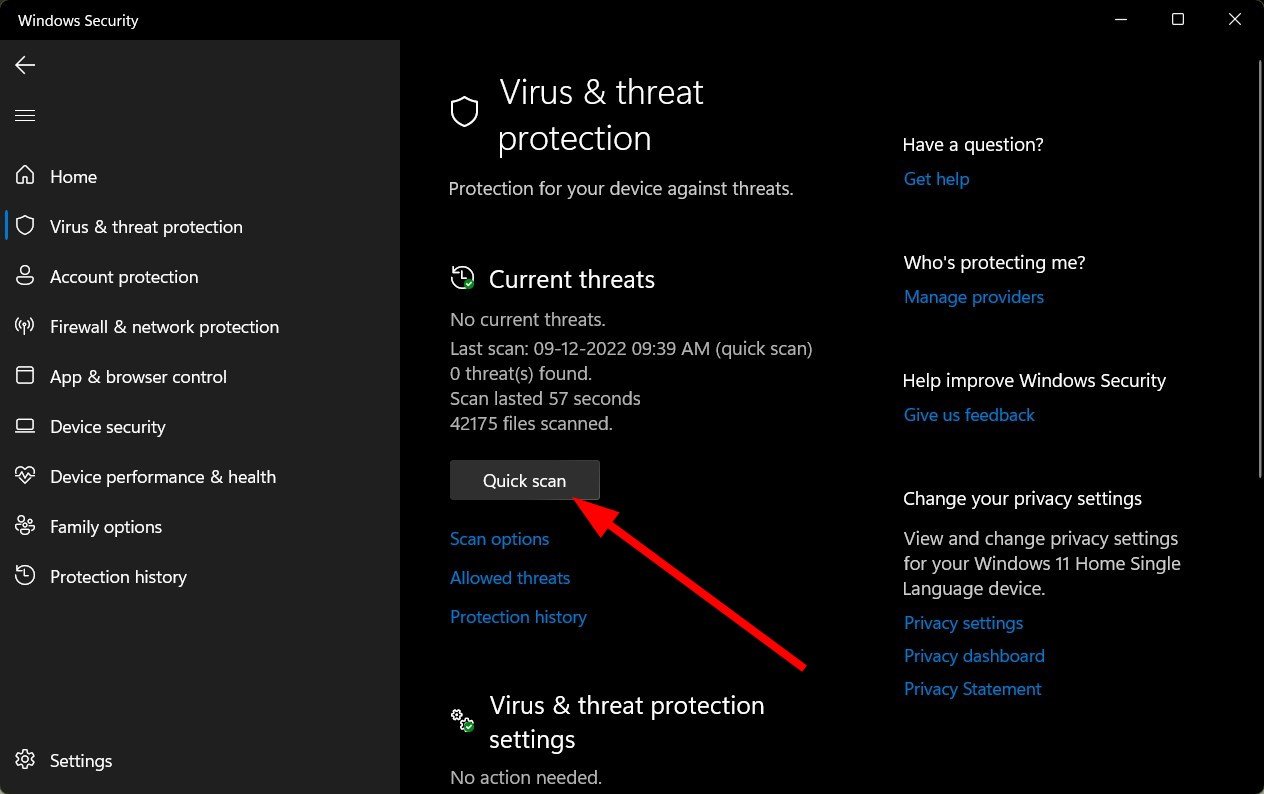
- Select Virus & threat protection.
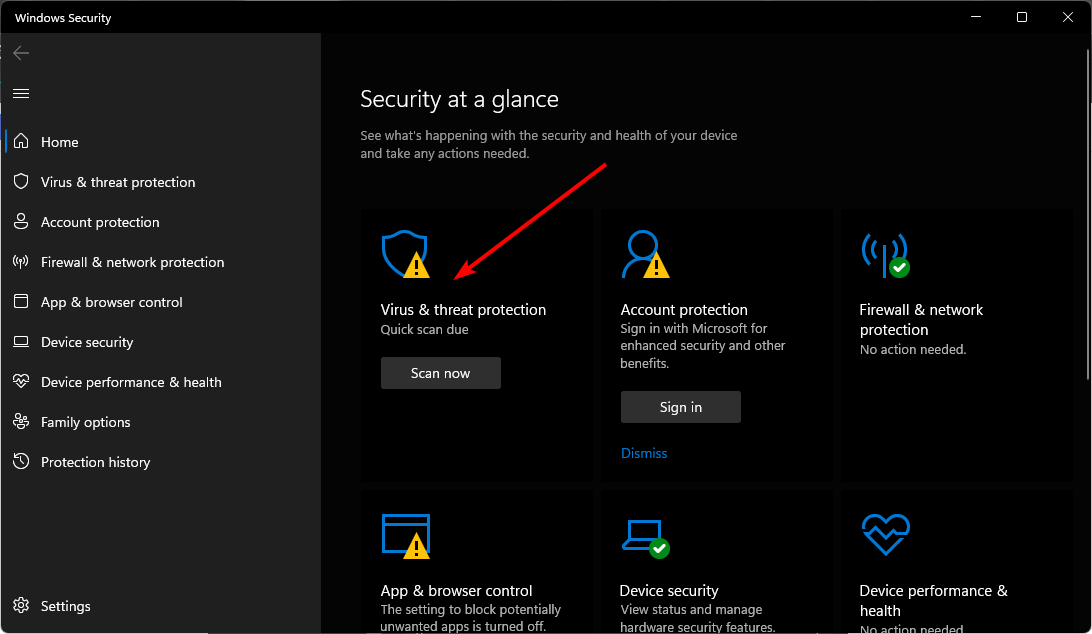
- Next, press Quick scan under Current threats.
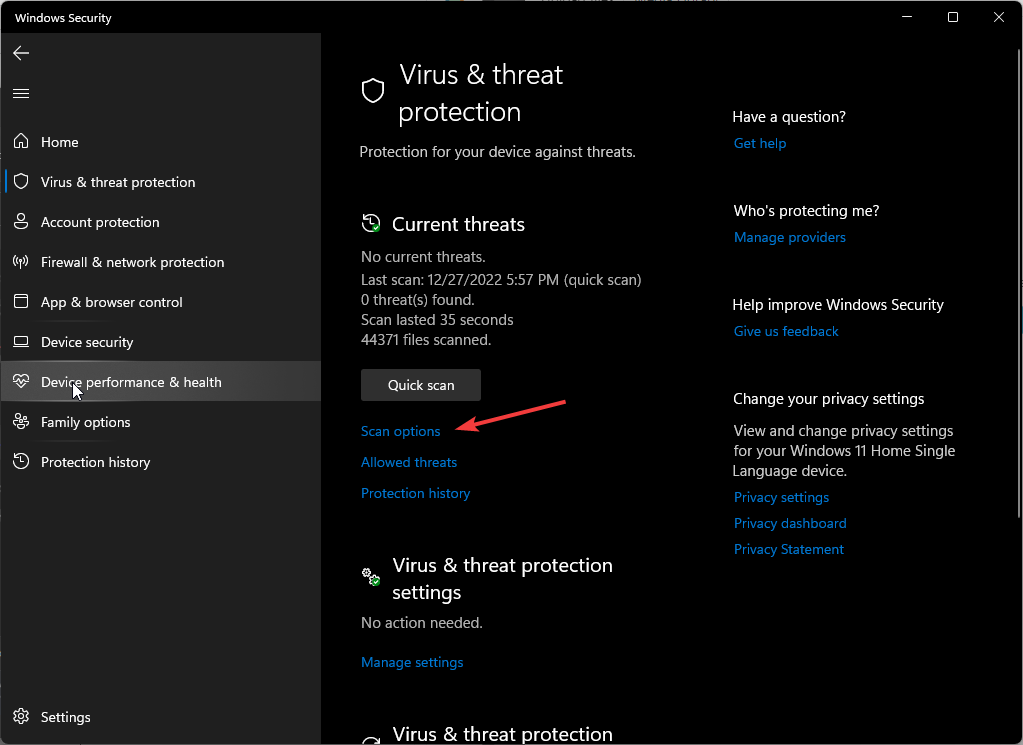
- If you don’t find any threats, proceed to perform a full scan by clicking on Scan options just below Quick scan.
- Click on Full scan to perform a deep scan of your PC.
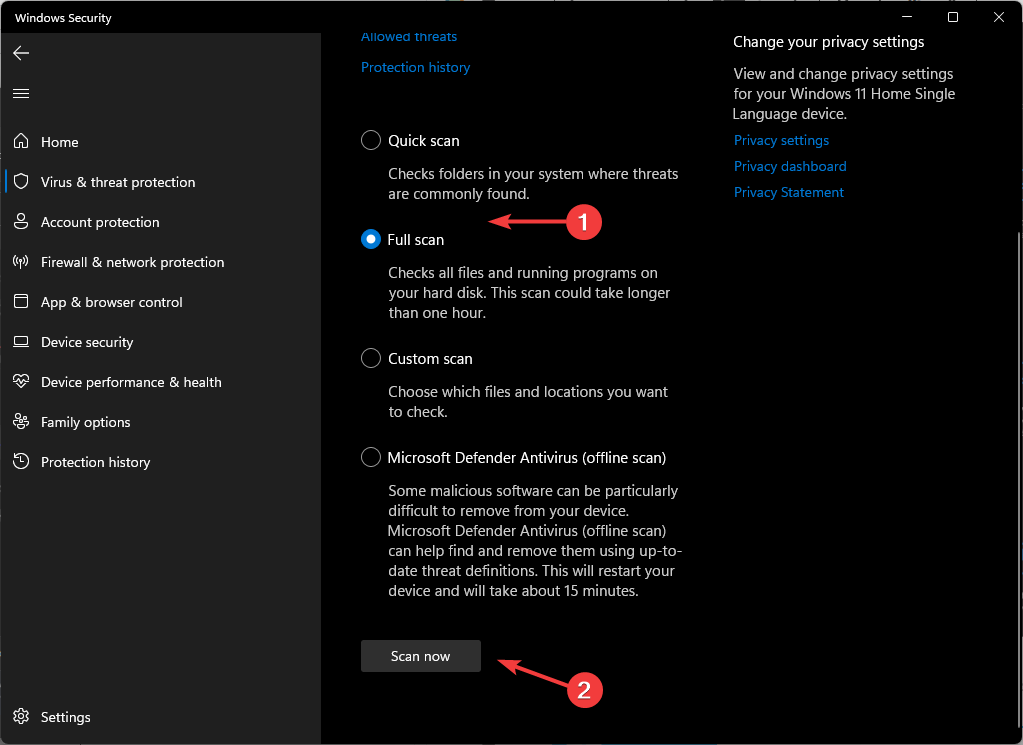
- Wait for the process to finish and restart your system.
Moreover, you can try dedicated antivirus software to maximize your computer’s privacy and security with multi-layered protection features against all types of cyber threats.
ESET Internet Security is one of the most reliable choices because it has outstanding antivirus technology with proactive protection, including sensitive data encryption, anti-theft and anti-phishing protection, and many others.

ESET Internet Security
Keep your computer safe and secure all the time with ESET Internet Security.
3. Uninstall recent Windows updates
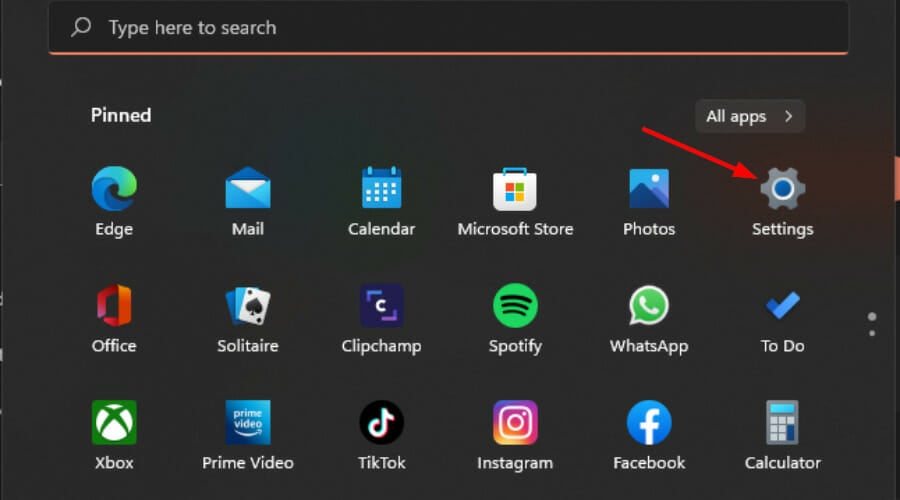
- Hit the Windows key and select Settings.
- Click on Windows Update and select Update history on the right pane.
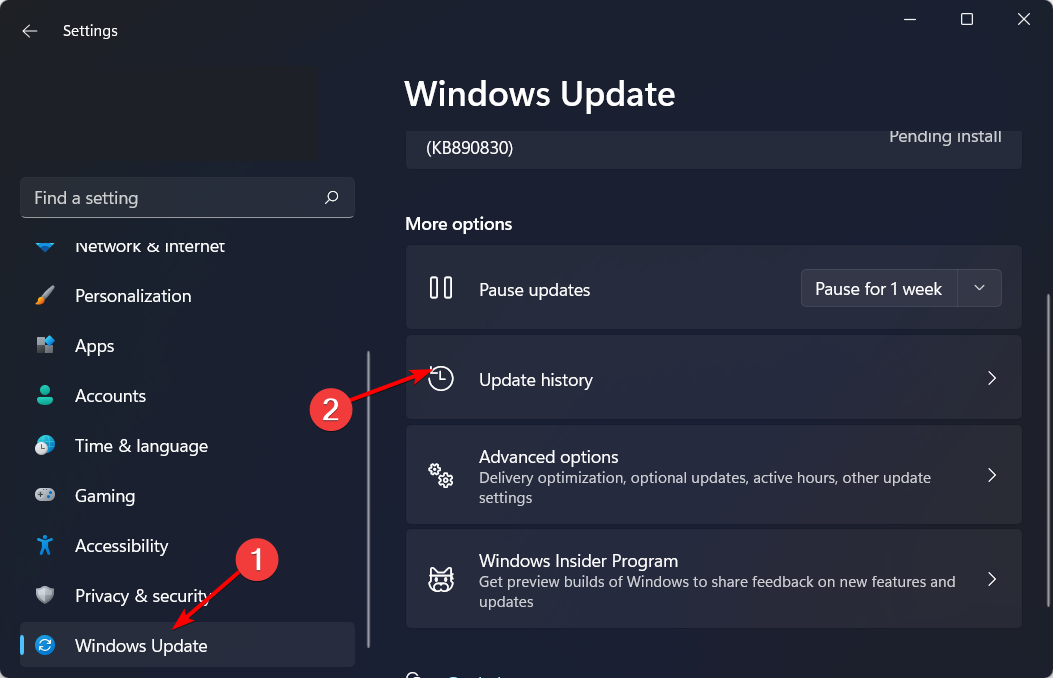
- Scroll down and under Related settings, click on Uninstall updates.
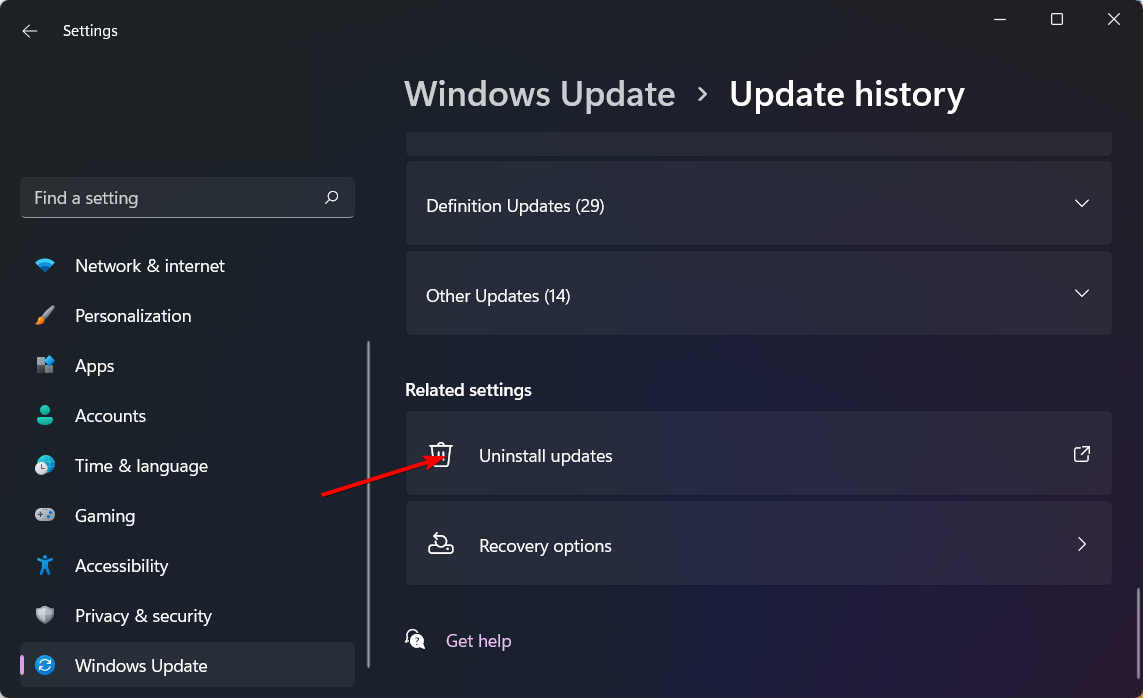
- This will take you to the most recent installed updates.
- Select the topmost update and click on Uninstall.
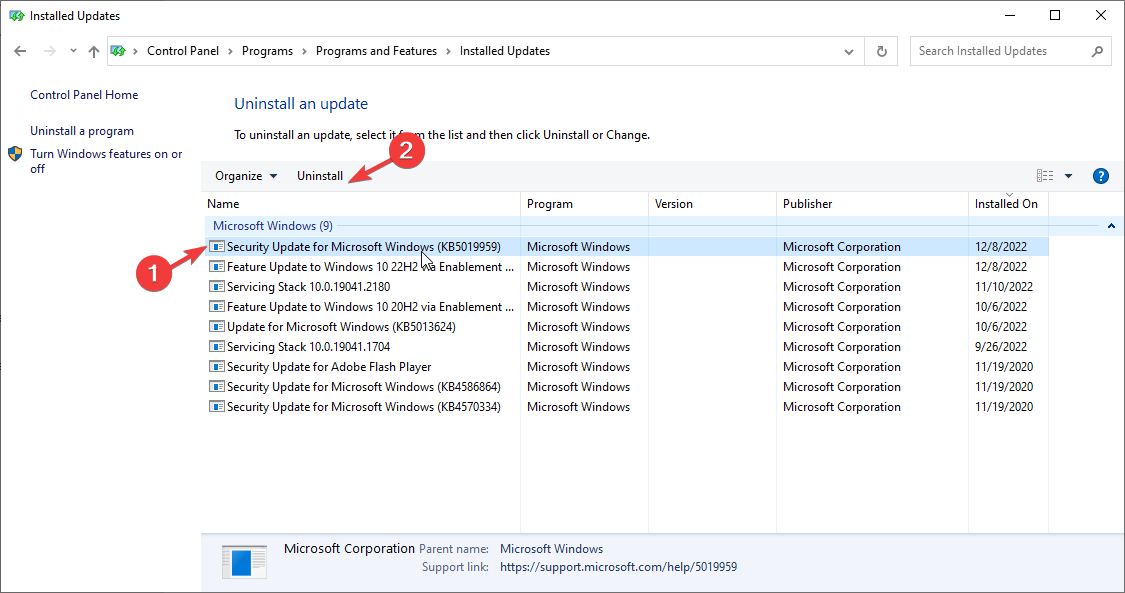
- Restart your PC and check if the problem persists.
4. Check for Windows updates
- Hit the Windows key and click on Settings.
- Select Windows Update and click on Check for updates.
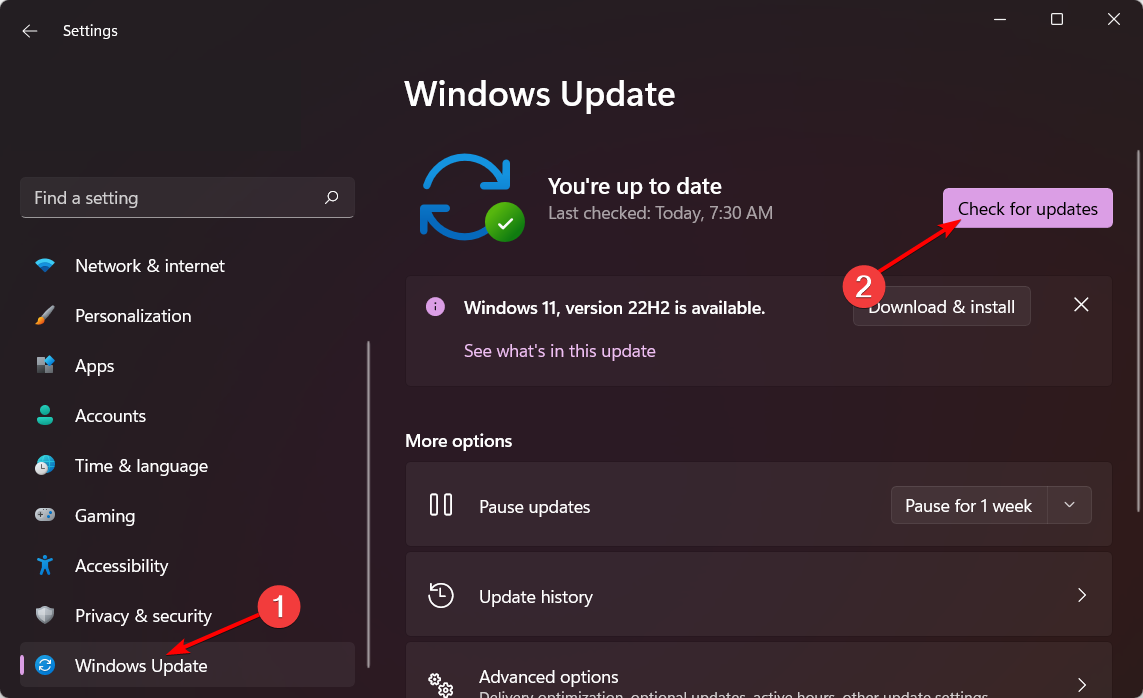
- Download and install if available.
5. Run the System Maintenance troubleshooter
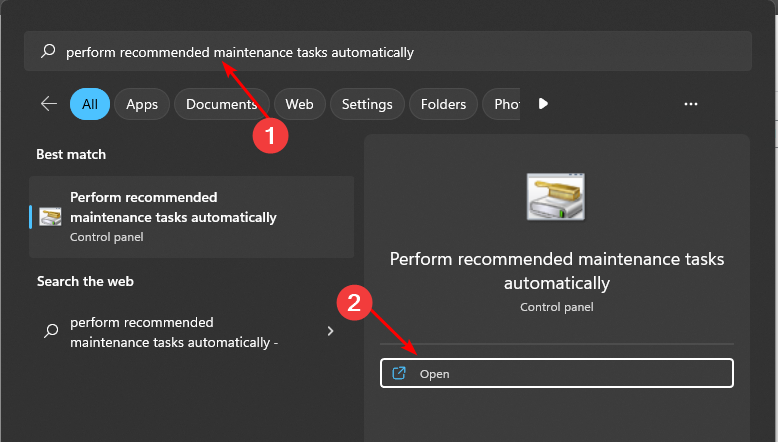
- Search for Perform recommended maintenance tasks automatically and open the app.
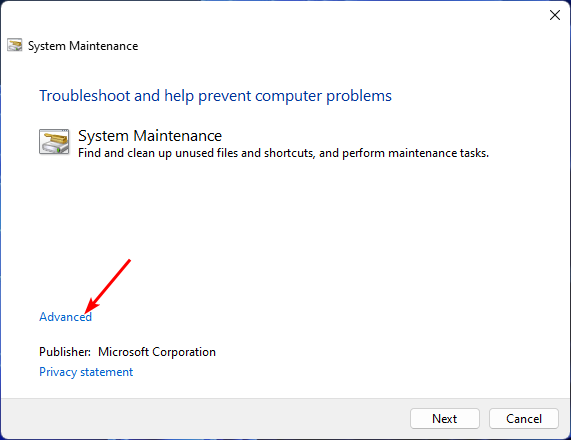
- Click on Advanced.
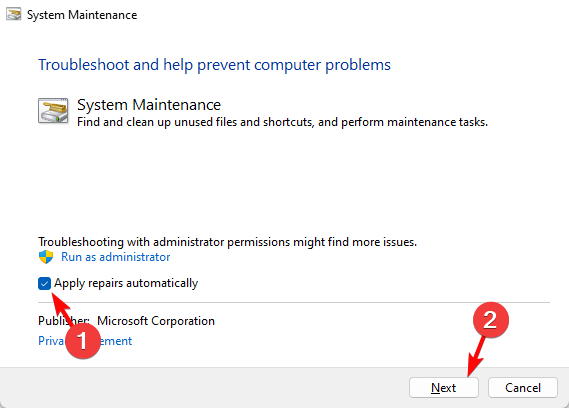
- Select Apply repairs automatically, then click on Next.
If you have installed any updates and your system is not working properly, you can use the System Maintenance troubleshooter. This tool performs several tasks that optimize your computer’s performance.
You can use this tool to run through the system maintenance checklist and see whether there are any issues with Windows, such as missing drivers or a virus scan that needs to be run.
6. Perform a system restore
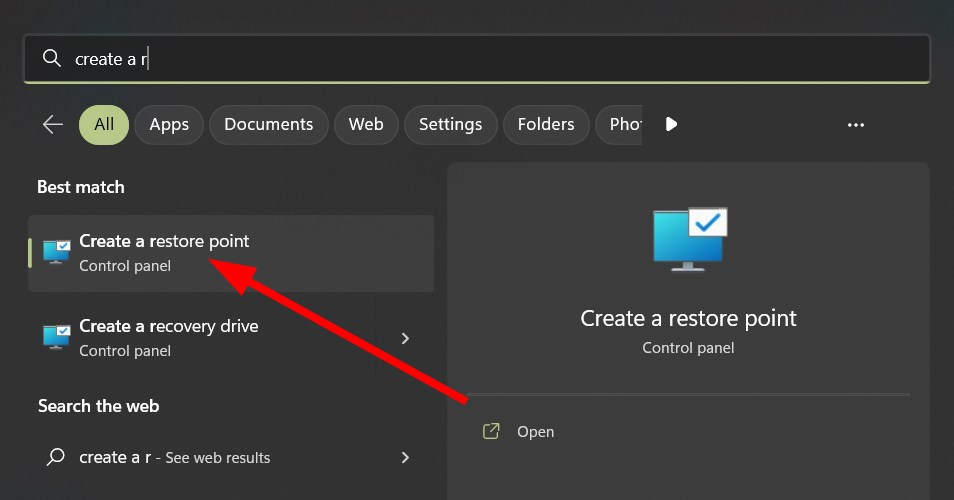
- Click the Search icon, type Create restore point and click Open.
- Select the drive you wish to enable system restore for and click on Configure.
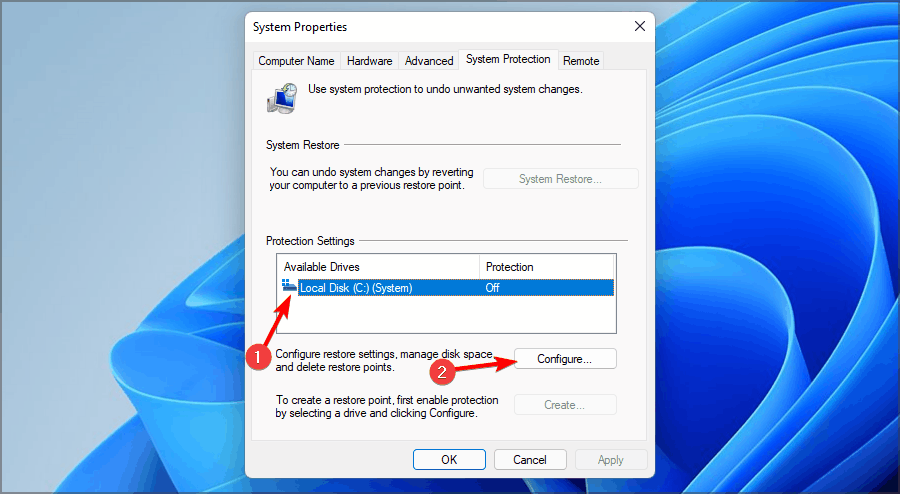
- Now select Turn on system protection. Set the Max Usage value and click on Apply and OK to save changes.

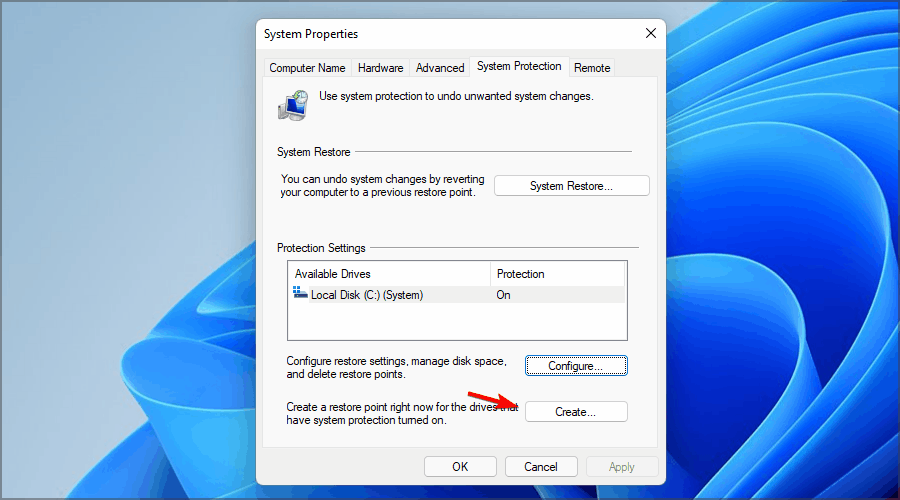
- Go back and repeat step 1.
- When the System Properties window opens, click on Create.
- Enter the desired name for the restore point and then click the Create button.
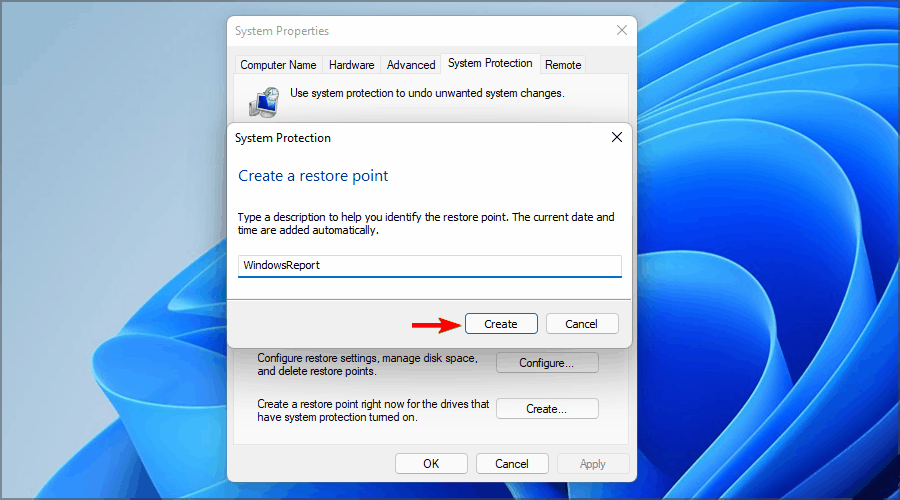
- Wait while Windows creates the restore point.
- Press the Windows + R keys, type rstrui, and hit Enter.
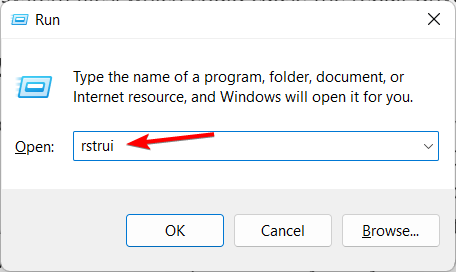
- Select the restore point you wish to revert to and click on Next.
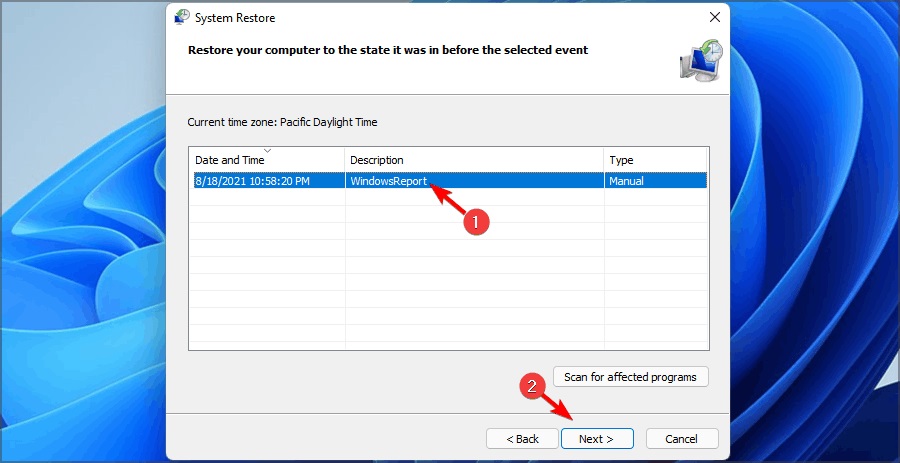
- Now click on Finish.
7. Reset your PC
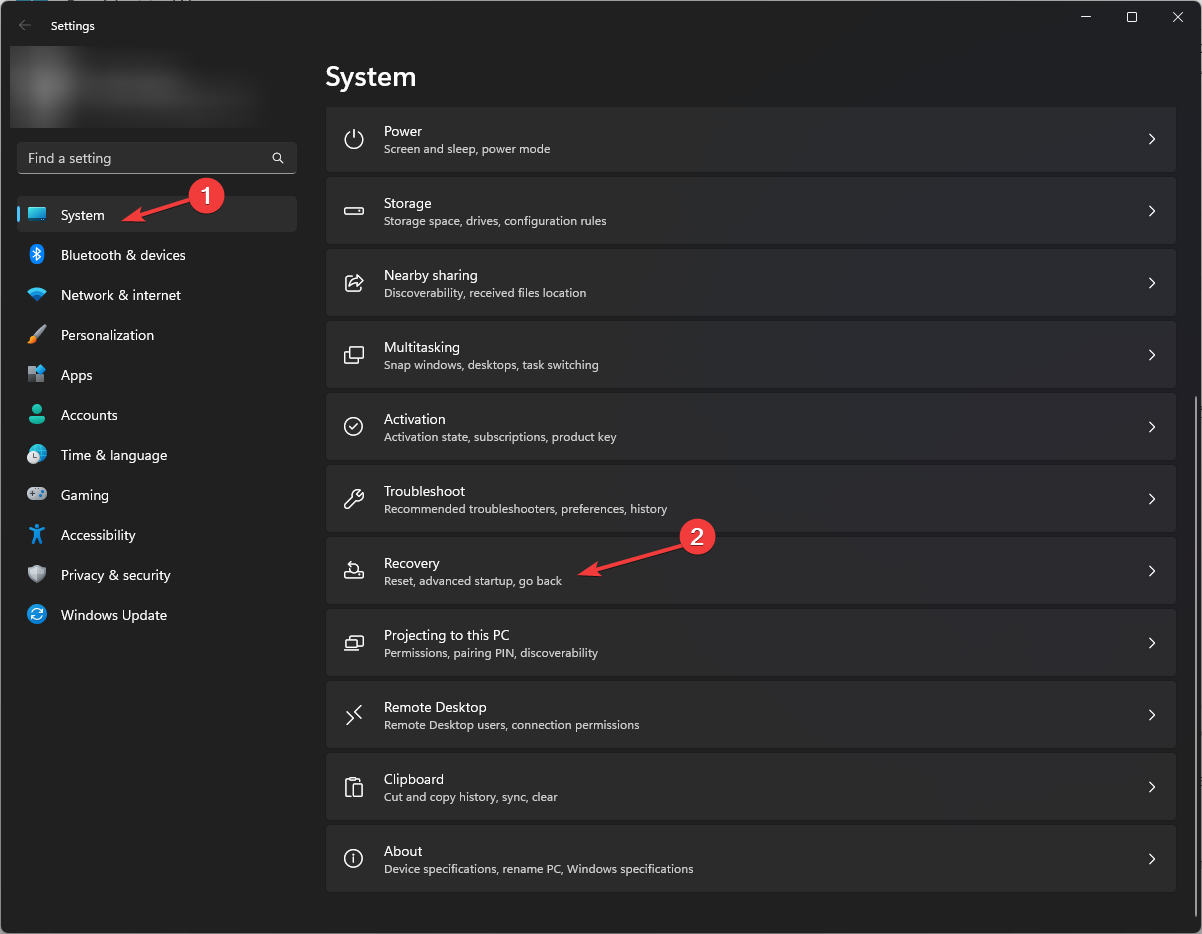
- Hit the Windows key and select Settings.
- In the left window pane, select System, then click on Recovery on the right pane.
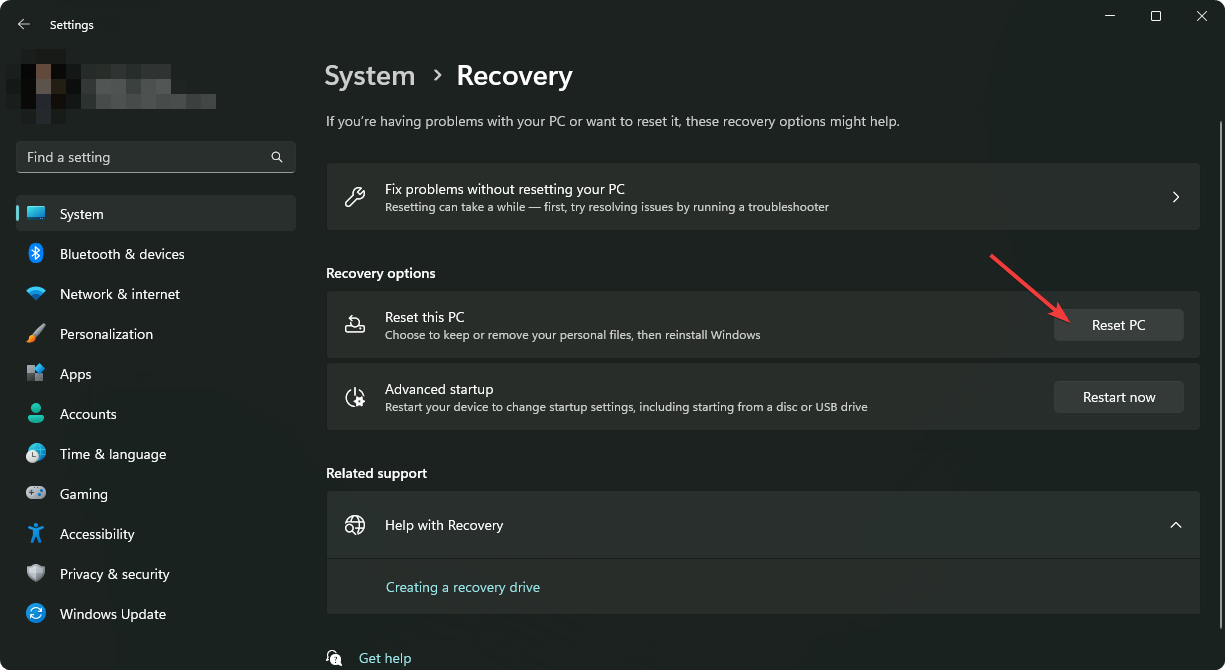
- Click on Reset PC from the right side.
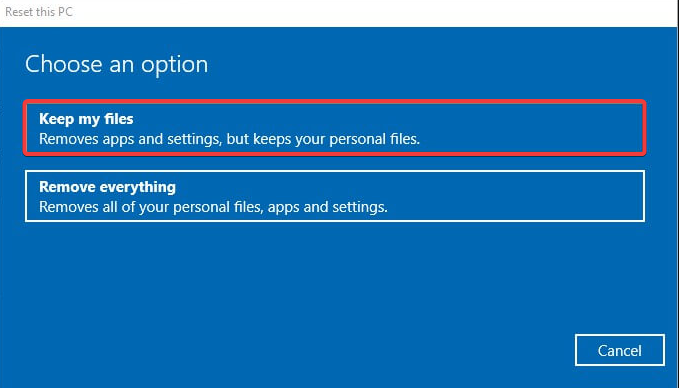
- Choose the type of factory reset you need. You can keep your files or completely delete all the files, apps, and settings on the PC.
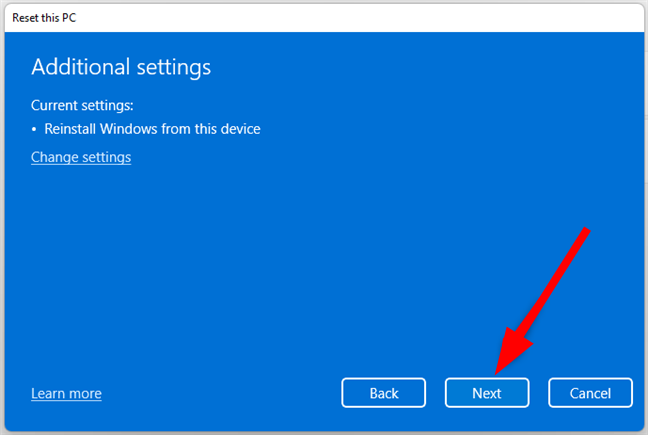
- Select the option you want to reinstall Windows: Cloud download or Local reinstall.
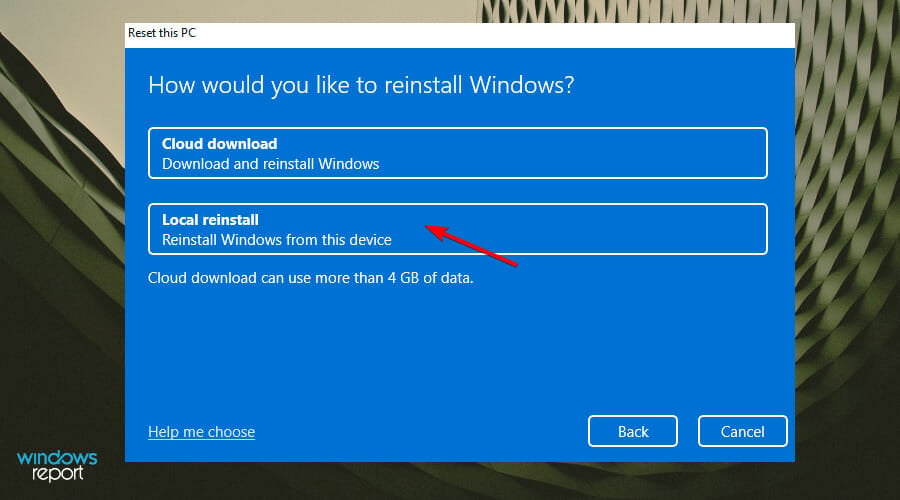
- Click on Next.
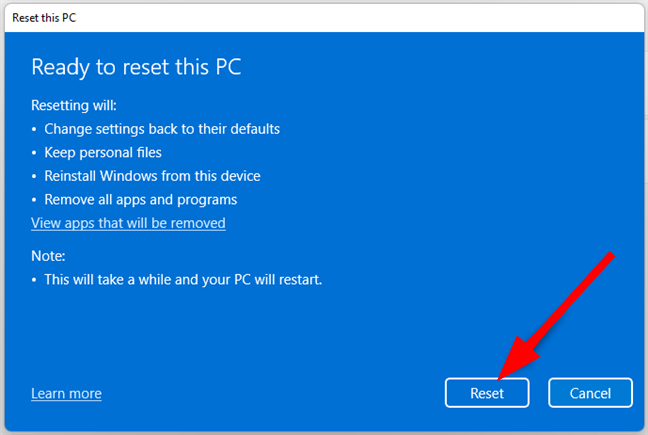
- Finally, press the Reset button.
Resetting your PC is a good option if you’re having problems with Windows. It just means that you’ll start from scratch, but it also means that you’ll have a clean install of Windows on your computer.
The advanced options are not the only ones that can do a disappearing act. Users also found that Windows 11 power plans were missing. If this sounds familiar, check out our guide for quick fixes.
Let us know if you can resolve this issue in the comment section below.
Still having issues? Fix them with this tool:
SPONSORED
If the advices above haven’t solved your issue, your PC may experience deeper Windows problems. We recommend downloading this PC Repair tool (rated Great on TrustPilot.com) to easily address them. After installation, simply click the Start Scan button and then press on Repair All.
Start a conversation