
- Users with insufficient disk space on their devices are more likely to encounter the error 0xc1900101 in Windows 11.
- This basically prevents you from properly upgrading your device.
- Removing all secondary devices and unplugging all cable cords from your PC are confirmed to often resolve the issue.
XINSTALL BY CLICKING THE DOWNLOAD FILE
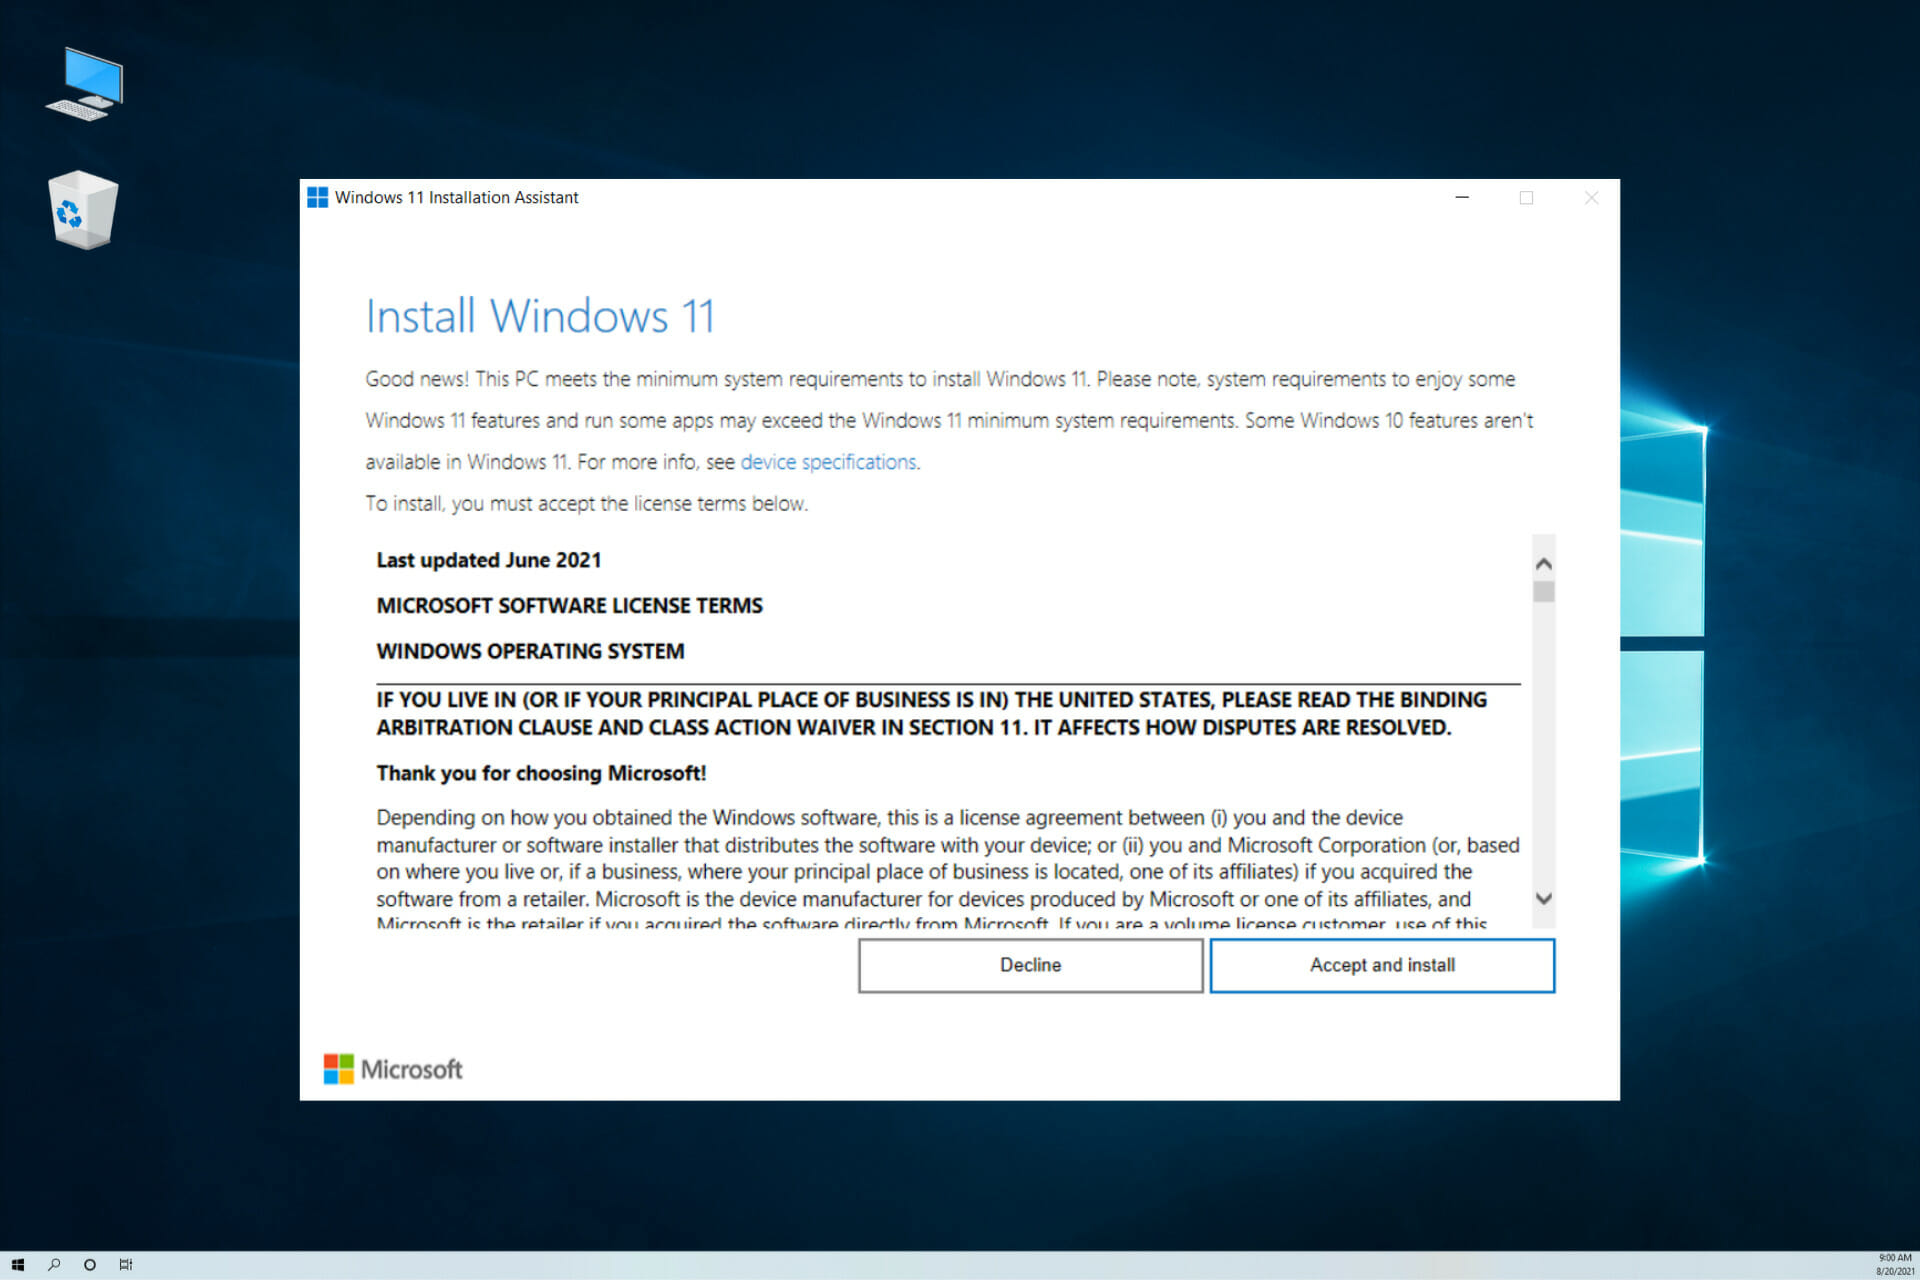
Our readers constantly encounter the 0xc1900101 error code while using the Windows 11 Installation assistant. This occurs when they try to upgrade to the new operating system or while performing a regular update on a Windows 11 device.
The 0xc1900101 error code is generic. There are actually a couple of reasons as to why it occurs including installing a third-party antivirus on your device or even having outdated BIOS firmware.
Most users have reported that the error code appears when they are in the process of installing Windows 11 on their devices. The error would then halt the process at a certain percentage.
It is worth noting that it will still occur regardless of the mode you are using to install Windows 11 on your device. For instance, the Media creation tool, ISO file, Windows Update, and Installation Assistant are all affected by the error code.
When the error code appears on your screen it will come with a prefix before it. Some of them include 0xc1900101 0x30018, 0xc1900101 0x20017, 0xc190010 –0x40021, 0xc1900101– 0x3001a, 0xc1900101 0x2000c and 0xC1900101– 0x4000D.
What does the 0xC1900101 error code mean?
When the error code appears on your screen, it is a clear indication that the core system files are either corrupted or broken.
The immediate action to take when such a situation presents itself would be to create a system restore point before trying to resolve the issue.
The error code will present itself in the following format on your screen:
The installation failed in the SAFE_OS phase with an error during INSTALL_RECOVERY_ENVIRONMENT operation.
What causes the 0xC1900101 error code in Windows 11?
If your device lacks sufficient disk space, then you are likely to encounter the error code on Windows 11. It may also appear on your screen if there is a problem inside SATA or BIOS.
Moreover, the bug is often related to outdated device drivers, corrupted system files, or problematic app installation.
Therefore, there are quite a large number of common causes of Blue Screen of Death errors. You should take good care of your device to avoid getting into such a situation.
However, the issue should not be a major concern as we have compiled a list of simple methods that you can use to get rid of this. Don’t fret!
How do I fix Windows 11’s 0xC1900101 installation error code?
1. Use the Windows Update Troubleshooter
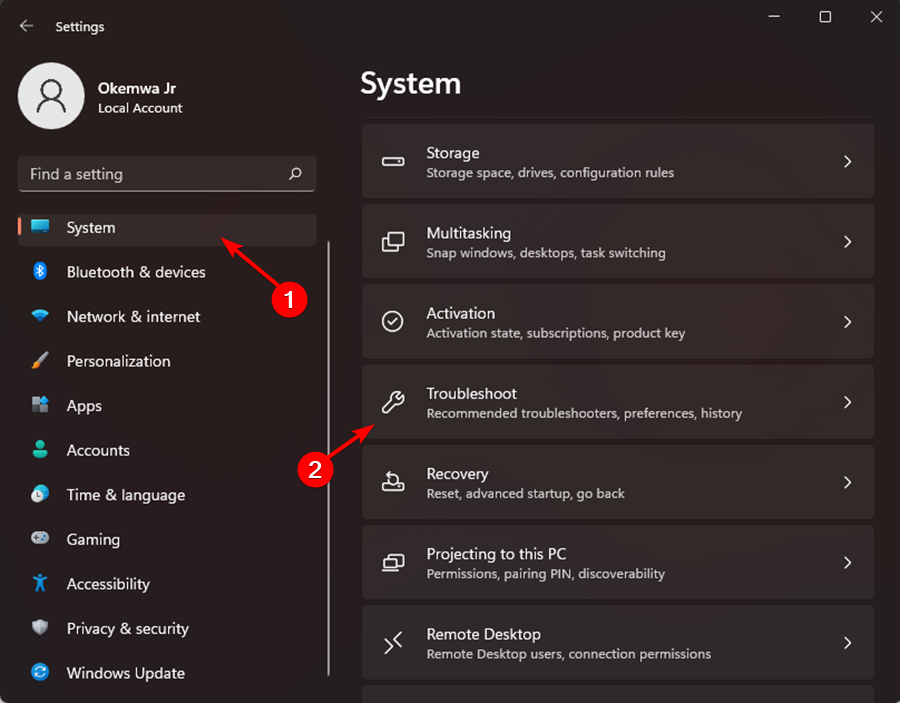
- Press Windows key + I key to open the Settings app.Then, select System and click on Troubleshoot on the left side of the window.
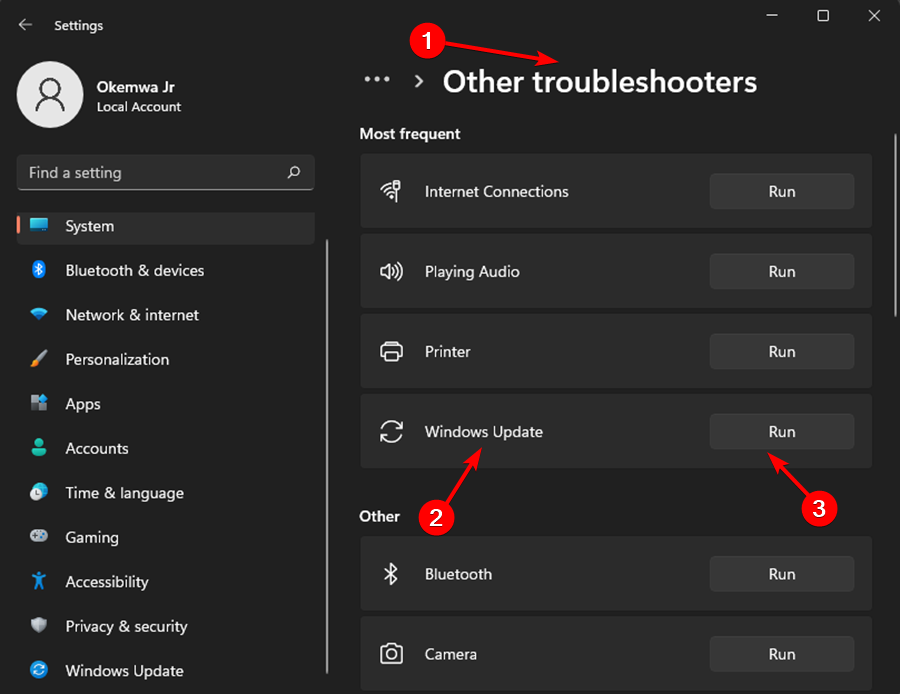
- On the right side, look for Other troubleshooters and click on it. Then, click on Windows Update and select the option Run the troubleshooter.
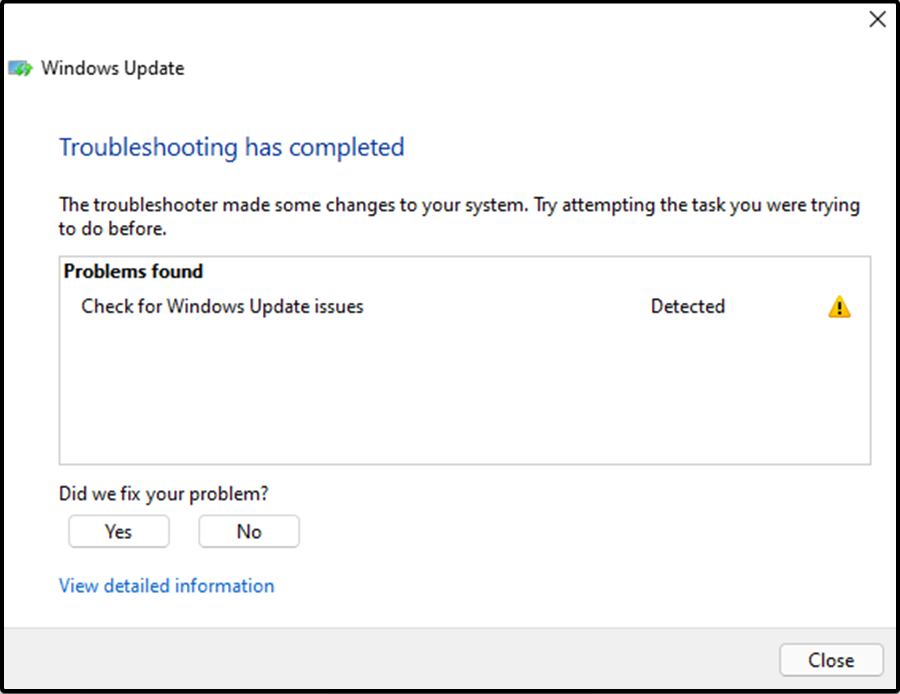
- The troubleshooter window will open. Wait for it to identify the problem that is preventing you from making the update.
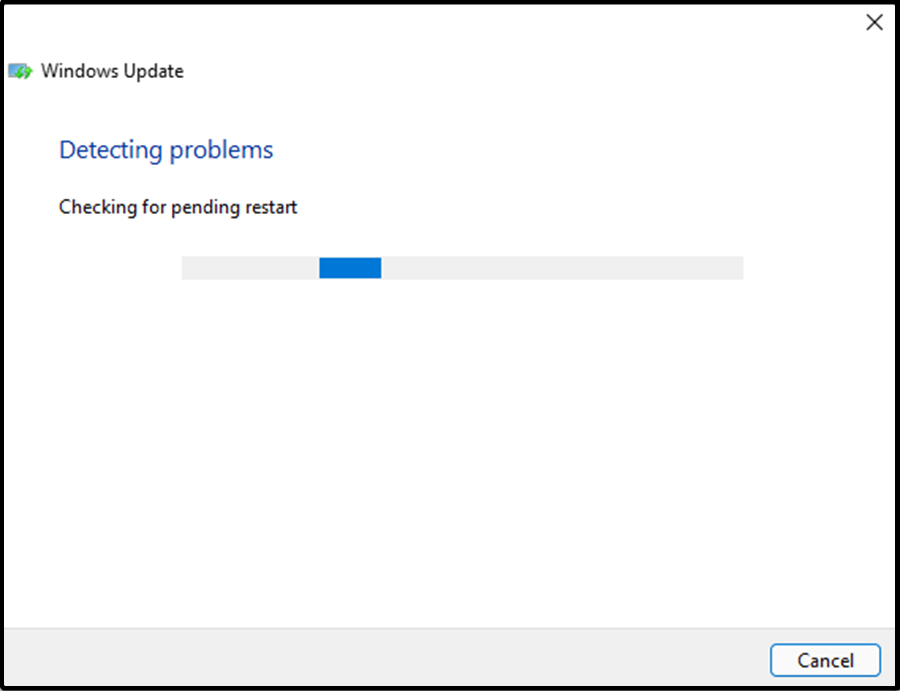
- A window will pop up highlighting the issues and also indicating whether the problem has been resolved.
- Then, restart your device and check if the error has been resolved.
This is the best and easiest method that you can use to find out the reason preventing you from making the new operating system installation or up-gradation on your device.
2. Clean up disk
- Press Windows key + S key to immediately open the search bar, then type the following code and press Enter:
cleanmgr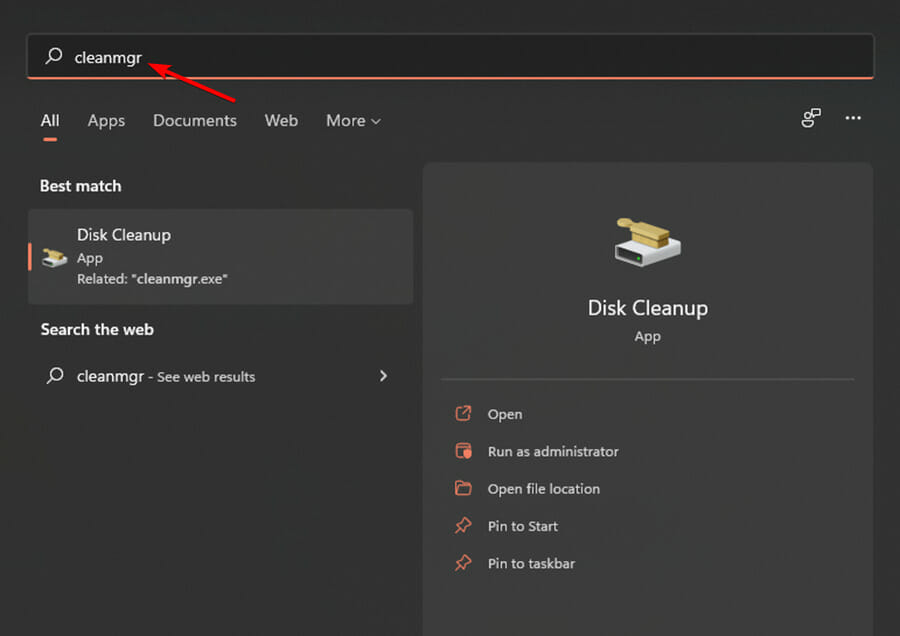
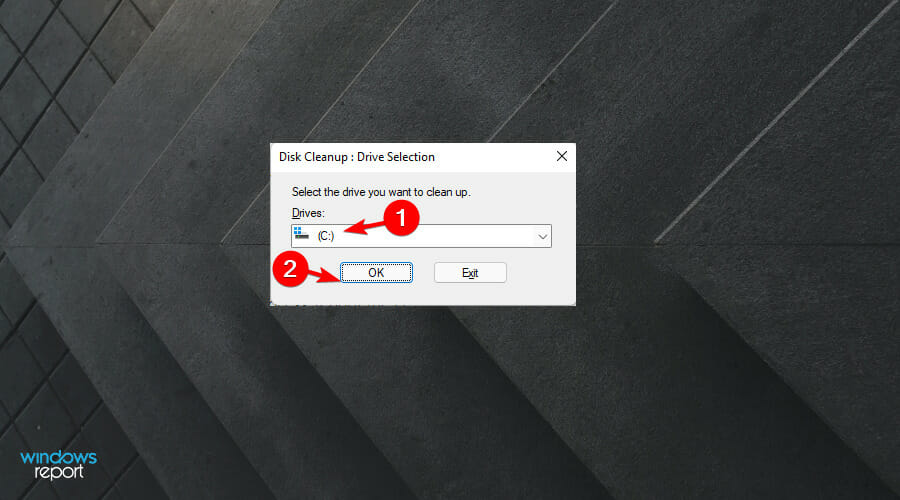
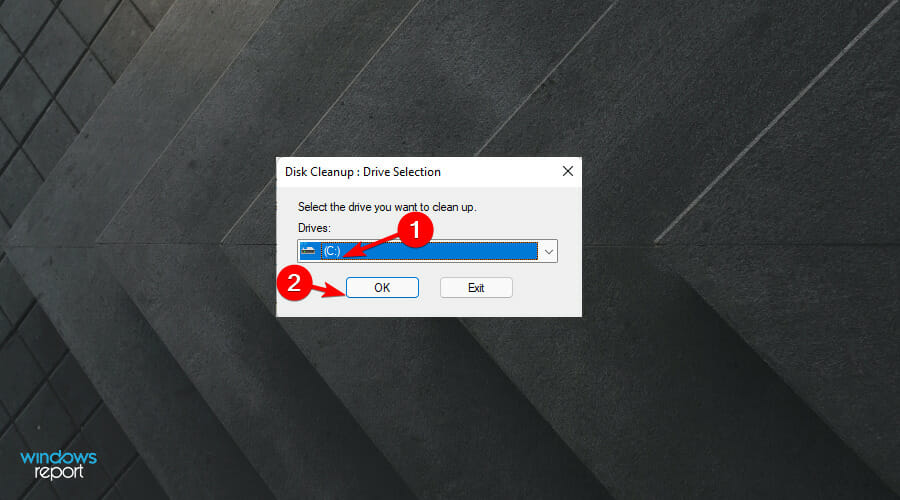
- Then, select the System drive and click on OK.
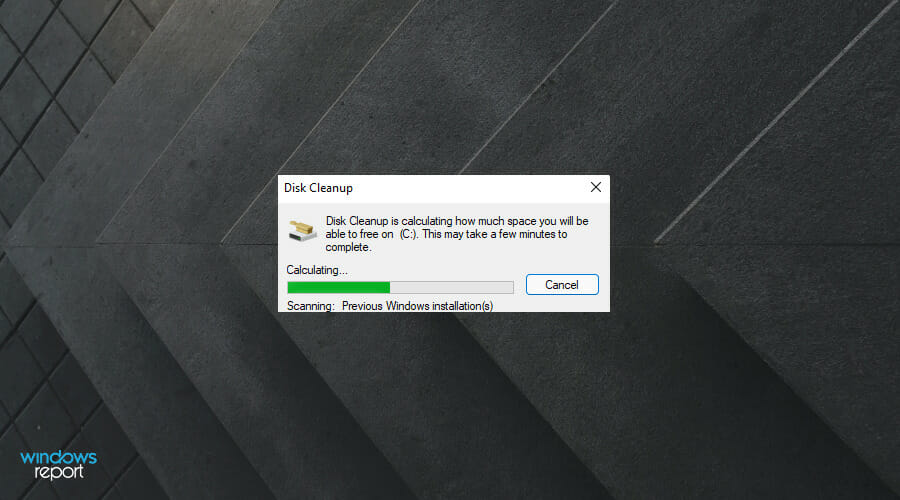
- Have patience while it calculates how much data can be erased from the disk.
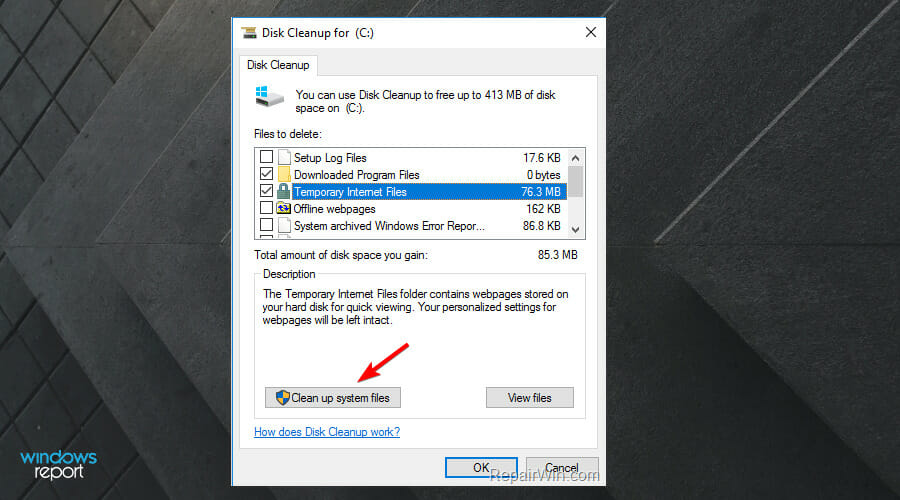
- Click on Clean up system files.
- Then, choose the System drive and click on OK.
- Then, check all the boxes present beneath Files to delete option and click on OK.

- Use disk cleanup to wipe out junks. To confirm the action, click on Delete files.
- After completion of the removal process, reboot the PC.
When trying to install Windows 11 using the Media Creation Tool, it is important to note that you need around 20 GB or 64-bit OS. Therefore, you should ensure that the local disk you wish to install the operating system has sufficient space.
3. Remove all secondary devices and unplug all cables
If there are too many devices and cables connected to your device while you are trying to upgrade your Windows, then the 0xC1900101 installation error code will appear.
You will need to disconnect all secondary devices and unplug all cables from your PC such as printers, broadband, and soundbars. This will get you a step closer when it comes to resolving the installation error code.
Moreover, if you are using a desktop, it is recommended that you unplug all the cables connected to your hard disk and clean off the dirt on it.
Connect the cables back to your device. It is also important to ensure that you eject and reconnect the wired mouse and keyboard on your device.
Then, you should try to install the Windows update on your device using bootable media and see if it works.
4. Remove recently downloaded applications
- Open the Control Panel.

- Then, select Programs and click on Programs and Features.
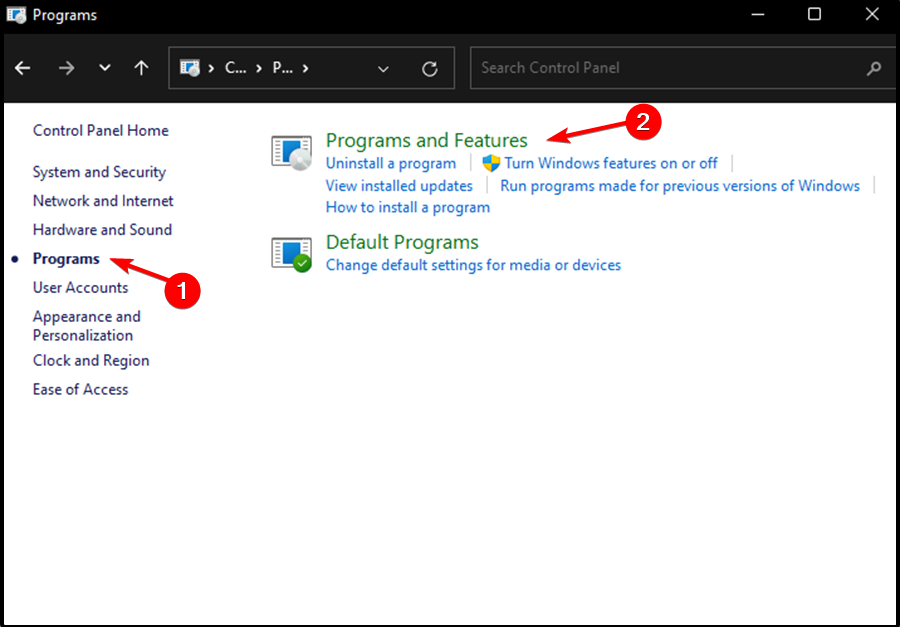
- You will then be taken to a page where you can Change a program or Uninstall it.
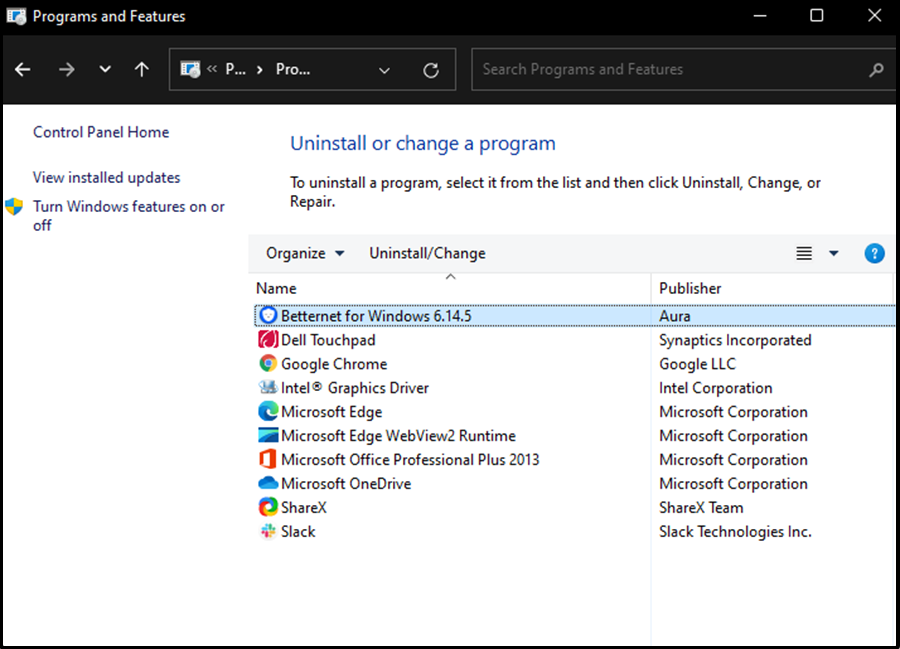
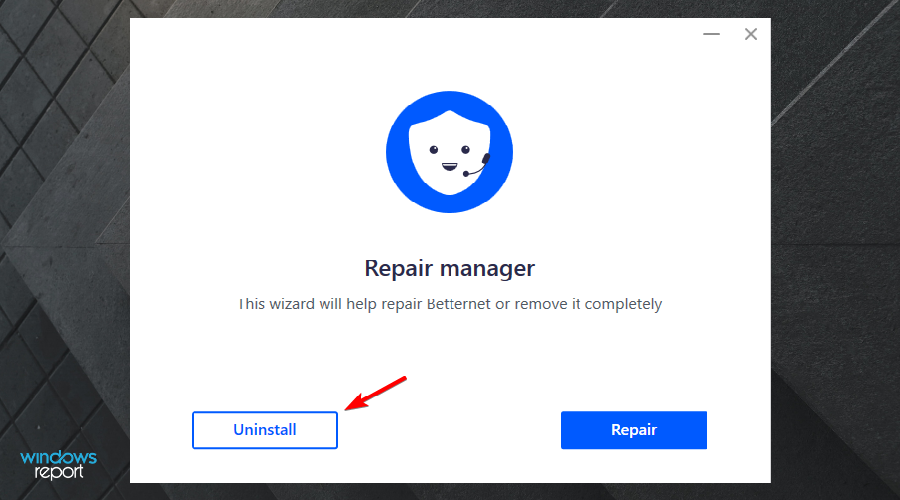
- Then, select the program that you recently installed. Click on Uninstall.
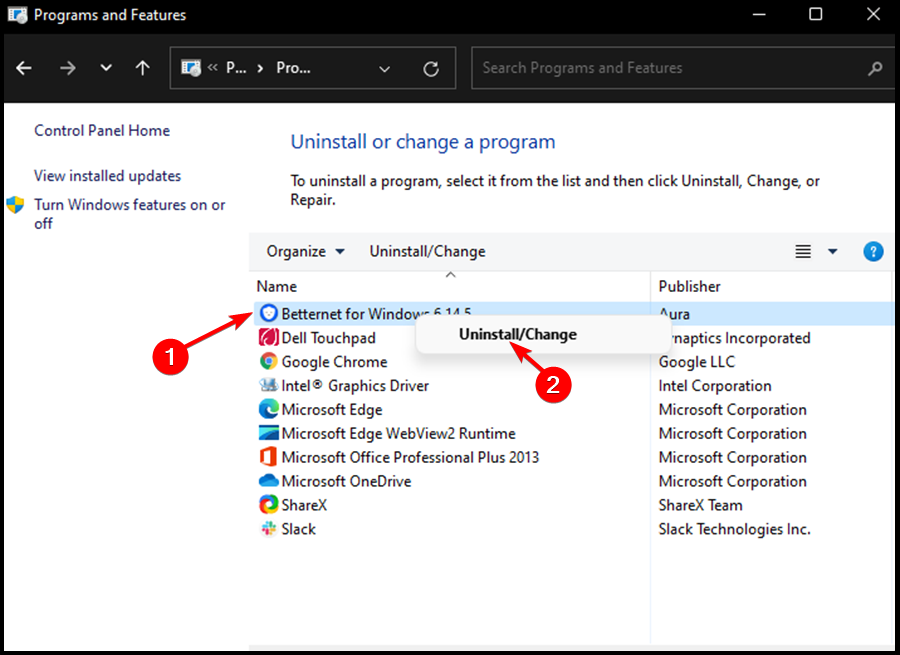
- The confirmation window will appear. Click on Uninstall.

NOTE
You are only allowed to uninstall applications that you installed using their executable files.
On the other hand, applications downloaded from Microsoft can only be uninstalled using the following steps:
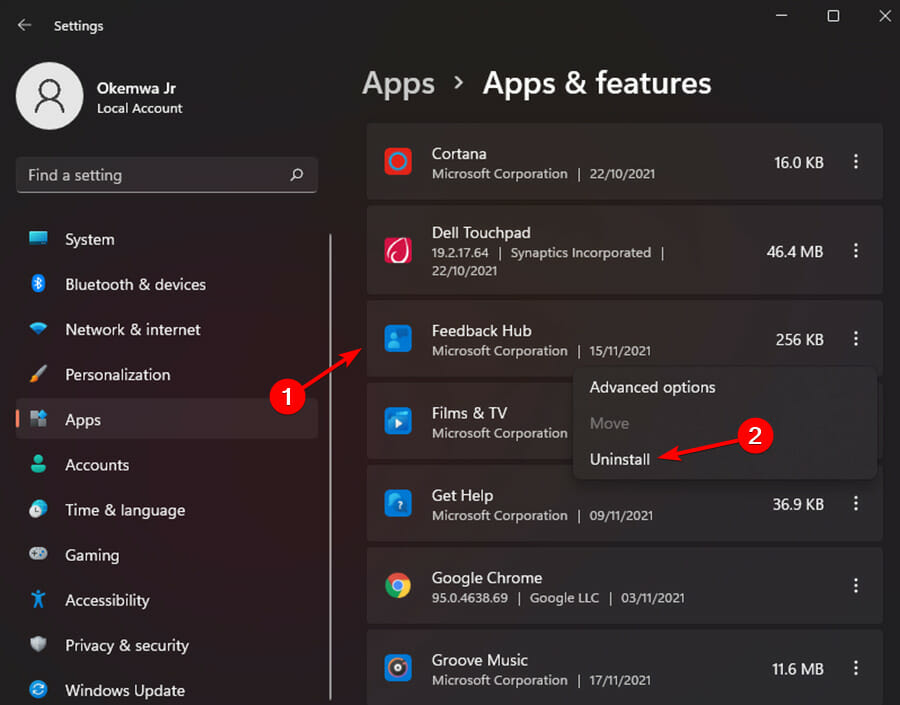
- Press the Windows key + X key. Then, select Apps & Features.
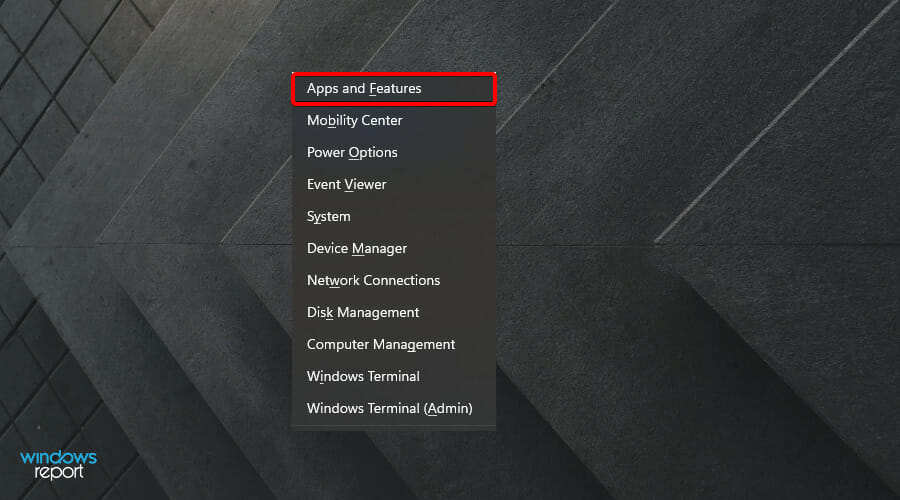
- Scroll down to find the application that you recently downloaded and installed. Click on the application and select the Uninstall option.
If you recently downloaded and installed a new program and the installation error code started appearing, you definitely need to uninstall the application because it is most likely the one causing the issue.
5. Update your faulty driver
NOTE
The Yellow exclamation mark next to the driver signifies that the chosen driver is problematic or buggy.
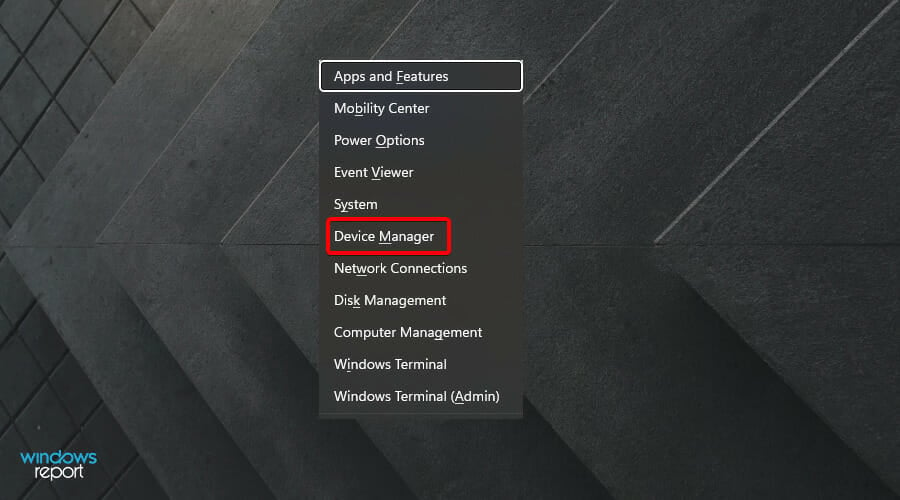
- Press Windows key + X key simultaneously to open the Power menu. Then, select Device Manager from the list and expand each section to find the problematic driver.
- Right-click on it and select the Update driver option using the context menu.
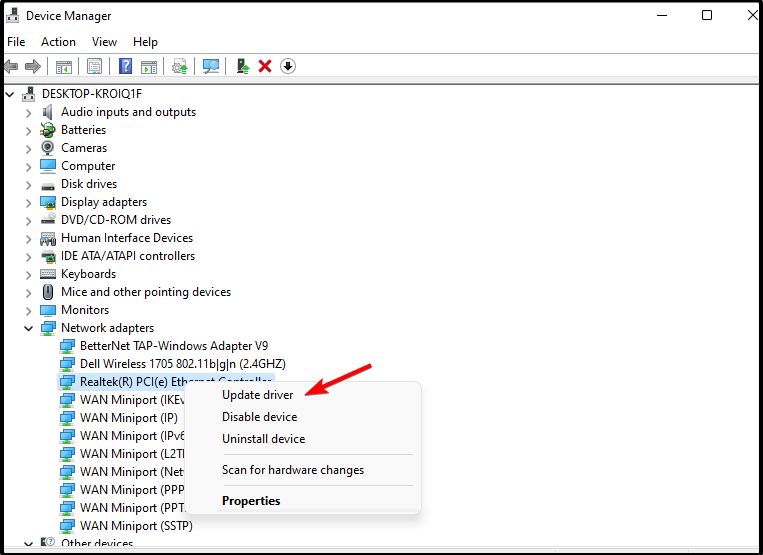
- Then, click on Search automatically for drivers and let the system search for any pending updates online.
- If the above search finds any pending updates, they will be automatically downloaded and installed.
- Finally, restart your device to save the changes made.
An outdated or corrupted Windows will prevent you from installing a new operating system on your device. Updating your drivers should resolve the 0xC1900101installation error. You can also find and fix driver issues automatically using the PC repair tool DriverFix.
6. Run the SFC command
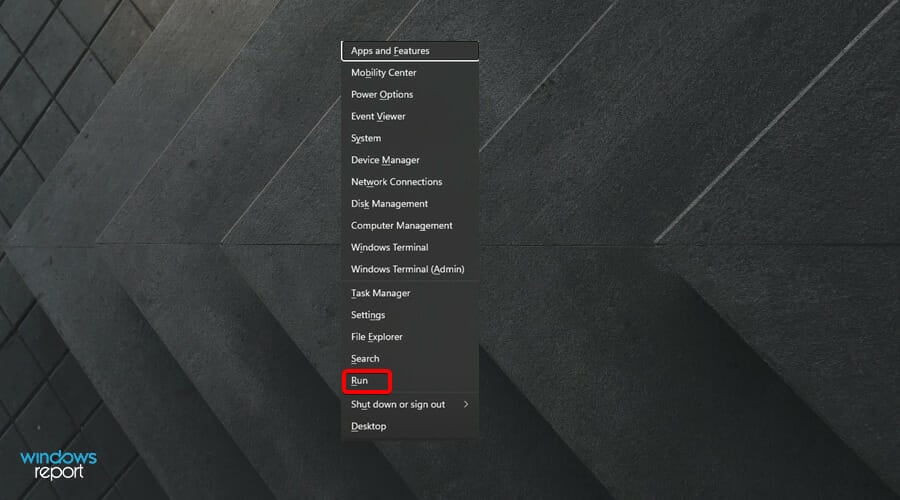
- Press Windows key + X key simultaneously to open the Power menu. Then, select the Run option on the list.
- Then, type cmd in the text box and click on OK.
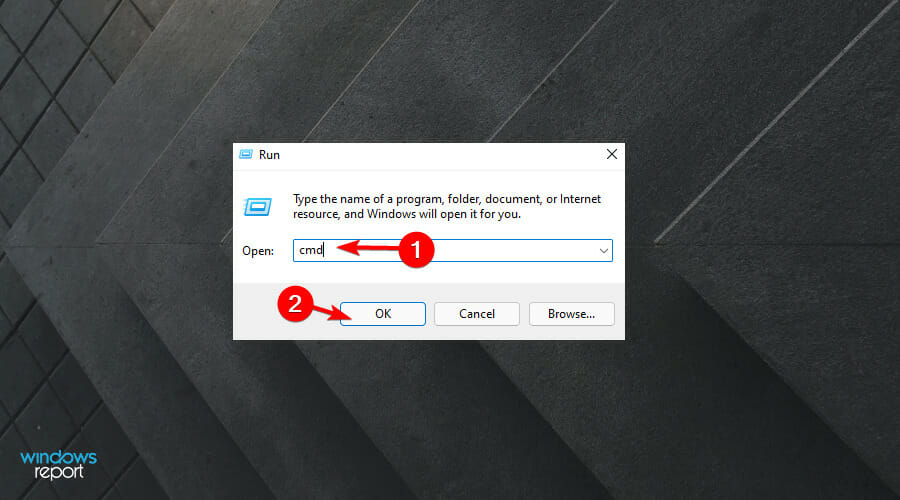
- Press Ctrl+Shift+Enter to open Command Prompt as Admin. If the User Account Control dialog appears up, click Yes to authorize the access.
- Then, key in the following command and press Enter:
sfc /scannow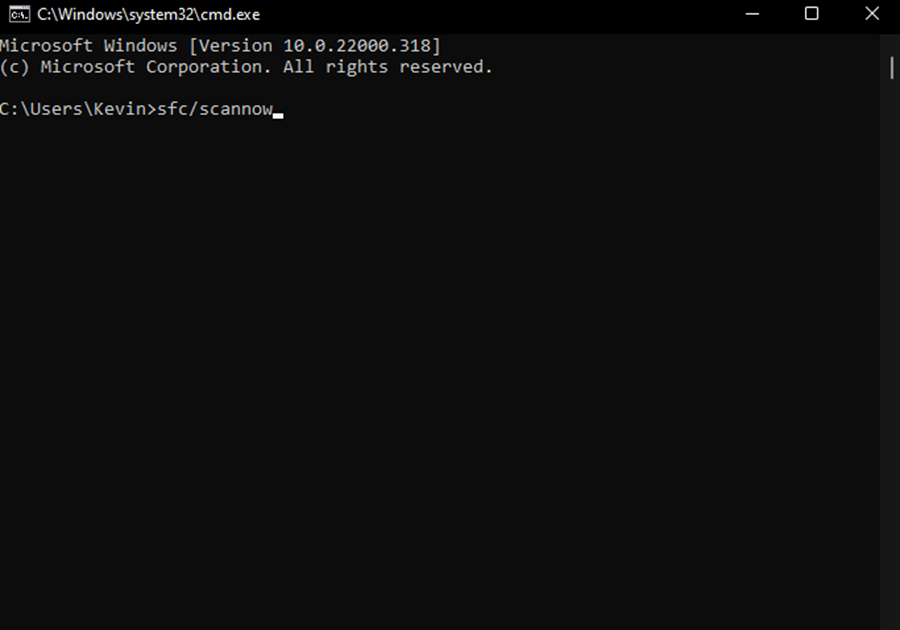
- Wait for the process to end, the restart your device and try to upgrade your Windows once more.
If your device has corrupted system files or there are a couple of files missing on the operating system, then this may prevent a smooth a seamless up-gradation,
Therefore, you must make use of the System File Checker to resolve the installation error code.
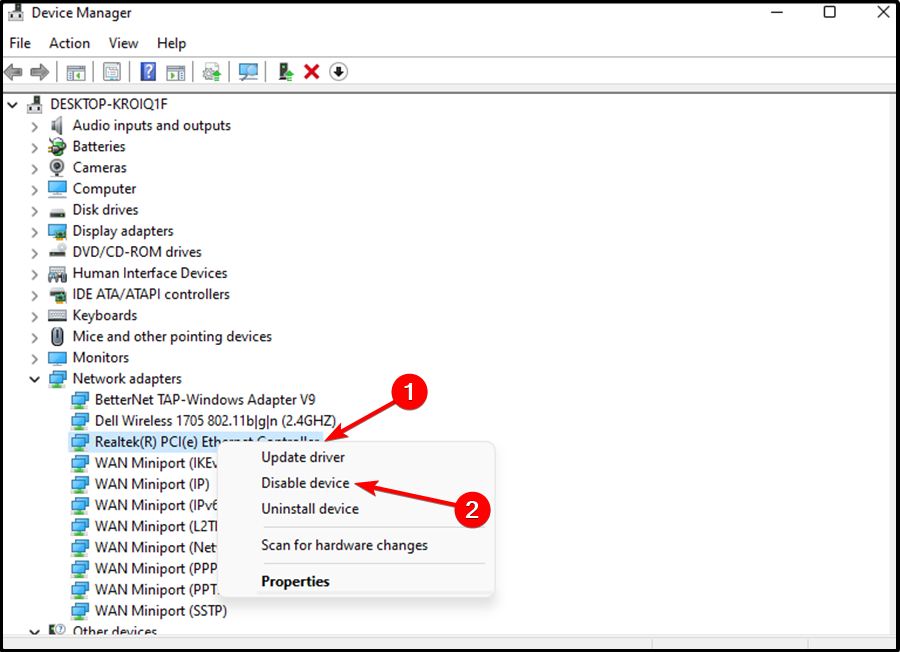
7. Disable your network adapters
- Press the Windows key + R key to open the Run dialog. Then, key in the following code and click on OK to open Device Manager:
devmgmt.msc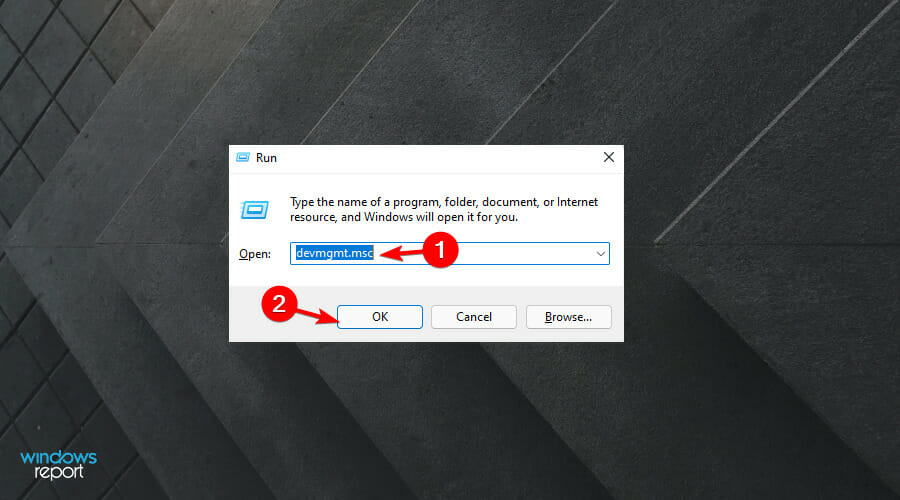
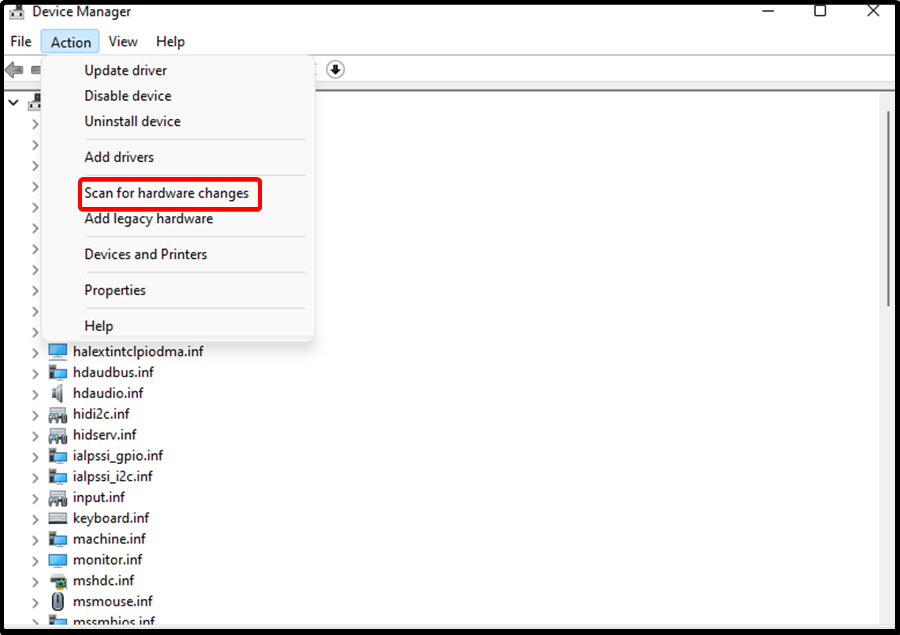
- Find and expand the Network Adapters section.
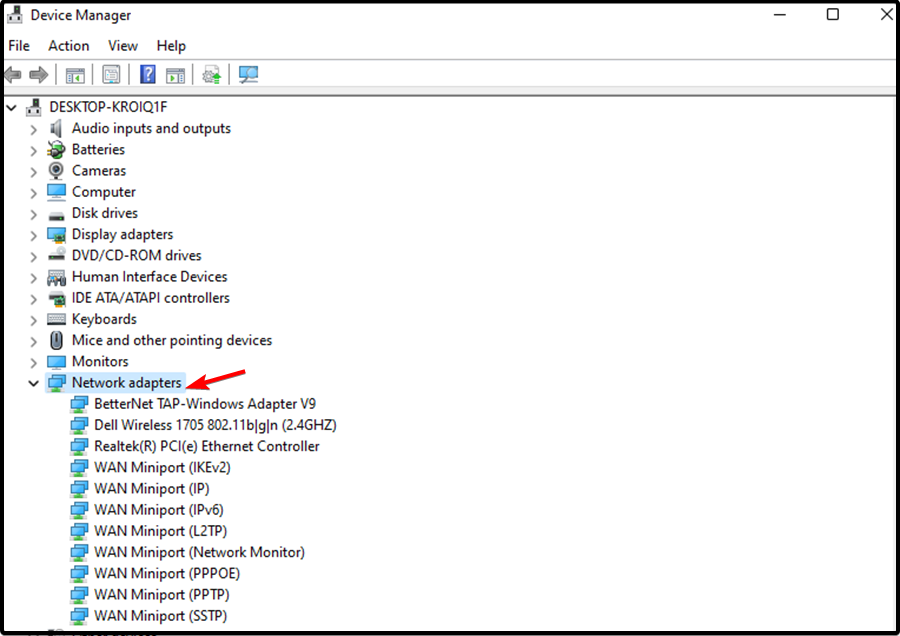
- Right-click on each entry and select Disable device using the context menu. Repeat this process until you disable all the drivers under this category.
- Then, restart your device to save the changes that you have made.
- Retry installing the Windows update on your device using bootable media.
8. Clear CMOS

TIP
It is important to seek assistance from a professional technician when using this method. Any incorrect changes made on your BIOS will have major negative effects on your device. The process is tedious and complex.
- Switch off your device and disconnect all the power cords connected to your device.
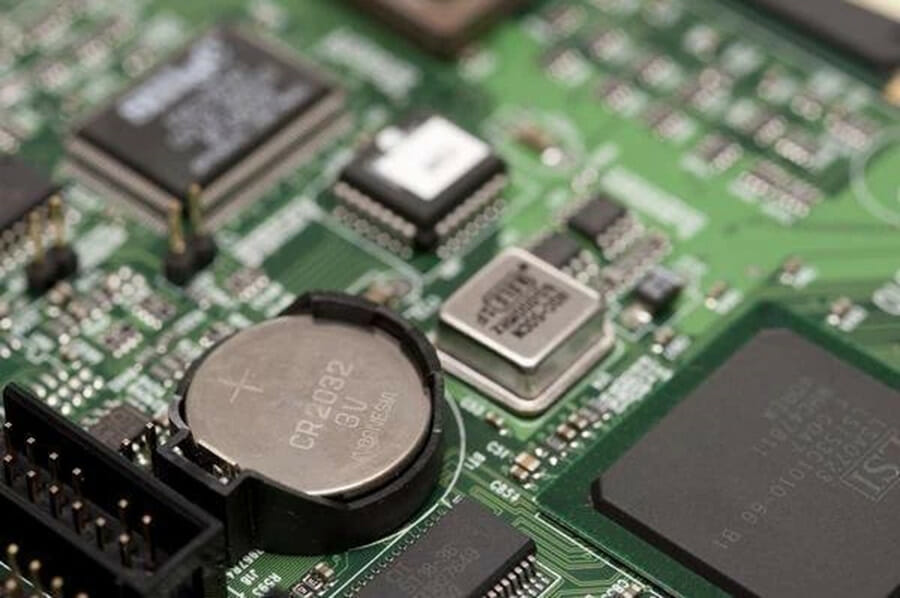
- Open the casing and you will see a flat battery attached to the motherboard.
- Remove the CMOS battery.
- Wait for approximately 5 minutes.
- Place back the battery at its original position and set the casing back with a lot of care.
- Don’t forget to attach all the cables back to their default locations.
- Start your PC and retry upgrading Windows again.
Resetting the BIOS on your device will surely help you get some headway with the installation error code. However, it is important to note that this method is easier to perform on a desktop as compared to a laptop.
9. Check for disk errors
- Open Command Prompt as administrator.
- Then, key in the following code and press Enter:
chkdsk C: /f /r /x
- Wait for the scan to end, then reboot Windows.
Specific and logical physical issues on your system drive can also cause the 0xC1900101 installation error. The CHKDSK utility will help you resolve the issue.
10. Create space on your disk
- Press Windows key + E key simultaneously to launch the File Explorer. Then, click on This PC on the left column.
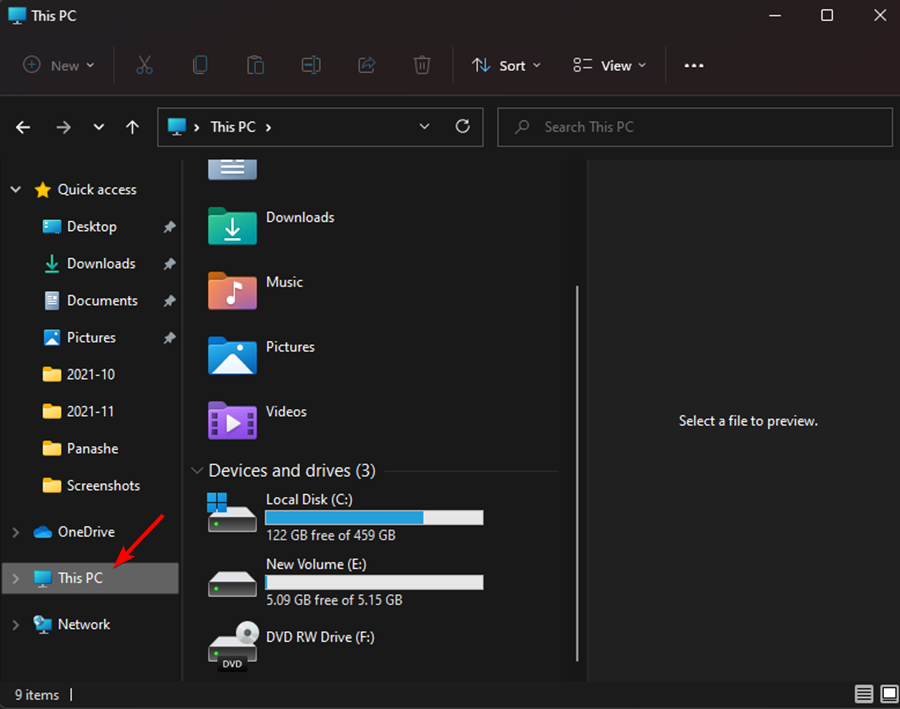
- Click Local Disk (C:), and see what’s the availability of free space on the root drive.

Installing Windows 11 requires at least 16GB or more, just like any operating system. However, if your device does not have enough space, you can use the Disk Cleanup tool to clear all the junk and old installation files on your device.
Storage can prevent you from smoothly installing the new operating system. Freeing up some space will help you get rid of the installation error code.
11. Upgrade in clean boot
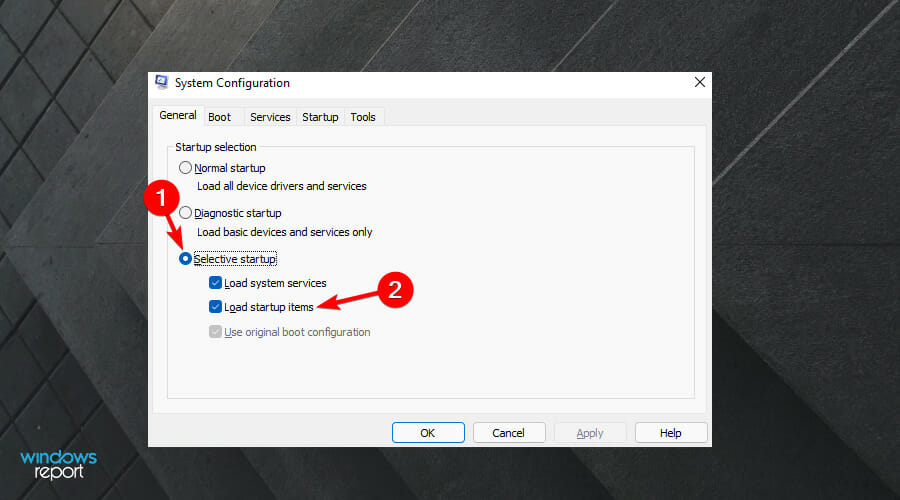
- Press the Windows key, then type in the following code and press Enter to open the System configuration:
msconfig.exe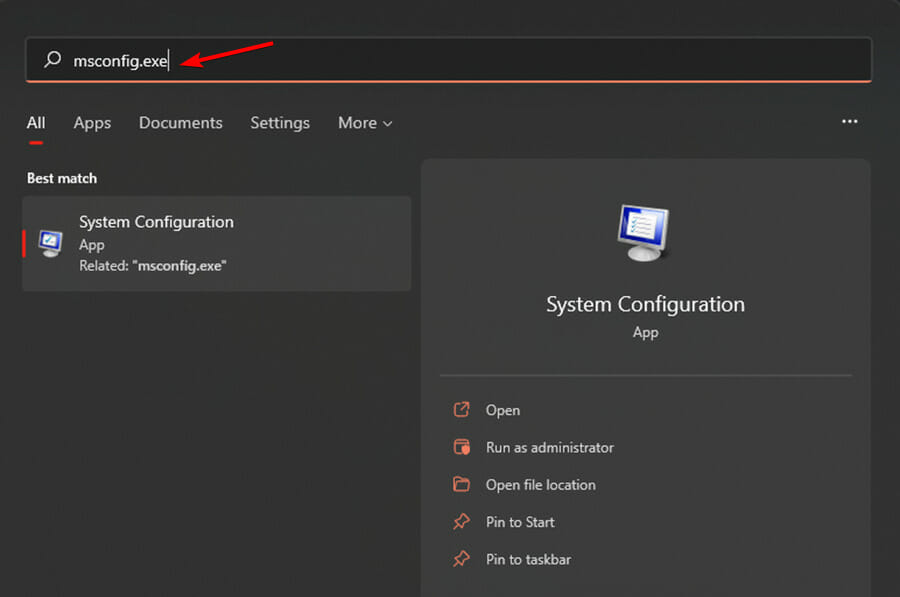
- Select the radio button set before Selective startup. Then, uncheck the Load startup items.
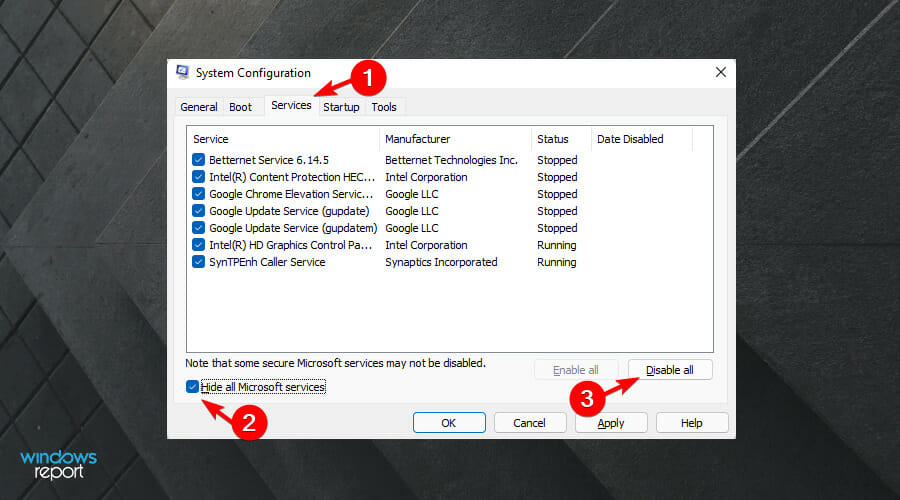
- Move to the Services tab and click the checkbox present alongside Hide all Microsoft services. Then, select Disable All.
- Up next, move to the Startup tab and click on Open Task Manager.

- Right-click on any program listed on the window that pops up and select Disable.
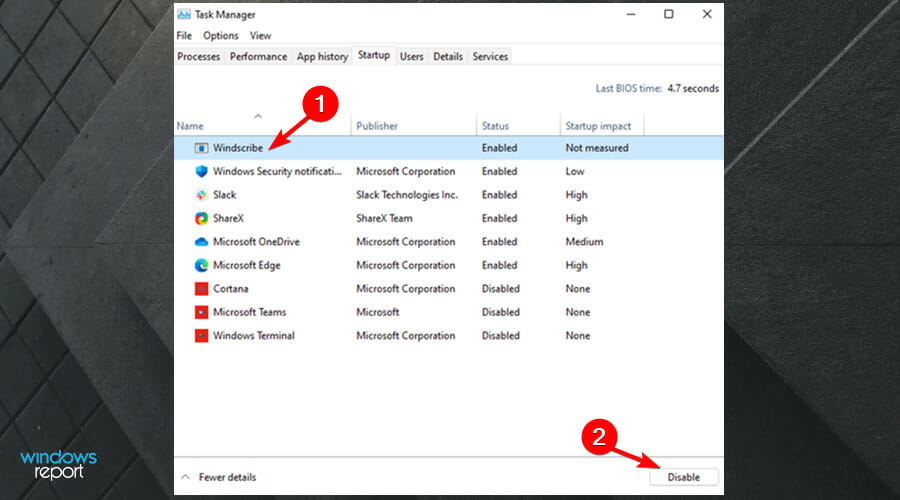
- Disable all startup programs similarly.
- Go back to the System Configuration window and click Apply and then OK.
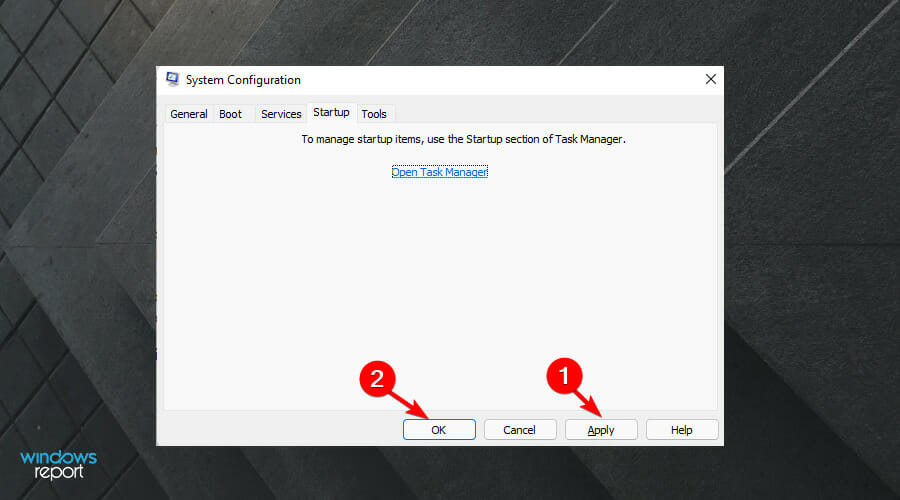
- Reboot Windows and try to download and install the update.
There are times when third-party applications and services conflict with the in-built ones, ultimately causing the system to go through unexpected challenges. Therefore, starting Windows in clean boot can help you avoid such situations.
Clean boot allows you to start the system with basic components creating an enabling environment for the installation process.
12. Repair corrupted system files
- Click search icon from the taskbar and type in the following code:
cmd.exe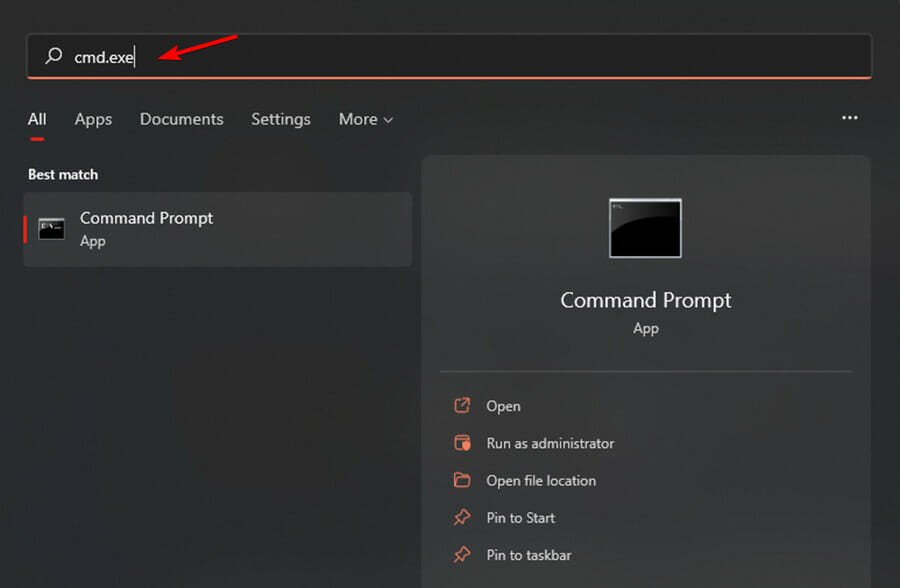
- Then, press Ctrl + Shift + Enter keys simultaneously. If a User Account Control prompts, click on Yes to grant administrative privileges.
- Key in the following code and press Enter:
dism/Online/Cleanup-image/Restorehealth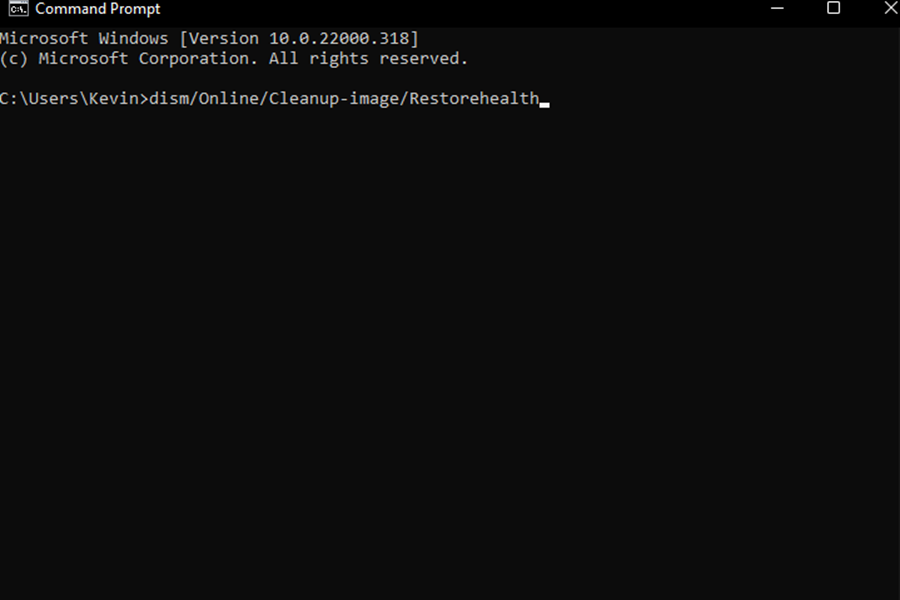
- After the DISM scan, run the following code on the same window:
sfc/scannow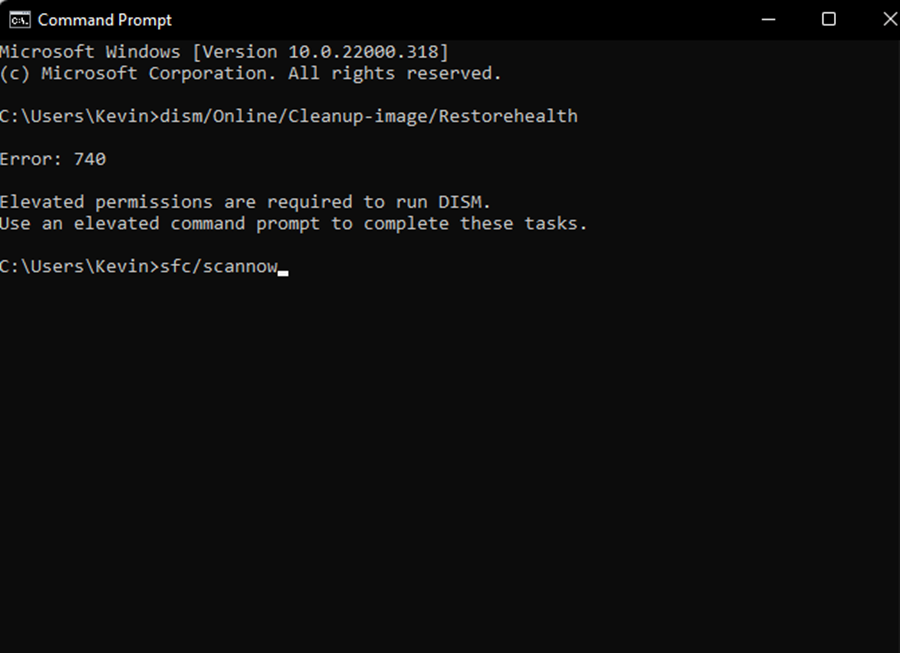
- Wait for the scan to end. Then, restart your device and try to install the update again to see whether the issue has been resolved.
Accidental changes in the settings or registry can cause some of the system components to go missing or even become corrupted.
When the system fails to access any of the necessary files while performing the update, the process is stopped and the error code appears.
How can I fix installation error codes in Windows 11?
Performing a clean installation on your device might actually get you over the hump if none of the above methods worked for you. This is the only workaround available if you really need to get Windows 11 on your operating system.
A clean install on your device will make you lose all the data on your device, including the installed applications in the system drive.
Do not hesitate to perform a clean Windows 11 install on your device even without the assistant. If you happen to experience Windows 11 installation problems, one useful trick is to enable TPM in BIOS.
Moreover, feel free to make use of third-party repair applications that will help you deal with a wide range of Windows update difficulties such as the 0xC1900101 installation error code on Windows 11 as well.
Have you managed to fix the issue? Do not hesitate to share your experience with us and other readers in the comments section below.
Start a conversation