
- After upgrading to Windows 11, several users have reported facing the same random restart problem.
- It could be caused due to misconfigured settings, incorrect group policies, fast startup, overclocking, amongst other issues.
- Overheating can also lead to this random restart error, however, it’s easy to identify and fix.

XINSTALL BY CLICKING THE DOWNLOAD FILE
Windows 11, the latest and the most advanced iteration from Microsoft, is out for the public and users can now make the upgrade. But, many who already did that face the random restart issue in Windows 11.
The problem is rather intricate and can be caused by a bunch of issues, pertaining to both the software and hardware. The system may randomly restart when using high-end applications or even when simply navigating through the computer.
In the following sections, we have listed all there’s to know about this inconvenience and the most relevant fixes for it.
What causes the random restart problem in Windows 11?
Your Windows 11 PC could randomly restart due to several issues. We have listed them all in the following section:
- Overheating
- Misconfigured power settings
- Faulty storage
- Overclocking
- Incorrect group policy
- System infected with malware
- Computer set to restart in case of failure
If you are able to identify any of the above problems, simply head to the relevant fix and get done with it. Nevertheless, you can proceed with the methods in the listed sequence for quick troubleshooting, in case you are unable to locate the issue.
How can I fix the random restart problem in Windows 11?
1. Disable automatic restart
- Press Windows + I to launch the Settings app.
- Scroll down and click on About in the System tab.
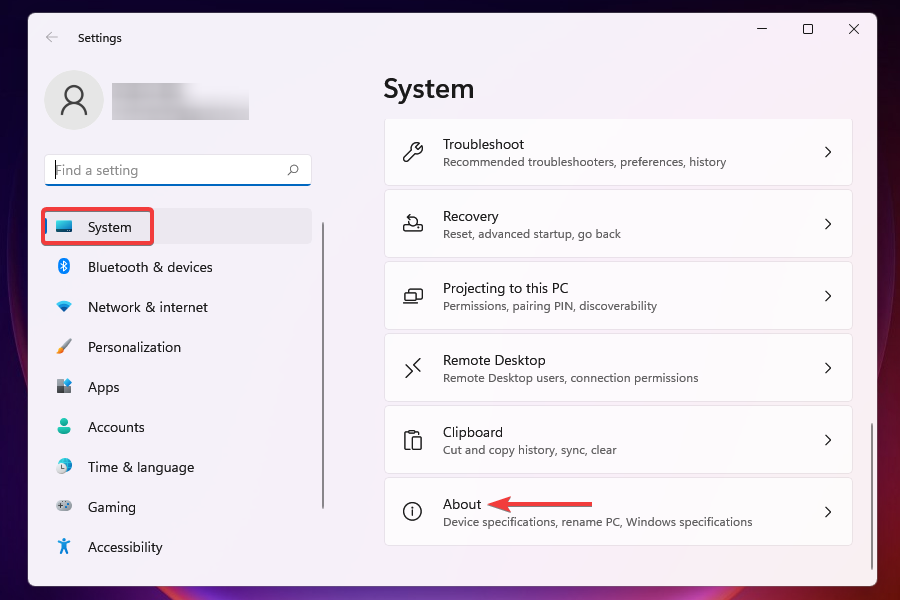
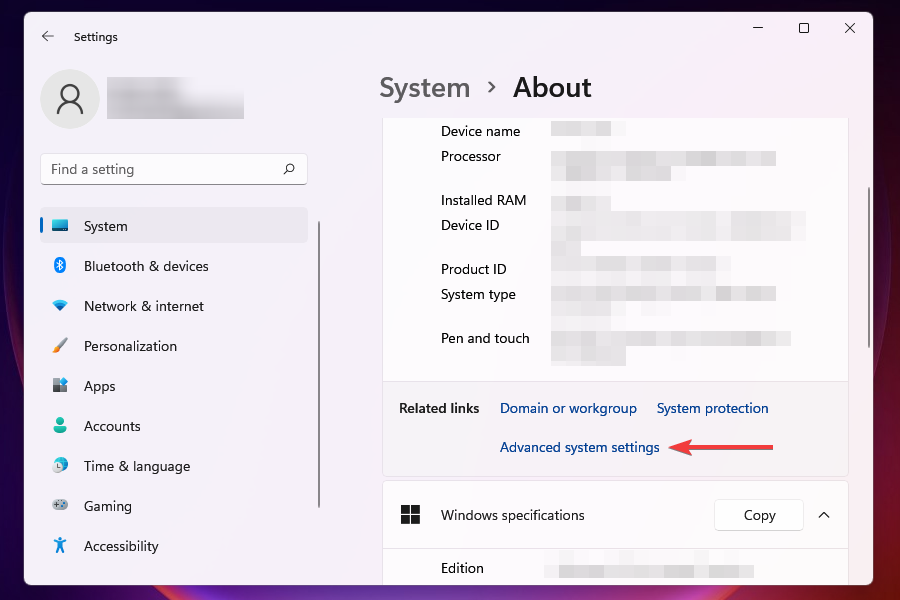
- Next, click on Advanced system settings under Related links.
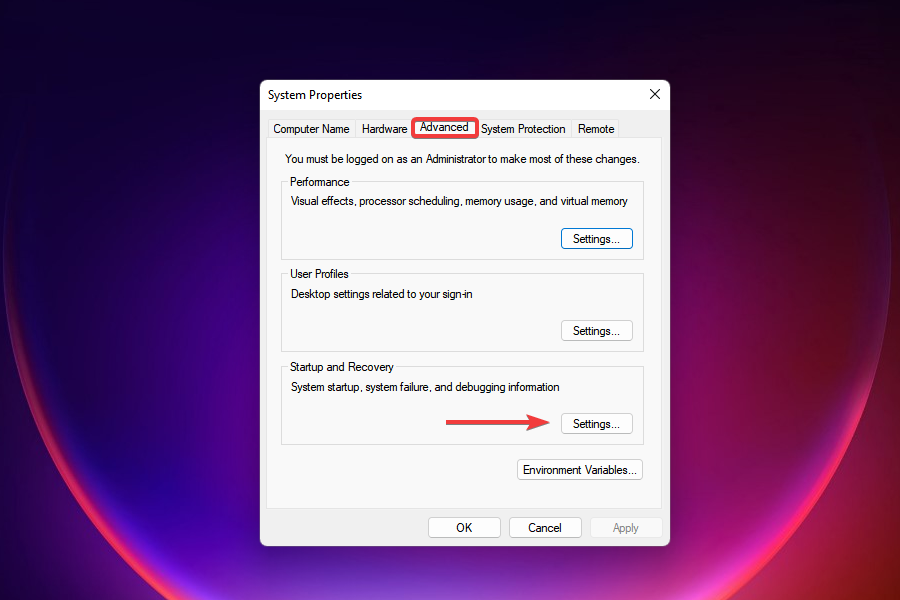
- Click the Settings option under Startup and Recovery.
- Untick the checkbox for Automatic restart under System failure, and click on OK to save the changes.
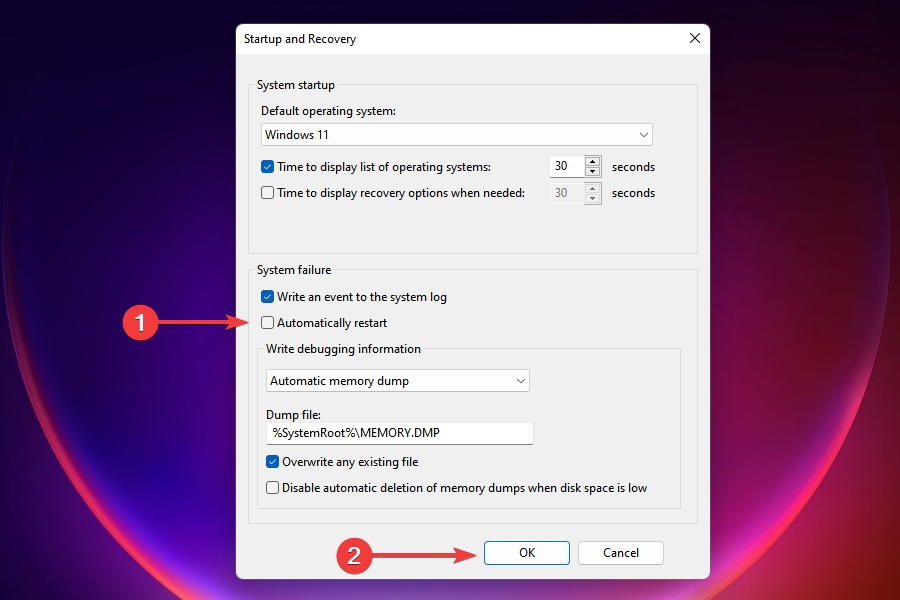
- Now restart the computer and check if the random restart problem in Windows 11 is resolved.
With automatic restart enabled, the OS will reboot on each instance of system failure. But, this could also lead to certain issues.
When you change the automatic restart setting, the computer will have to be rebooted manually. If the changes don’t work, revert to the default settings and head to the next solution.
In case you are facing trouble executing this method, learn how to fix issues preventing the Settings from launching,
2. Disable fast startup
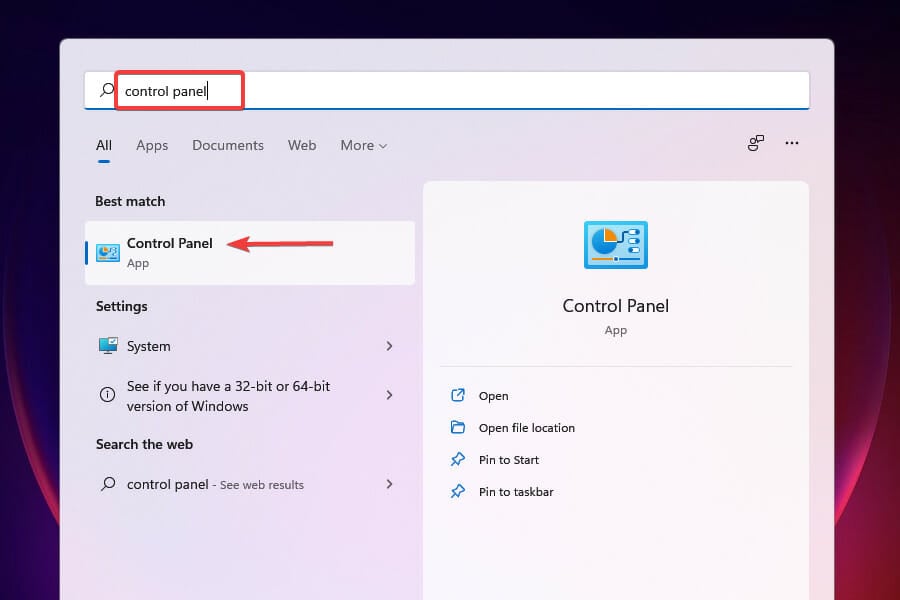
- Press Windows + S to launch the Search menu.
- Enter Control Panel in the text field at the top, and click on the relevant search result that appears.
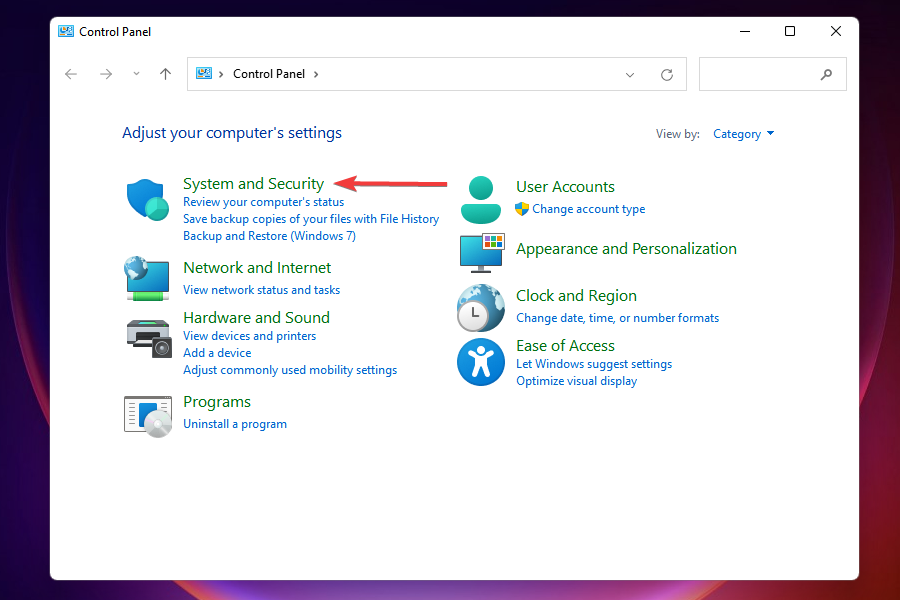
- Click on System & Security from the list of options that appear.
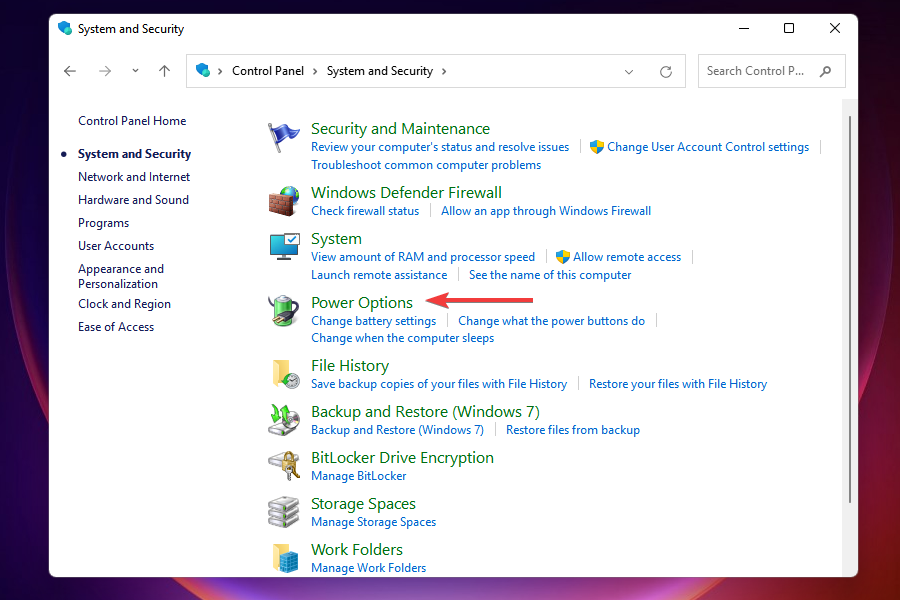
- Click on Power options.
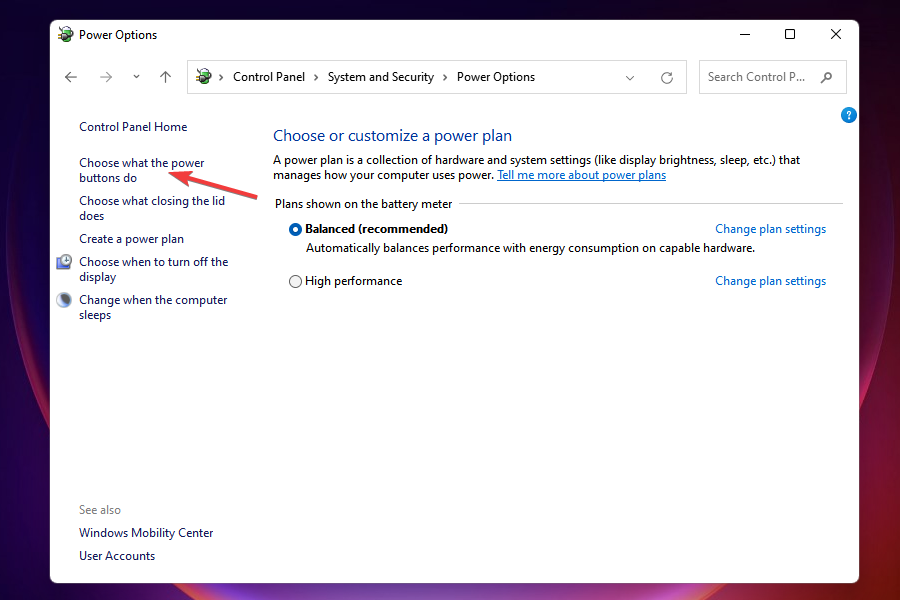
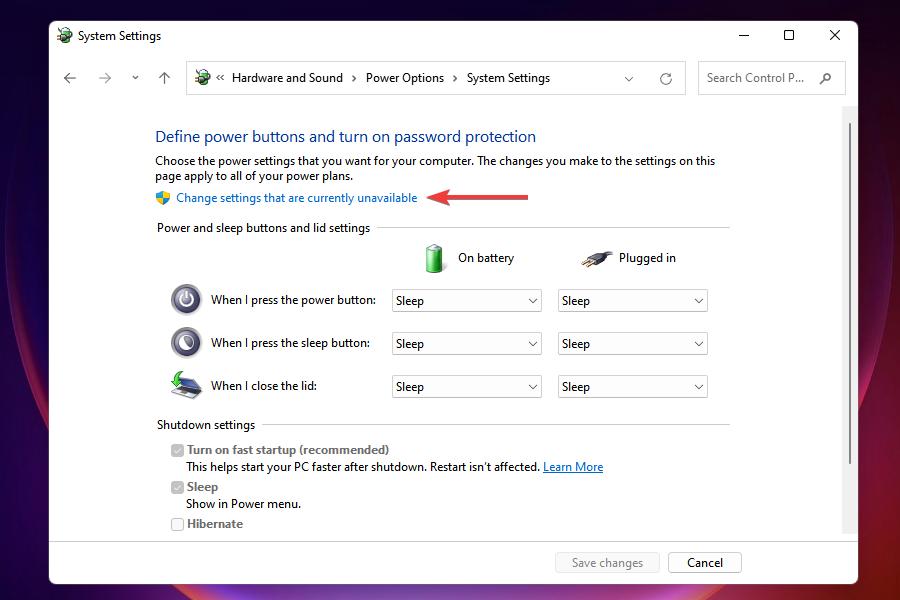
- Now, click on Choose what the power buttons do from the list of options on the left.
- Click on Change settings that are currently unavailable.
- Untick the checkbox for Turn on fast startup (recommended), and click on Save changes at the bottom.
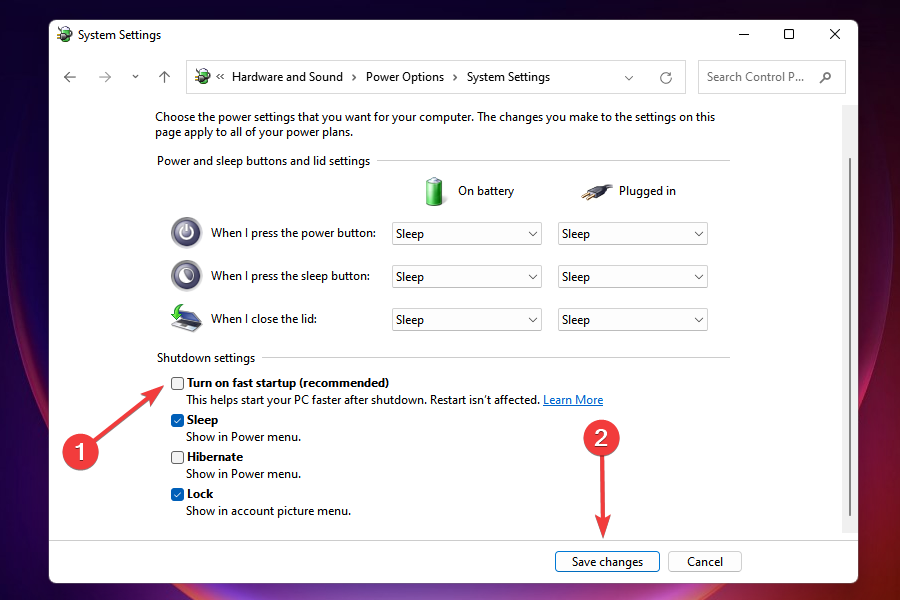
Fast startup is a feature that considerably reduces the boot time when you turn on Windows after shut down. With the feature enabled, certain critical files are saved and immediately loaded on startup.
However, it’s known to cause compatibility issues and may also result in random restart problems in Windows 11. After disabling the feature, check if they are resolved. In case they persist, head to the next method.
3. Update group policies
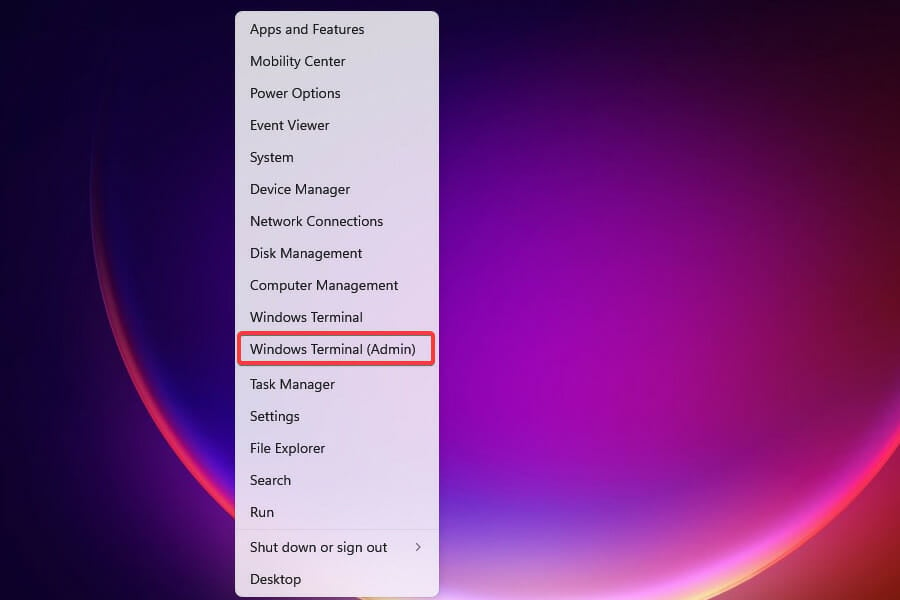
- Press Windows + X or right-click on the Start button to launch the Power User/Quick Access menu.
- Select Windows Terminal (Admin) from the list of options that appear.
- Click Yes on the UAC prompt that appears.
- Then, click on the downward-facing arrow at the top and select Command Prompt from the list of options. Alternatively, you can press Ctrl + Shift + 2 to launch the Command Prompt tab.
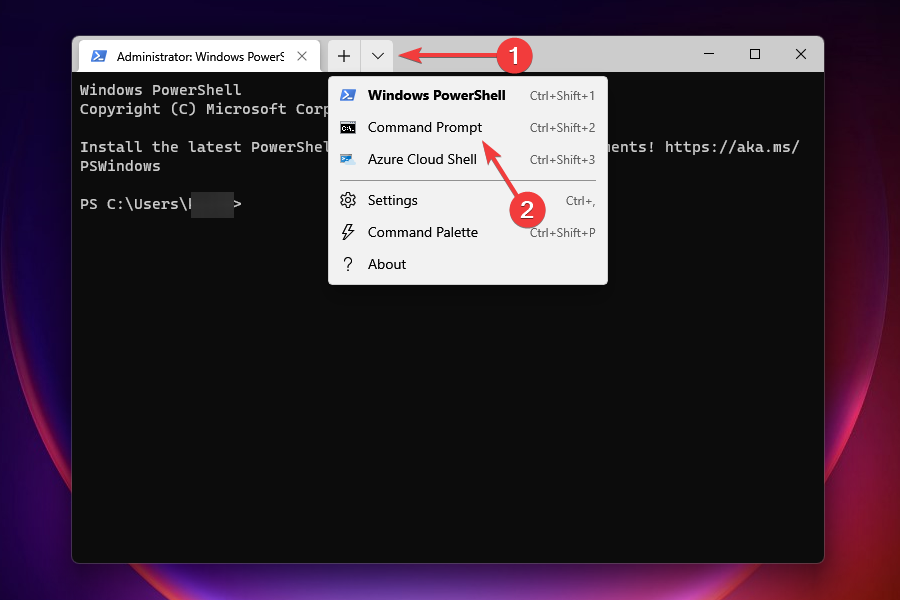
- Now, enter the following command and hit Enter to execute it:
gpupdate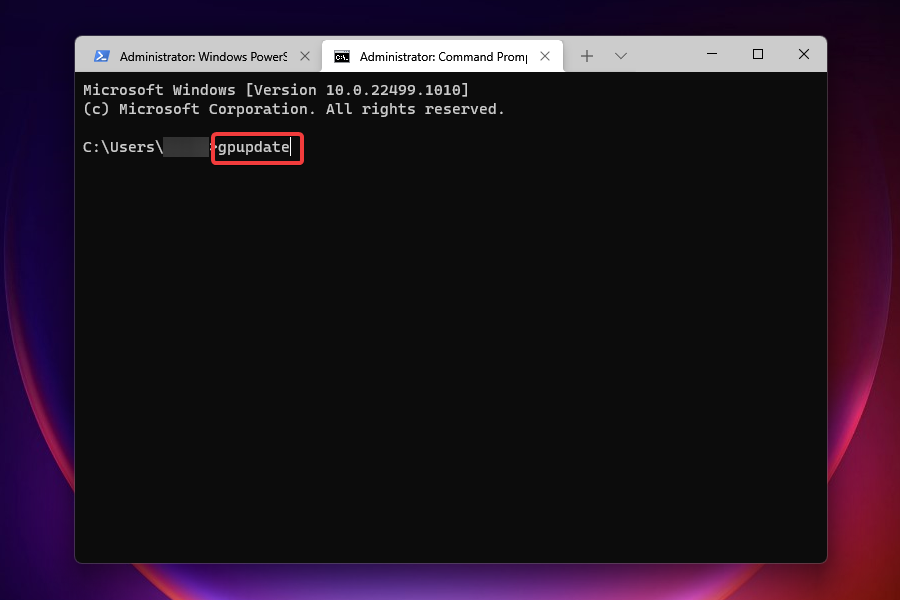
Misconfigured group policies are also known to cause trouble from time to time, hence it’s recommended that you keep them updated.
Though they would be updated automatically, manually doing it eliminates the random restart error in Windows 11 right away.
4. Change Windows Update settings causing random restarts

NOTE
The Registry is a critical aspect of Windows and you should not go around making changes without a proper understanding, since it could damage the system and even render it unusable. Follow the steps listed below as it is without changing any other keys or values.
- Press Windows + R to launch the Run command.
- Enter regedit in the text field, and either click on OK at the bottom or hit Enter to launch the Registry Editor.
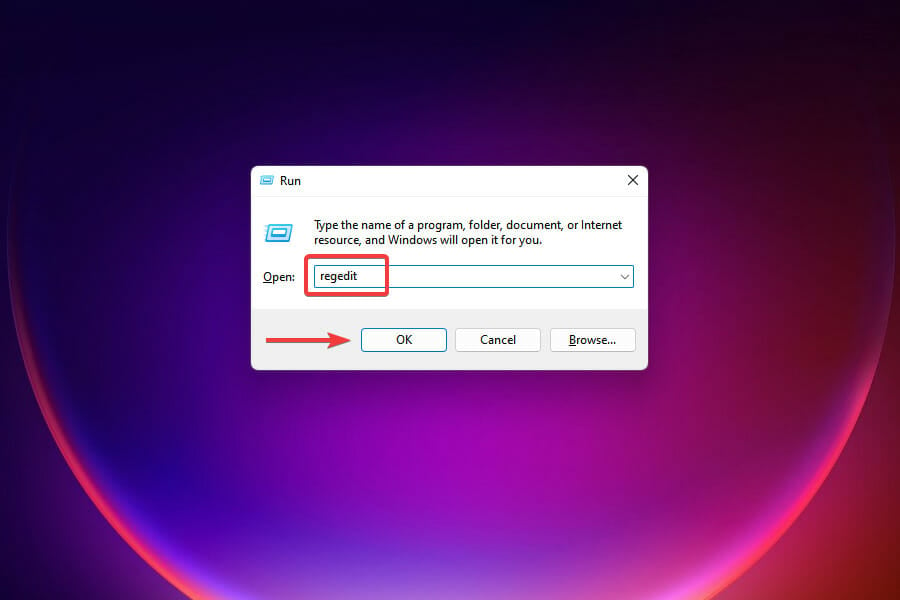
- Click Yes on the UAC prompt that appears.
- Now, navigate to the following path or type/paste it in the address bar at the top and hit Enter:
ComputerHKEY_LOCAL_MACHINESOFTWAREMicrosoftWindows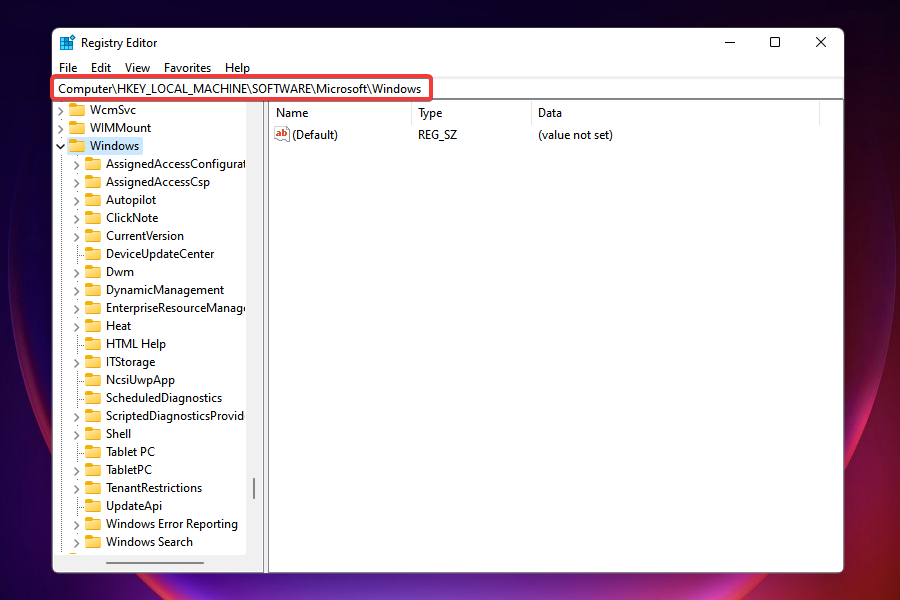
- Now, right-click on the Windows key in the navigation pane on the left, hover the cursor over New, and select Key from the list of options that appear.
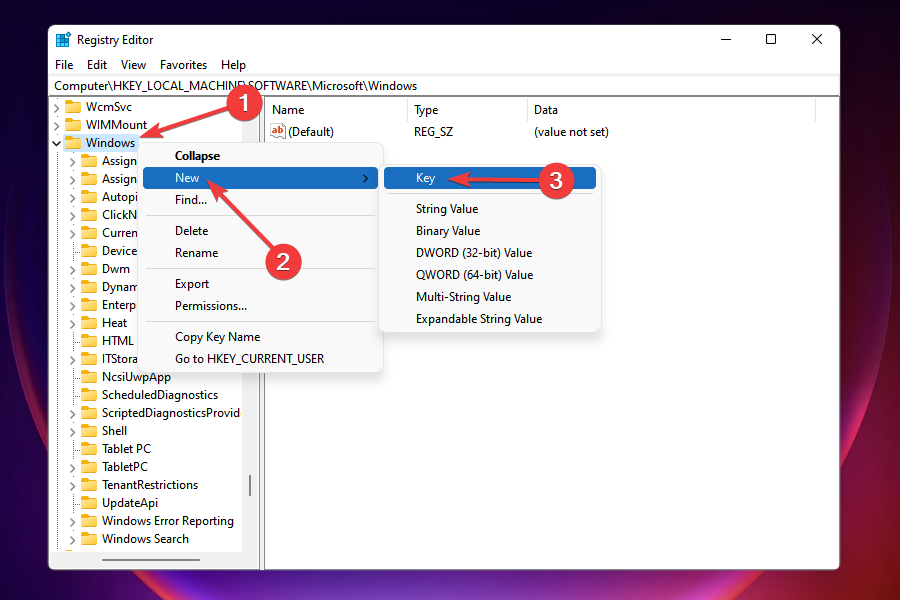
- Name this key as Windows Update.
- Now, right-click on the newly created key, hover the cursor over New, and select Key.
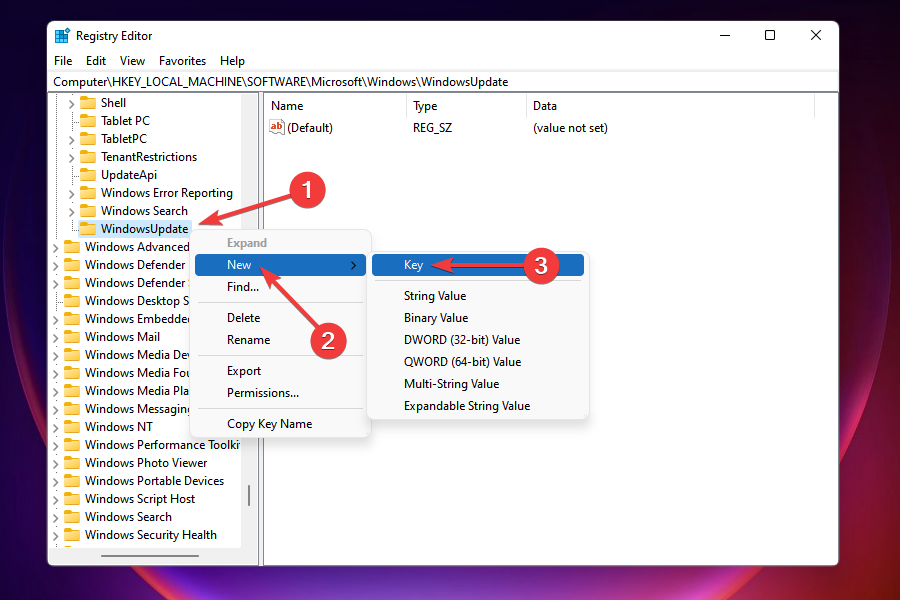
- Name this key as AU.
- Click on the newly created key to open it, right-click on the empty space on the right, hover the cursor over New and select DWORD (32-bit Value) from the context menu.
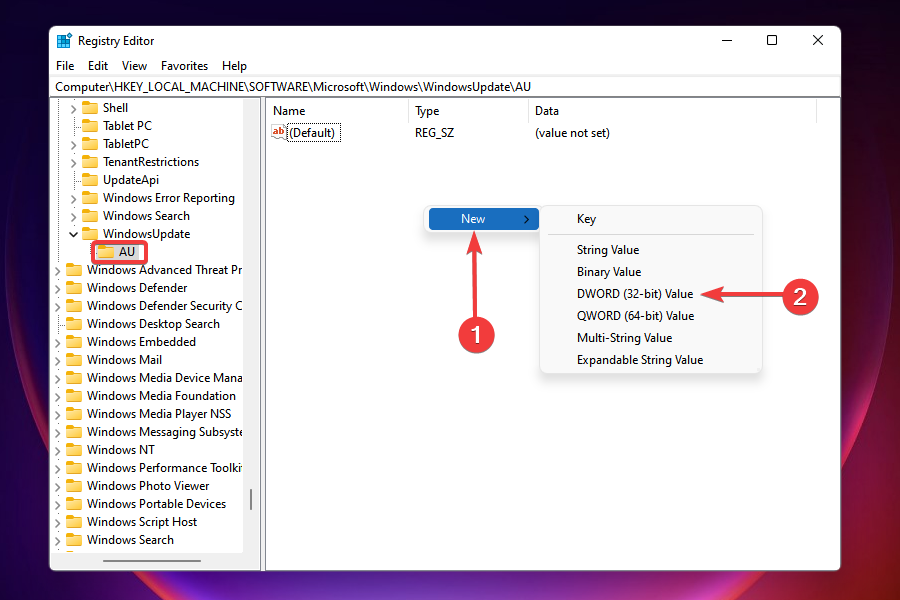
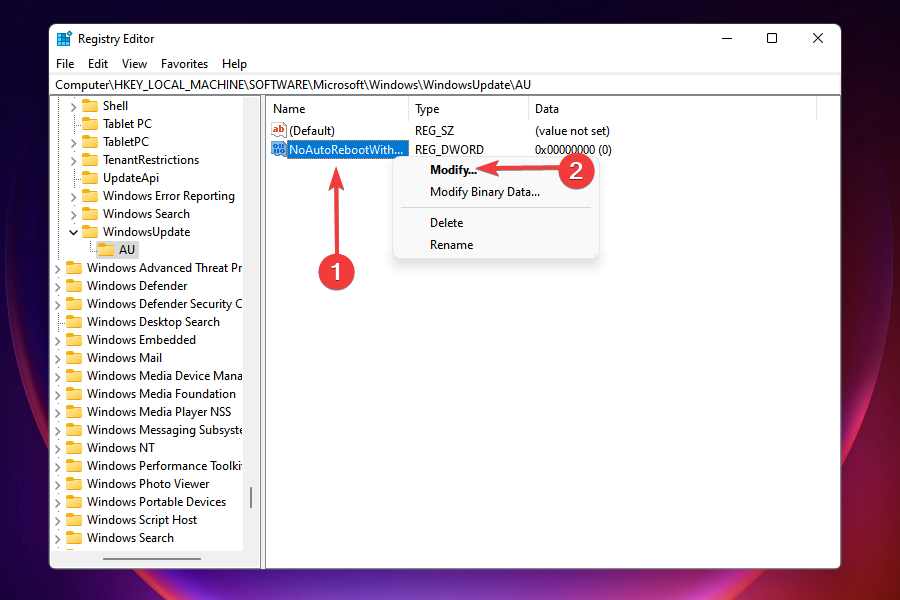
- Name it as NoAutoRebootWithLoggedOnUser.
- Now, right-click on it and select Modify from the list of options.
- Enter 1 in the field under Value Data and click on OK at the bottom to save the changes.
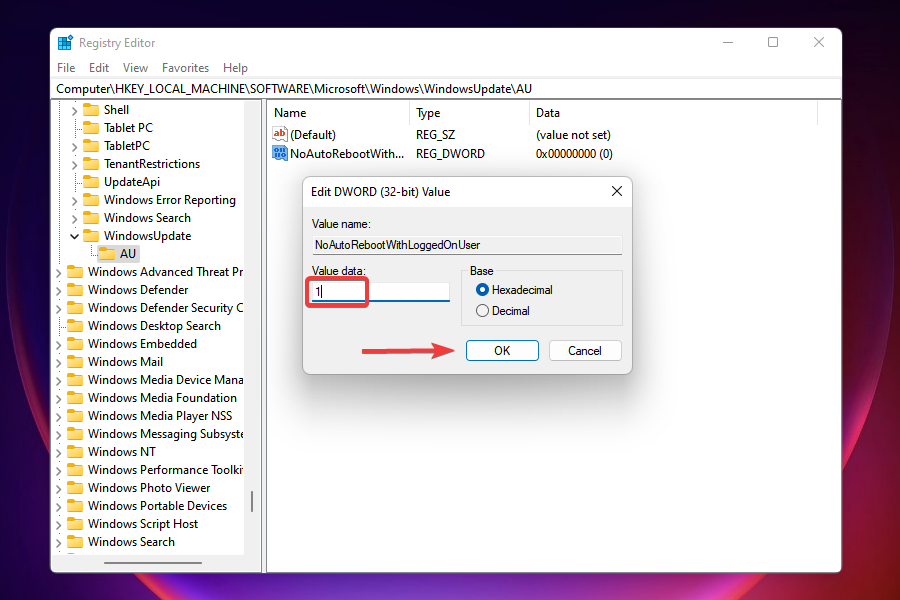
When you download an update, the PC is to be restarted to install it. You can either manually restart the computer or set it to restart automatically after the download is complete. In case the latter settings are in place, you may encounter the random restart issue in Windows 11.
In the above steps, we modified the registry such that Windows will no more reboot automatically, thereby eliminating the error.
5. Reinstall the graphics driver
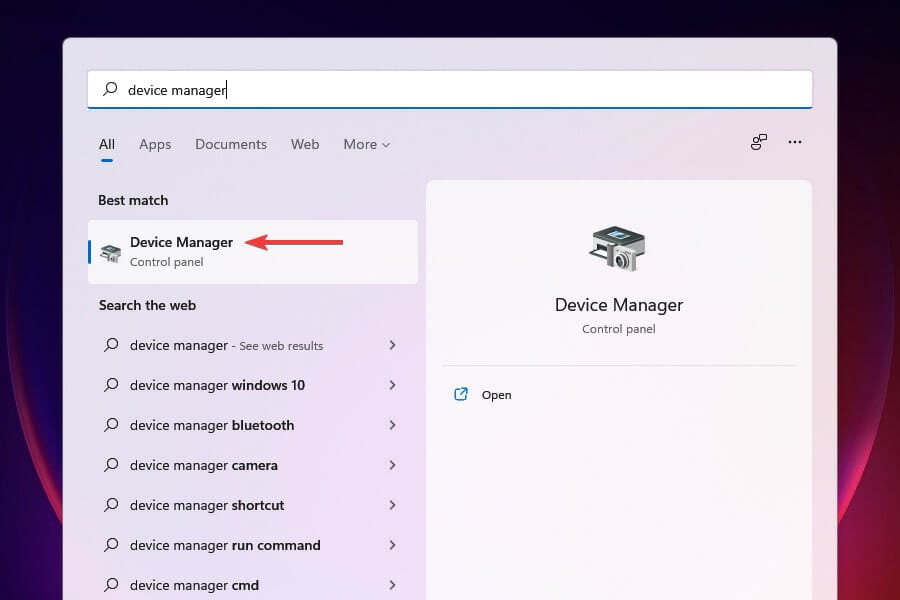
- Press Windows + S to launch the Search menu.
- Enter Device Manager in the text field at the top, and click on the relevant search result that appears.
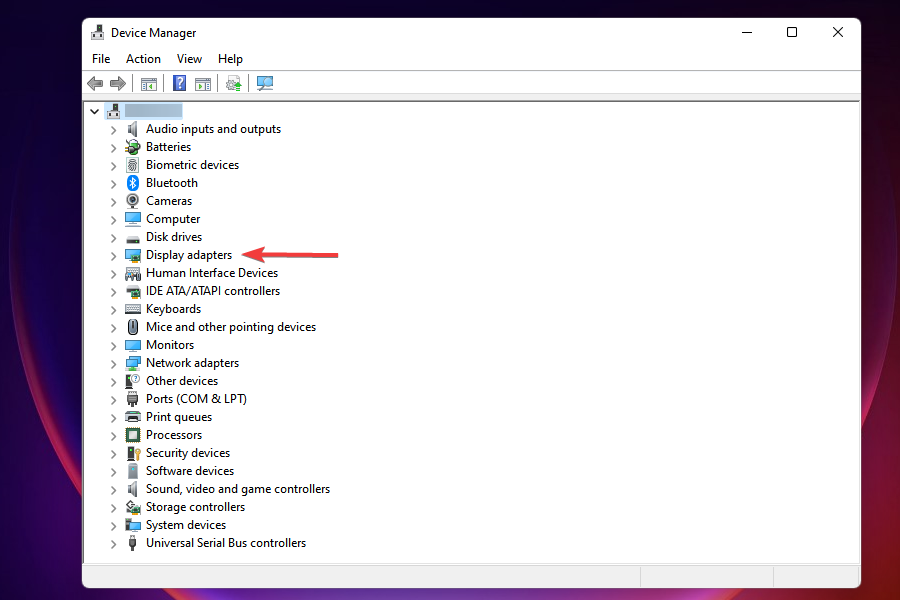
- Double-click on Display adapters.
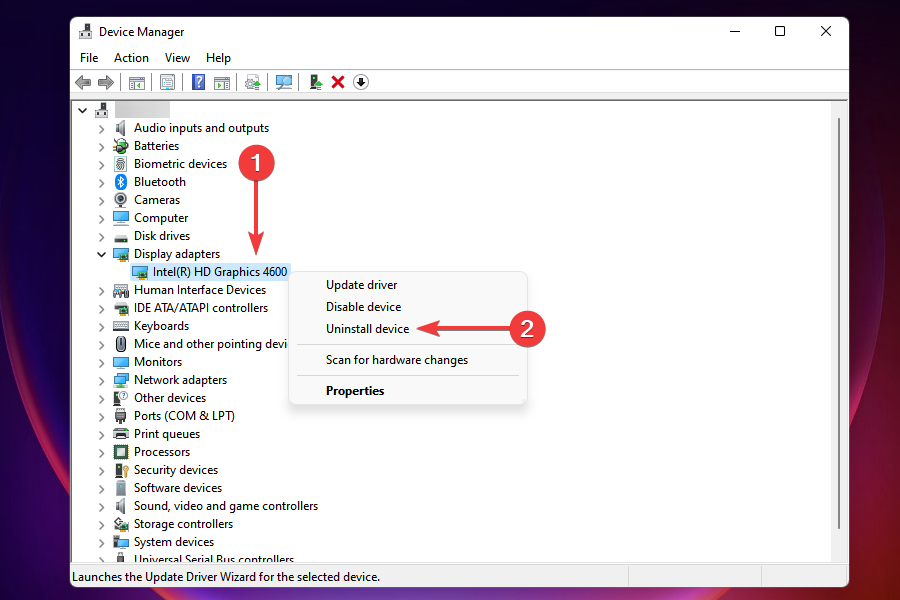
- Right-click on the graphics adapter and select Uninstall Device from the context menu.
- Tick the checkbox for Attempt to remove the driver for this device and click on Uninstall at the bottom.
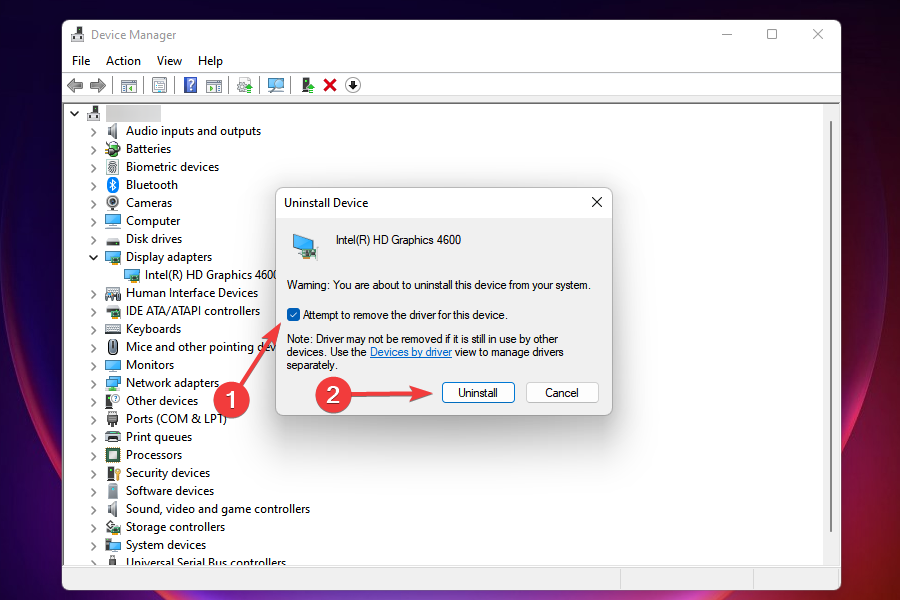
- After uninstalling the driver, restart the computer and Windows will automatically install a fresh driver for the graphics adapter.
If the graphics driver installed on the PC is corrupted, you are bound to encounter errors every once in a while, including the random restart problem in Windows 11. A corrupt driver can be easily identified by a yellow exclamation mark (warning) sign next to the driver icon.
The best part about the process, you don’t have to manually install a fresh set of drivers rather Windows does it automatically.
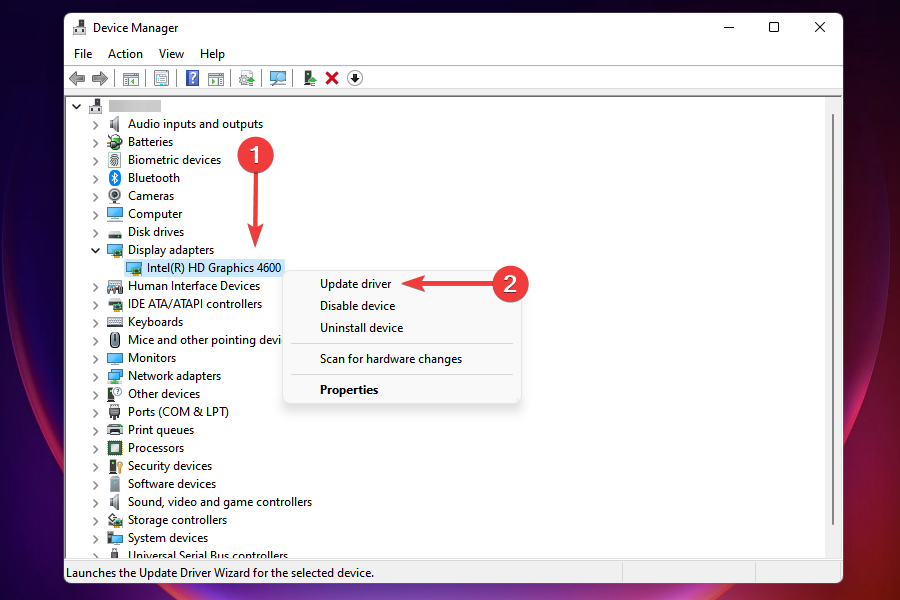
6. Update the graphics driver
- Launch the Device Manager as discussed earlier.
- Locate and double-click on the Display adapters to view the ones under it.
- Right-click on the graphics adapter and select Update driver from the context menu.
- Select Search automatically for drivers in the Update drivers window to let Windows select and install the best available driver on the system.
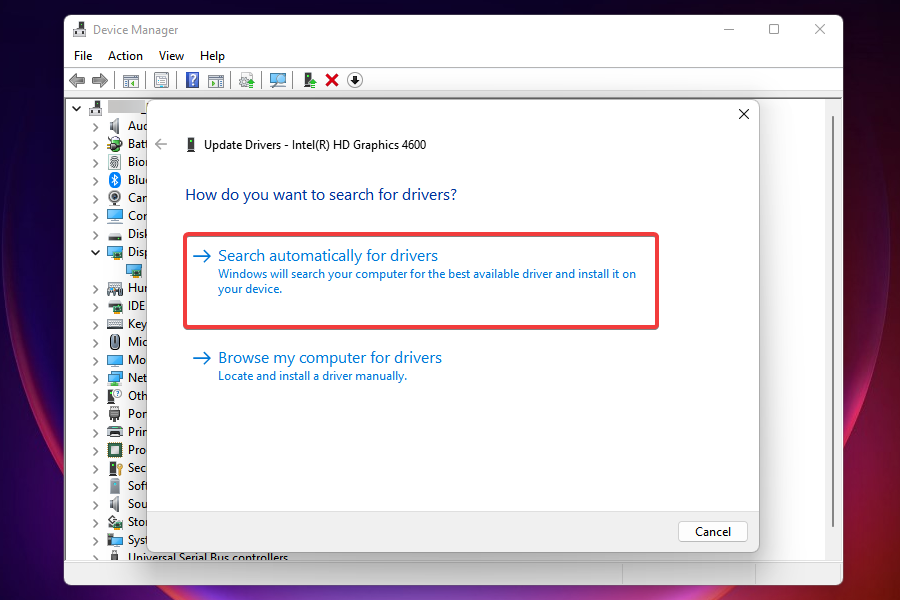
- If a newer version is installed, check if the random restart problem in Windows 11 is resolved.
Running an older version of the graphics driver too is known to cause a bunch of errors. Hence it’s recommended that you keep them up-to-date.
In case the Device Manager method doesn’t work, you can always update the driver via Windows Update or manually download it from the manufacturer’s website.
In case these methods don’t work or simply seem too much trouble, you can use a third-party program. We recommend DriverFix, a dedicated tool that will automatically scan the web for driver updates and keep all the installed ones up-to-date.
7. Scan for malware
NOTE
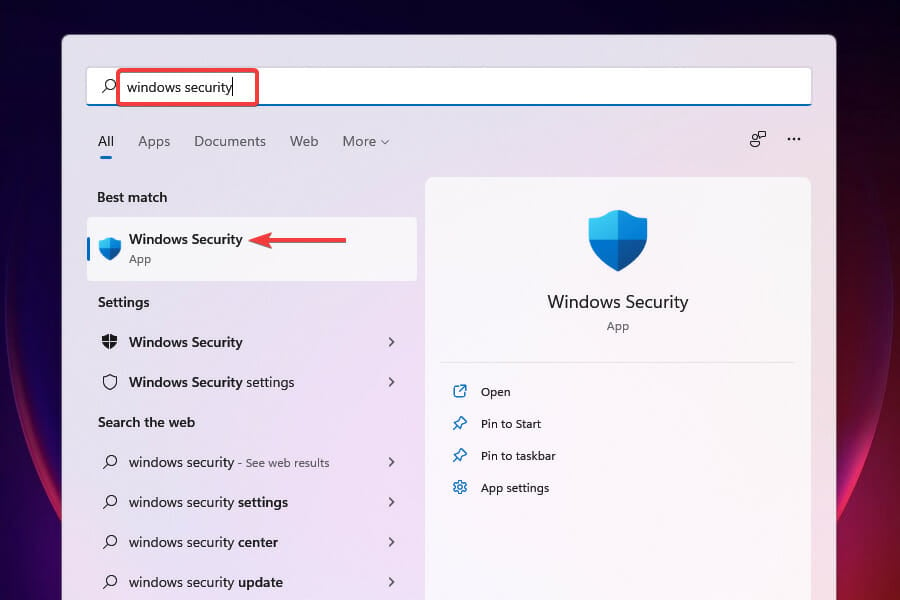
- Press Windows + S to launch the Search menu.
- Enter Windows Security in the text field at the top and click on the relevant search result that appears.
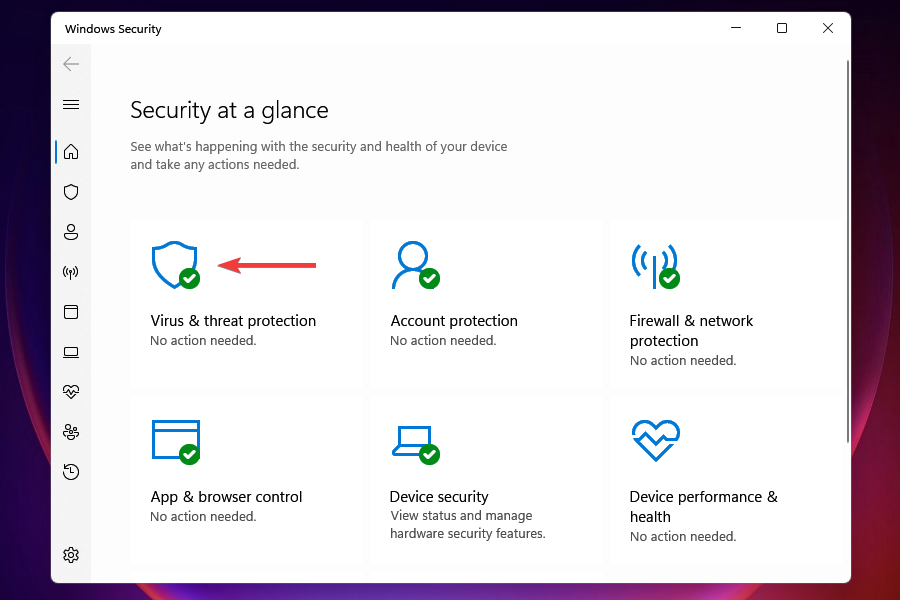
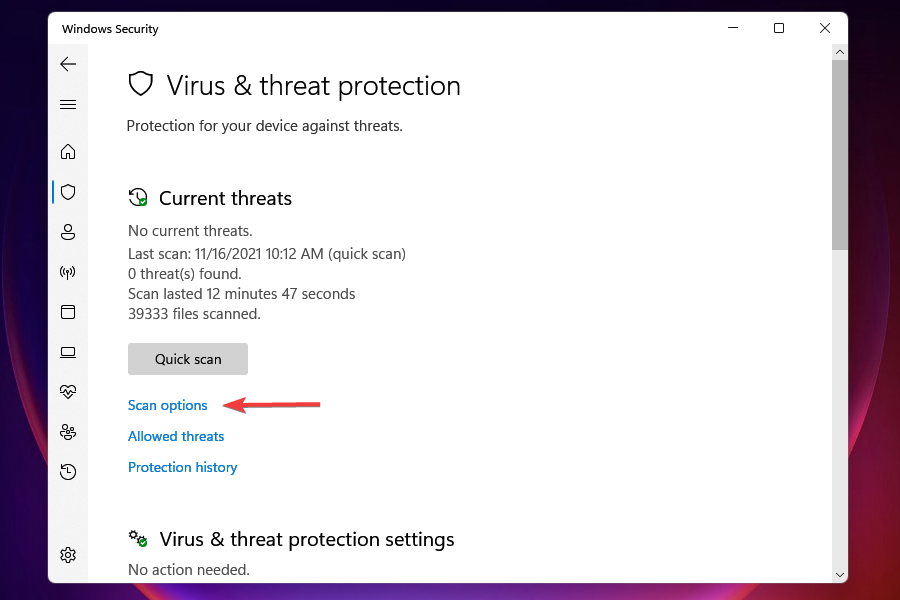
- Select Virus & threat protection from the options listed here.
- Click on Scan options.
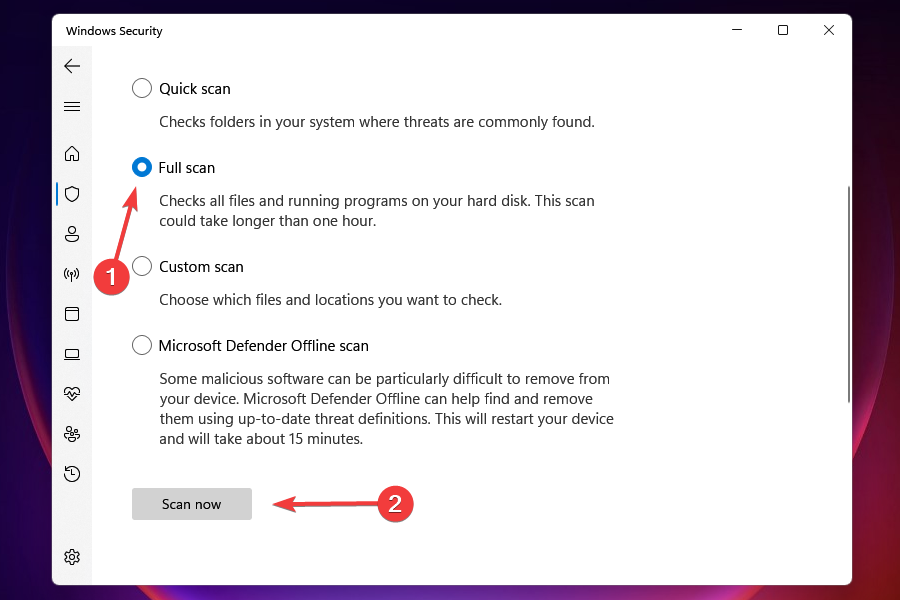
- Select Full scan and click on Scan now at the bottom.
In many instances, users realized it was actually malware or virus that caused the random restarts in Windows 11. To remove these, all you have to do is to run a scan.
The full scan will take a lot longer to complete compared to a quick one, but it will scan more files, thereby increasing the chances of detection and removal of malware.
After the scan is run, you will be informed if malware or virus is found, and the action taken. It’s likely to be either quarantined or removed.
8. Run SFC and CHKDSK scan
- Press Windows + X or right-click on the Start button in the Taskbar to launch the Quick Access menu.
- Select Windows Terminal (Admin) from the list of options here.
- Click Yes on the UAC prompt that appears.
- Press Ctrl + Shift + 2 to launch the Command Prompt tab in Windows Terminal.
- Type or paste the following command to run the SFC scan:
sfc /scannow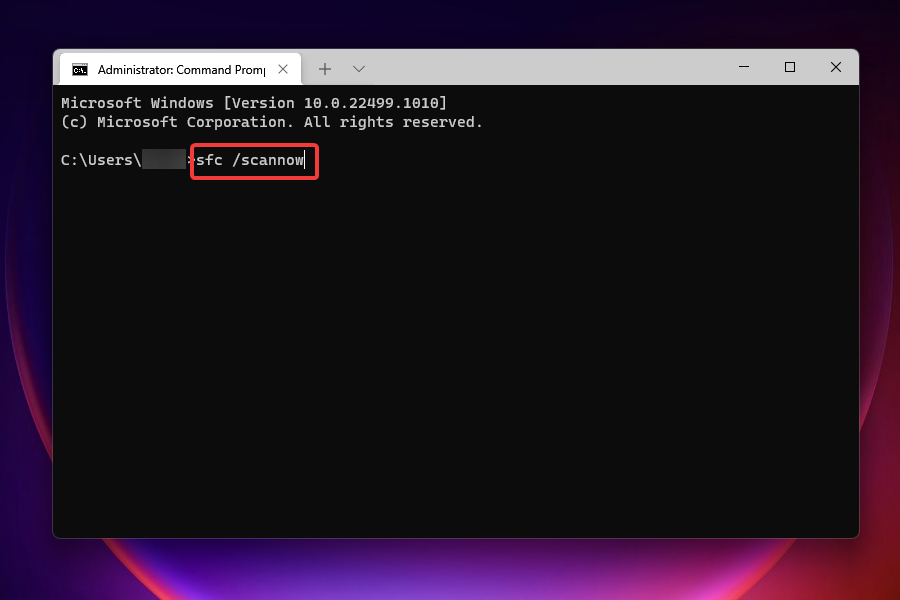
- Wait for the scan to complete.
- Now, enter the following command to perform a Check Disk:
chkdsk /x /f /r
- You will now be asked to schedule the scan to run the next time you restart the computer. Press Y and hit Enter to confirm.
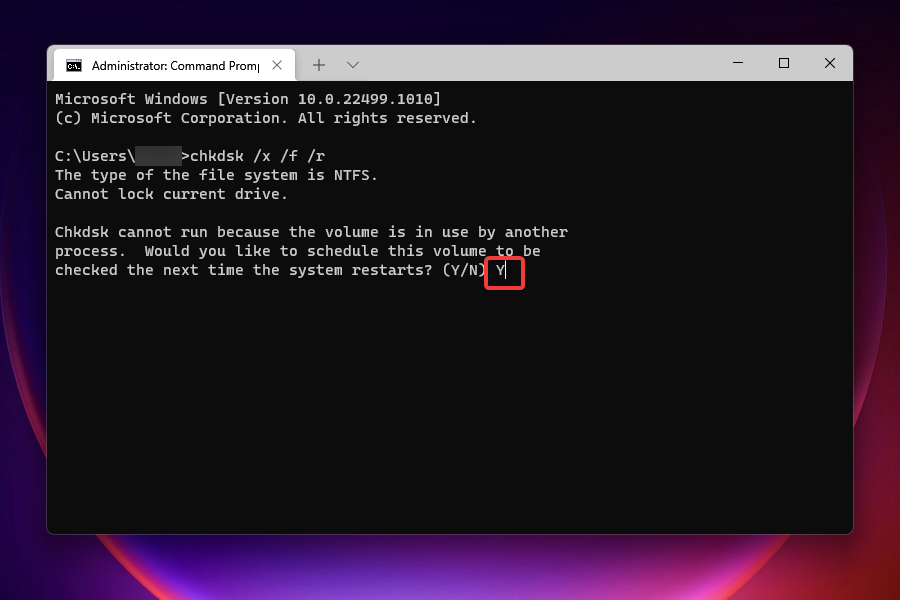
If the above methods didn’t help fix the issue, it could be due to corrupt system files or problems with the storage. While the SFC (System File Checker) scan takes care of the former, the Check Disk utility repairs storage issues.
The scan may take some time to complete depending on the data stored on the computer but it’s known to fix the random restart issue in Windows 11 for a lot of users.
9. Undo overclocking
Overclocking is when you make the computer perform faster than what’s it’s capable of or intended to do. There are various software tools available to overclock your Intel CPU.
While it is beneficial to a large extent, you may come across errors on an overclocked PC, such as overheating and abrupt crashing of the OS.
If you have overclocked the computer, undoing the change might come in handy to resolve the random restart problem in Windows 11.
Will the PC randomly restart due to overheating in Windows 11?
Overheating is one of the reasons for the system to restart. Whenever the temperature reaches a certain value, one that can damage the components, the system will automatically restart to cool down.
It’s easy to identify an overheated system, be it a laptop or PC. So if you believe that high temperature is the real culprit here, you can easily fix the overheating problem in Windows 11.
These are all the ways you can solve the random restart problem in Windows 11. If nothing here works, resetting Windows 11 to its factory settings will help.
Also, you could roll back to Windows 10 from Windows 11, since Microsoft will be offering support to the previous version until October 2025.
Tell us which fix worked for you in the comments section below.
Start a conversation