
- The 0x80070643 Windows 11 error can arise because of corrupted Windows Defender definitions, .NET Framework, or update components.
- Some users might need to repair Windows update components to fix it in no time.
- Updating security signatures is another potential solution to take into consideration.
- If the 0x80070643 error arises during the Windows 11 installation, repairing .NET Framework might also help.
XINSTALL BY CLICKING THE DOWNLOAD FILE
Microsoft might have recently released Windows 11, but when it comes to updating errors, some things never change. Users have already posted on forums about the update error 0x80070643 in Windows 11.
They had to fix the very same error in Windows 10 in the past, which can also occur on Microsoft’s latest desktop platform. That issue arises for some users when they try to install new patch updates via Settings. Windows updates fail to install because of error 0x80070643.
So, the error 0x80070643 is yet one of the many Windows update install issues. However, there are quite a few ways you can feasibly fix it as soon as possible.
What causes the update error 0x80070643 in Windows 11?
Before trying to get rid of the update error 0x80070643, it’s worth considering the more likely causes of the issue:
- Third-party antivirus software conflicts: Antivirus software might be conflicting with the Windows Update service
- Missing, outdated, or corrupted .NET Framework installation: Updates fail to install because .NET Framework is corrupted or missing or you might need to install a newer version
- Corrupted system files: You might have to repair corrupted system files causing the issue
- Damaged Windows Update components: Some Windows Update components might be corrupted or incorrectly configured
- Corrupted Windows Defender definitions: Error 0x80070643 can also arise because of corrupted Windows Defender definitions
To solve the error 0x80070643 in Windows 11, you must apply resolutions that can feasibly remedy those causes. Give these potential fixes a try right away.
How can I fix the error 0x80070643 in Windows 11?
1. Run the Windows Update troubleshooter
- First, open up the Start menu by clicking the Windows icon on the taskbar.
- Select the Settings app that’s pinned to the Start menu.

- Then click Troubleshoot within the System tab.

- Select Other trouble-shooters to bring up a list of troubleshooters in Settings.

- Click the Windows Update troubleshooter’s Run button.

- Thereafter, apply any potential fixes suggested by the troubleshooter.
2. Run a system file scan
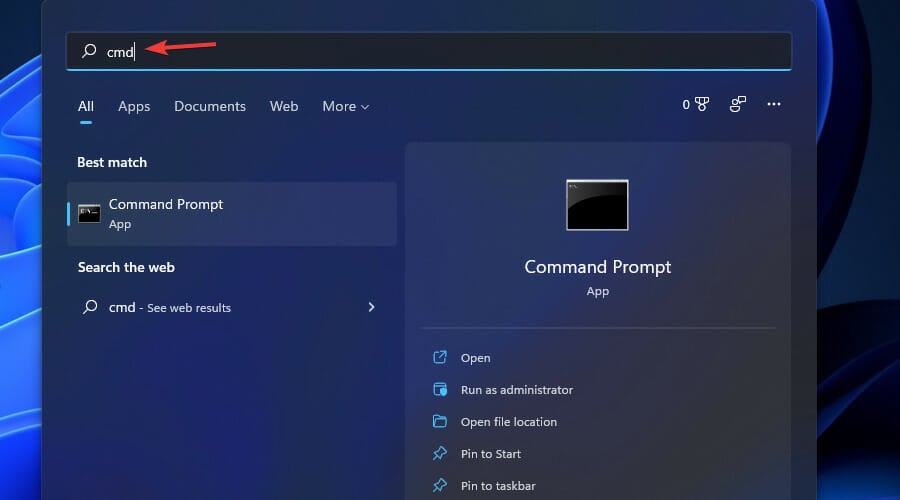
- First, bring up the search utility by clicking the magnifying glass button for that tool.

- Next, type the keyword cmd in the search box to find Command Prompt.
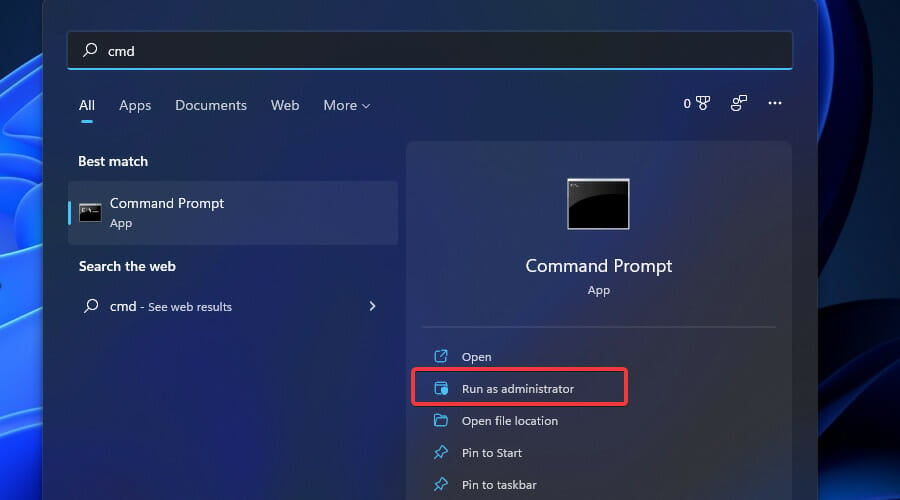
- Click the Command Prompt’s Run as administrator option on the right side of the search tool.
- Input this system file scan command and press Enter:
sfc /scannow
- Thereafter, wait for the system file scan to reach the 100 percent mark and display its outcome in the Command Prompt.
3. Install the latest .Net Framework 4.8
- Open the .NET Framework 4.8 webpage in your web browser.
- Click the Download .NET Framework 4.8 Runtime button on that page.

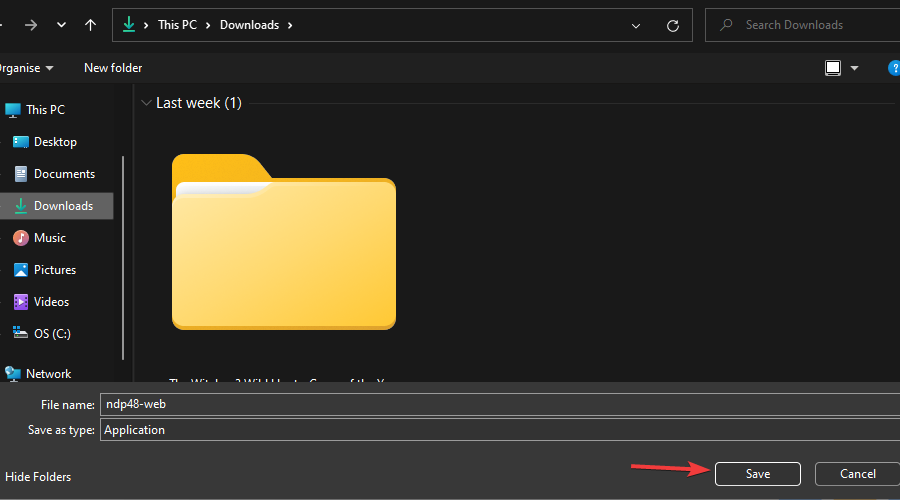
- Choose a folder to download .NET Framework 4.8 to, and click the Save button.
- Next, press the Windows key + E hotkey to bring up File Explorer.
- Open the folder you downloaded .NET Framework 4.8 installer file to.
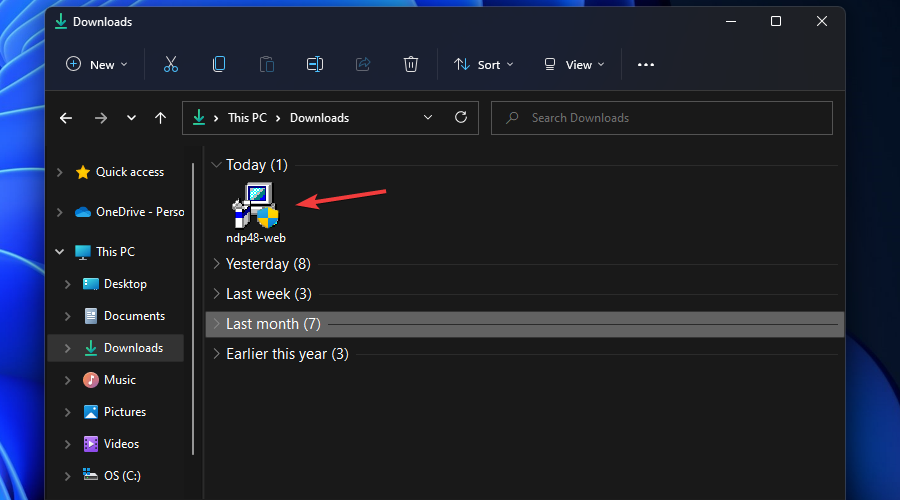
- Double-click .NET Framework’s ndp48-web.exe setup file to launch the installer.
- Then go through the setup wizard to install the runtime package.
4. Repair .NET Framework

NOTE
This potential fix is recommended if the latest .NET Framework version is already installed on your desktop or laptop.
- Open the Microsoft .NET Framework Repair Tool page.
- Then press the Download button there.
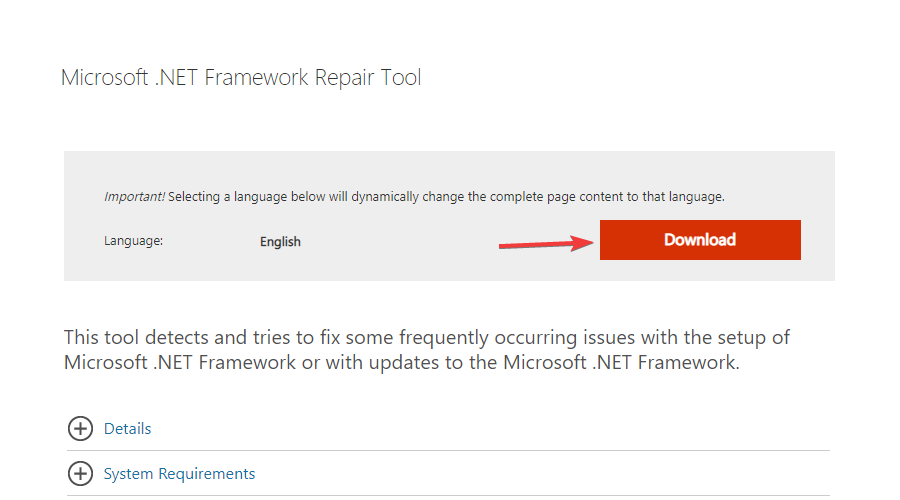
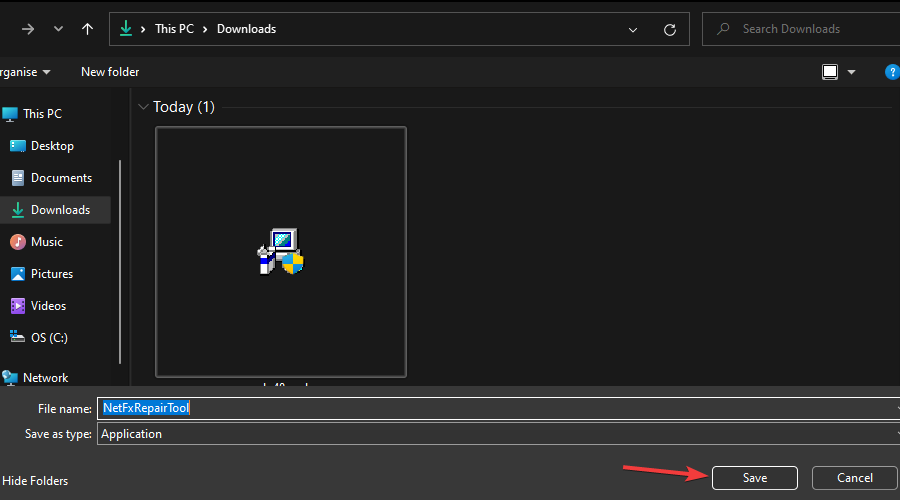
- Select a folder to download that repair utility to, and click the Save button.
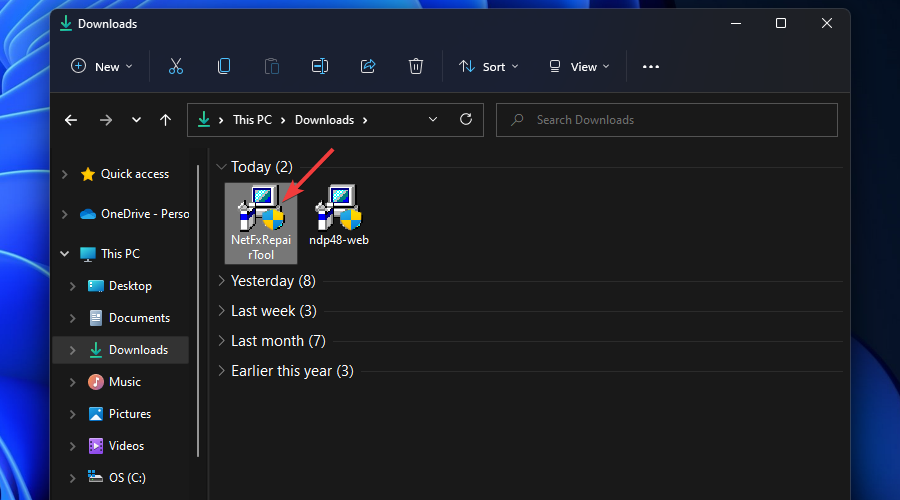
- Next, click File Explorer’s button on the taskbar.

- Open the folder that includes Microsoft .NET Framework Repair Tool.
- Double-click NetFxRepairTool.exe to open that utility’s window.
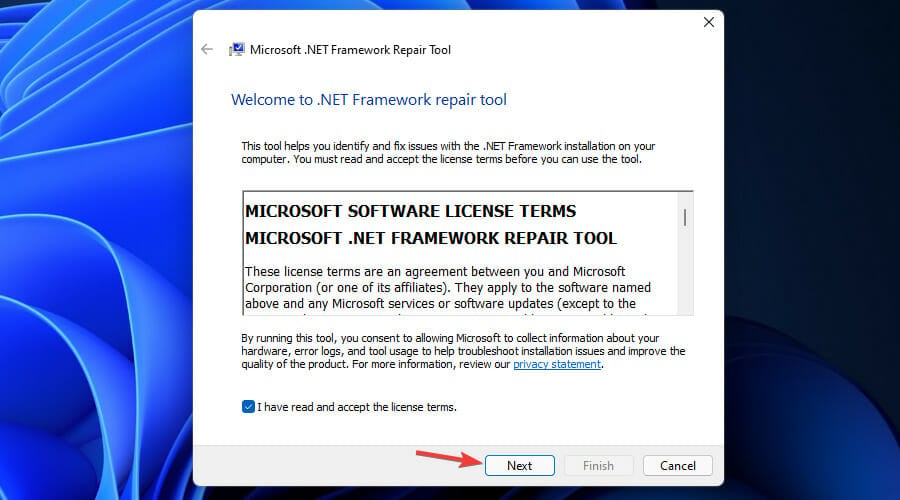
- Select the I have read and accept the license terms checkbox.

- Then press the Next button to initiate the repairs.
5. Temporarily turn off third-party antivirus software
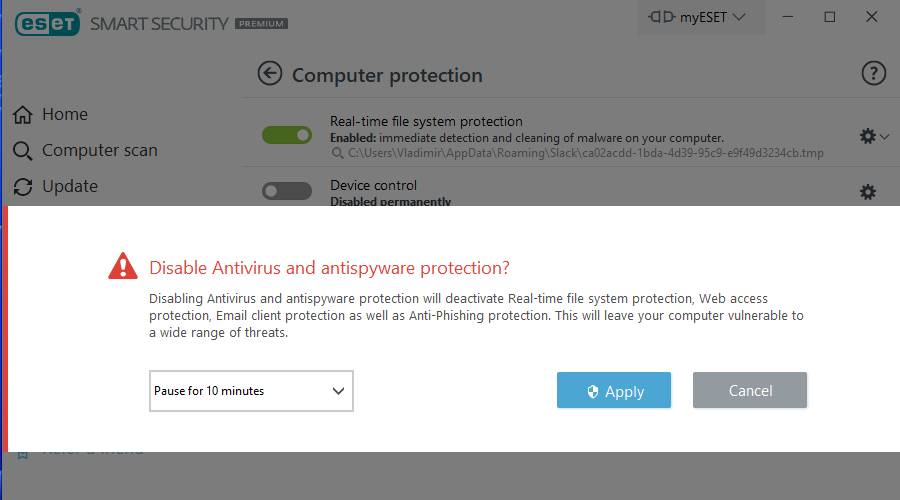
Disable any third-party antivirus utility installed on your PC before you try installing the latest Windows updates in Settings.
The way you can usually do that is to right-click the antivirus utility’s system tray icon and select the Disable option on the context menu. Choose to disable it for an hour at least.
6. Change the SoftwareDistribution subfolder name
- Open a Command Prompt with elevated administrator rights as outlined in the first three steps of resolution two.
- To disable a couple of services, type in these commands and press Enter:
net stop wuauserv
net stop bits - Type this command in the Prompt’s window and press Return to execute:
rename c:windowsSoftwareDistribution SoftwareDistribution.bak
- To restart the disabled services, input these commands:
net start wuauserv
net start bits
7. Reset the Catroot2 folder
- First, open an elevated Command Prompt window as covered in the second resolution.
- Input these three separate commands (press Enter after each):
net stop cryptsvc
md %systemroot%system32catroot2.old
xcopy %systemroot%system32catroot2 %systemroot%system32catroot2.old /s - Next, open File Explorer (press the Windows key + E in that regard).
- Open the catroot2 folder at this path:
C:WindowsSystem32catroot2
- Press the Ctrl + A hotkey to select all content within the catroot2 folder.
- Click File Explorer’s Delete button to erase the selected items.

- Thereafter, open Command Prompt again.
- To restart the disabled service, input this command and hit Return:
net start cryptsvc
8. Update Windows Defender’s signatures
NOTE
This potential resolution is especially recommended when error 0x8007064 occurs for Windows Defender updates.
- Open the Command Prompt’s window as covered within the second resolution.
- Type this command into the Prompt’s window and press Enter:
“%PROGRAMFILES%Windows DefenderMPCMDRUN.exe” -RemoveDefinitions -All
- To update Windows Defender’s signatures, enter these two separate commands pressing Return after each:
“%PROGRAMFILES%Windows DefenderMPCMDRUN.exe” -SignatureUpdate
“%ProgramFiles%Windows DefenderMPCMDRUN.exe” -SignatureUpdate -MMPC
- Then close Command Prompt, and restart Windows 11 by clicking Power, then Restart on the Start menu.
9. Clean-boot Windows 11
- Firstly, press the Windows keyboard key and R at the same time, which is the hotkey for Run.
- Type this text in Run’s Open box:
msconfig - Select the OK option to open System Configuration.
- If it’s not already selected, click the Selective startup radio button on the General tab.
- Then uncheck the Load startup items checkbox to deselect that option.

- Select the options for Load system services and Use original boot configuration.
- Next, click MSConfig’s Services tab.
- Select the Hide all Microsoft services checkbox.

- Click Disable all to deselect all the checkboxes for the non-essential third-party services.
- To save the settings, make sure you select the Apply option.
- Press the OK option to exit the window.
- A dialog box will open prompting you to restart Windows. Select Restart on that dialog box.
- Thereafter, try applying updates after clean-booting Windows 11.
NOTE
To restore the original boot settings, simply select Load startup items on MSConfig’s General tab. You can restore third-party services by pressing the Enable all button. Then click Apply to save the restored boot configuration.
Can I manually install the updates error 0x80070643 arises for?
You can manually install those updates from the Microsoft Update Catalog. The official website includes a repository of Windows updates from which users can manually download and then install updates.
- Open the Microsoft Update Catalog website in your browser of choice.

- Type the KB code for the Windows update error 0x80070643 in the search box on that website, and press the Enter key.
- Click the Download button for an update to save. The update must be compatible with your Windows 11 platform.
- Right-click a download link on the Windows Update Catalog window that opens and select the Save link as option.
- Choose a folder to download the update to on the Save As window.
- Then press the Save button.
- Thereafter, click the taskbar button for File Explorer.
- Open the folder that you saved the Windows update’s MSU file in.
- Double-click the MSU file to install the Windows update.
Who can I contact about fixing error 0x80070643?
Do not hesitate to contact Microsoft’s support service if you need more resolutions. The Contact Microsoft Support page includes a text box you can fill out to describe the error. Then you can get in touch with the service in your browser by clicking the Get Help and Contact Support buttons.
Alternatively, you can discuss error 0x80070643 on Microsoft’s community forum for Windows platforms. Microsoft’s agents on that forum are readily available to advise on how to fix Windows errors. Click that forum’s Ask a question link to submit a post there.
However, users have confirmed the potential resolutions above to fix the error 0x80070643. Therefore, it’s likely that those solutions will resolve the issue for the majority of users.
Yet, we can’t promise the above fixes are 100 percent guaranteed. If they’re not enough, resetting Windows 11 might also be worth a shot. Check out our guide on how to reset Windows 11 to its factory settings for further guidelines.
Some third-party repair utilities can also fix a wide range of Windows update issues, such as error 0x80070643. These best Windows update repair tools are worthy of your attention as well.
Let us know your opinion on this topic in the comments area below.
Start a conversation