
If you’ve got a house full of Switch players, it will be important for you to know how to change the Nintendo Account on your Nintendo Switch. Each person can sign in with their own Nintendo Account, which lets you customize your profile settings, access online game modes, redeem your My Nintendo rewards, and purchase content from the eShop with your own payment options. The best part is, all of the games anyone purchases on one Switch using their Nintendo Account can be shared by everyone. So, if you’re sharing one Nintendo Switch with a couple of roommates, you can all benefit from each roomie’s purchases. Here’s how to add and switch between Nintendo Accounts.
How to add additional Nintendo Accounts to your Switch
Before you can change the Nintendo Account on your Nintendo Switch and add additional Nintendo Accounts, you’ll need separate user profiles for each account. Once you have created the profile, follow the steps below.
-
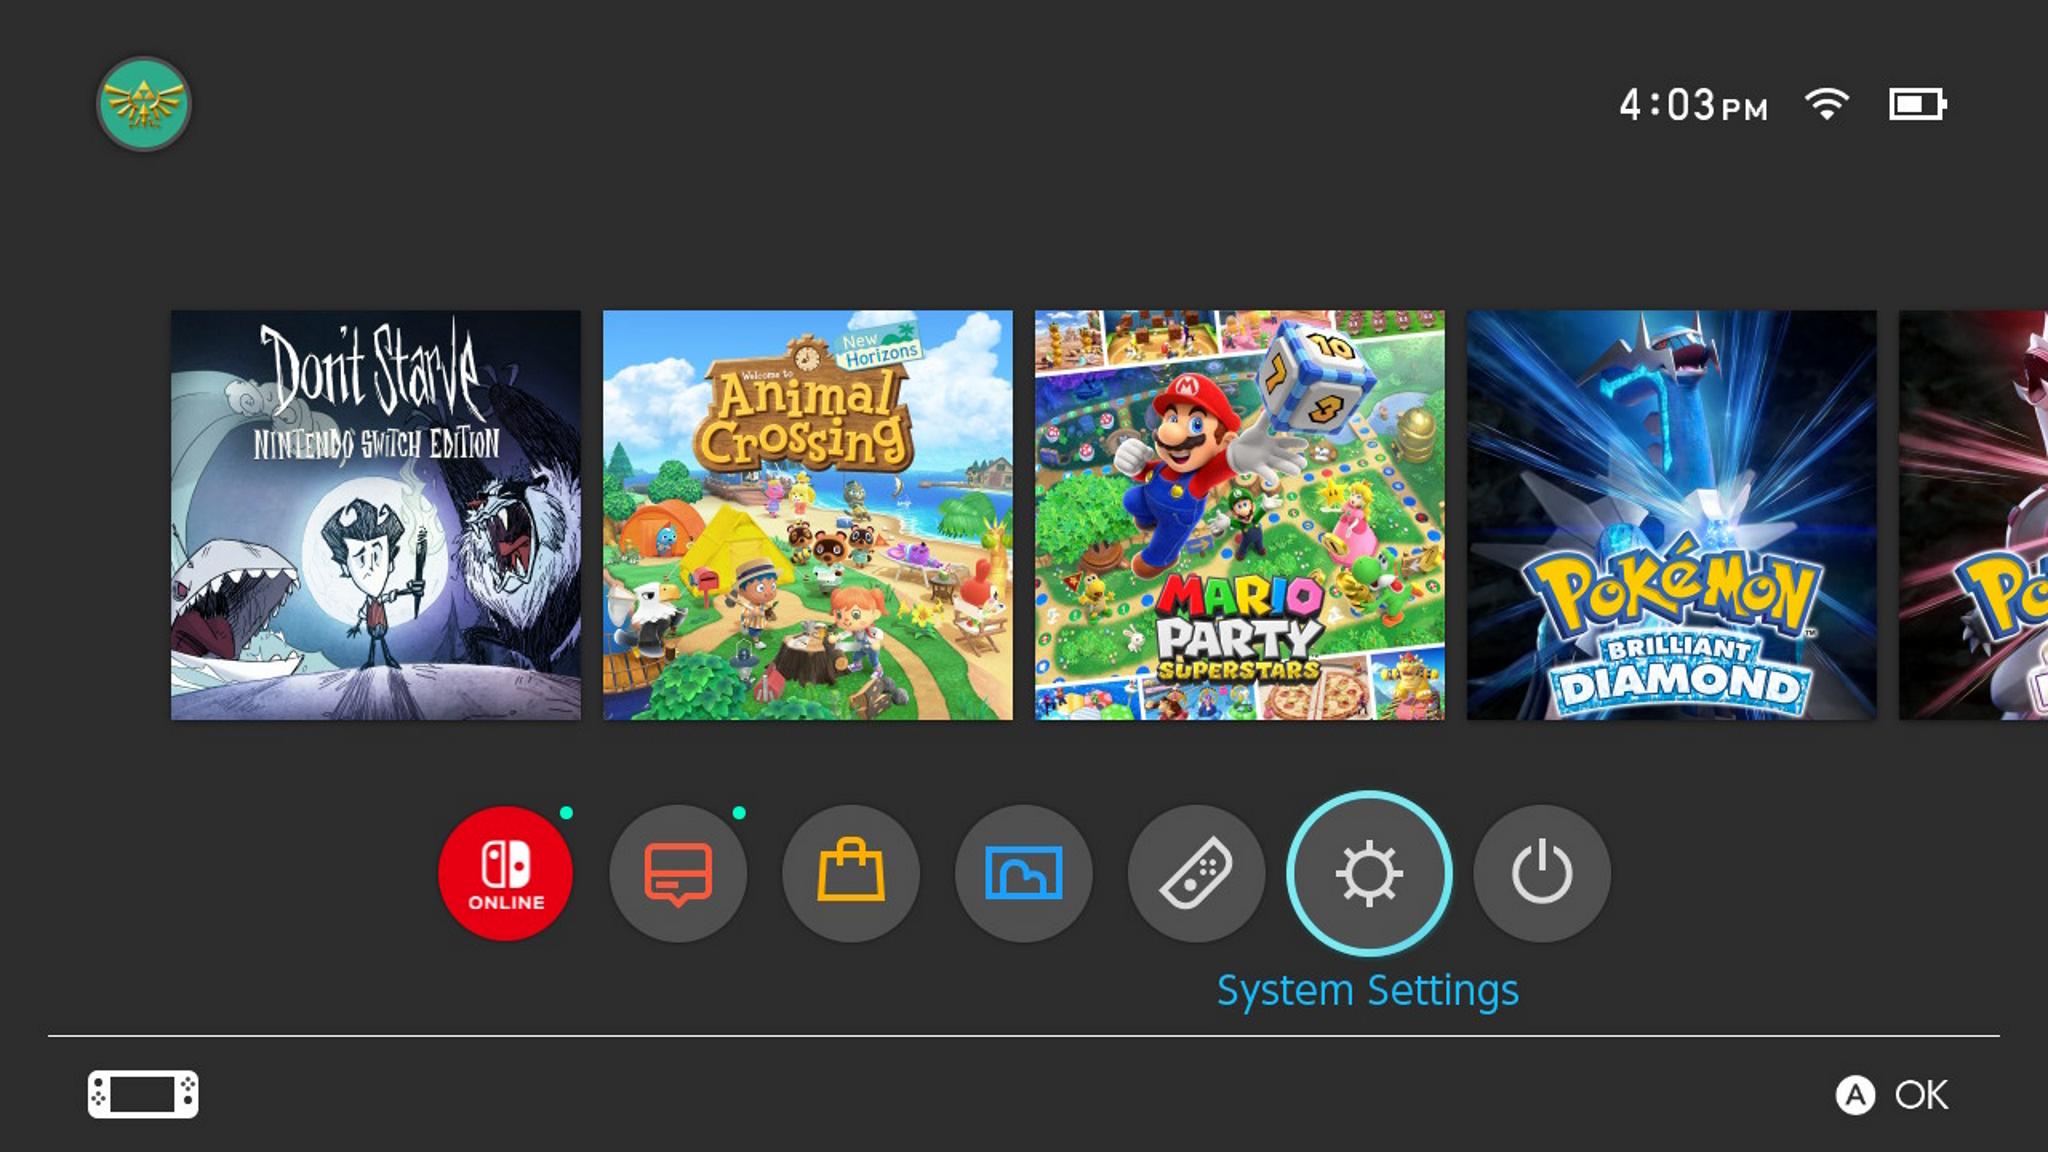
Select System Settings from the Home screen of your Nintendo Switch.
 Source: iMore
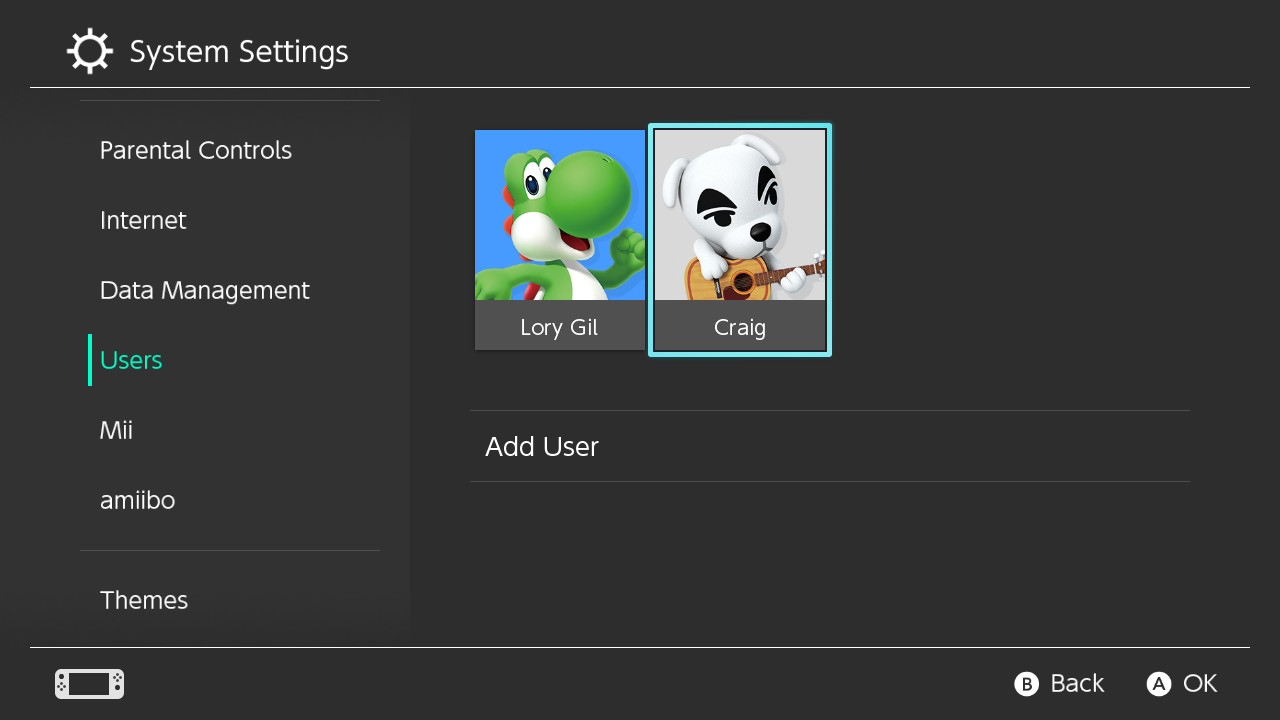
 - Scroll down and select Users from the menu on the left.
-
Select the profile you want to link a Nintendo Account to.
 Source: iMore
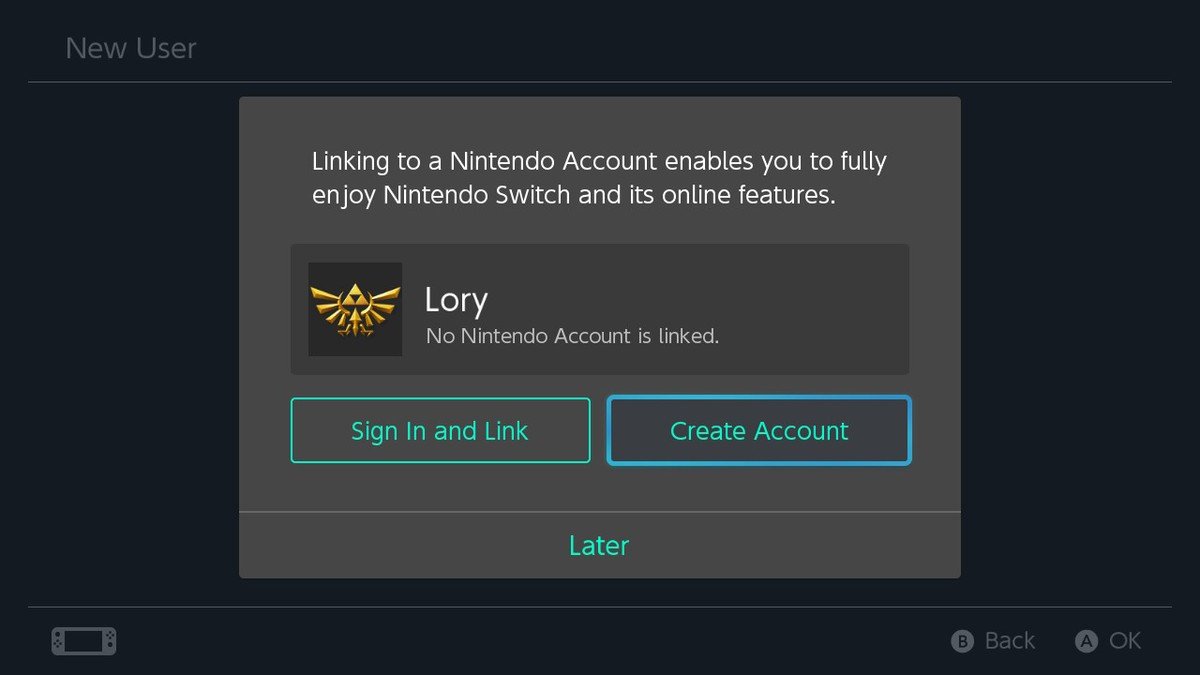
 - Select Link Nintendo Account.
-
If you don’t already have a Nintendo Account, make sure to create a new Nintendo account first. If you already have a Nintendo Account, select Sign In and Link.
 Source: iMore
 - Select Sign in using an e-mail address or User ID. If you are using a Nintendo Network ID, Twitter, Facebook, or Google+ account, select Sign in using a different account.
- Sign in with your log in credentials.
- Select OK when you get a message confirming that your Nintendo Account is now linked to your user account.
How to switch to another Nintendo Account in the eShop on your Switch
Changing the Nintendo Account on your Nintendo Switch eShop is as easy as switching between user profiles.
-
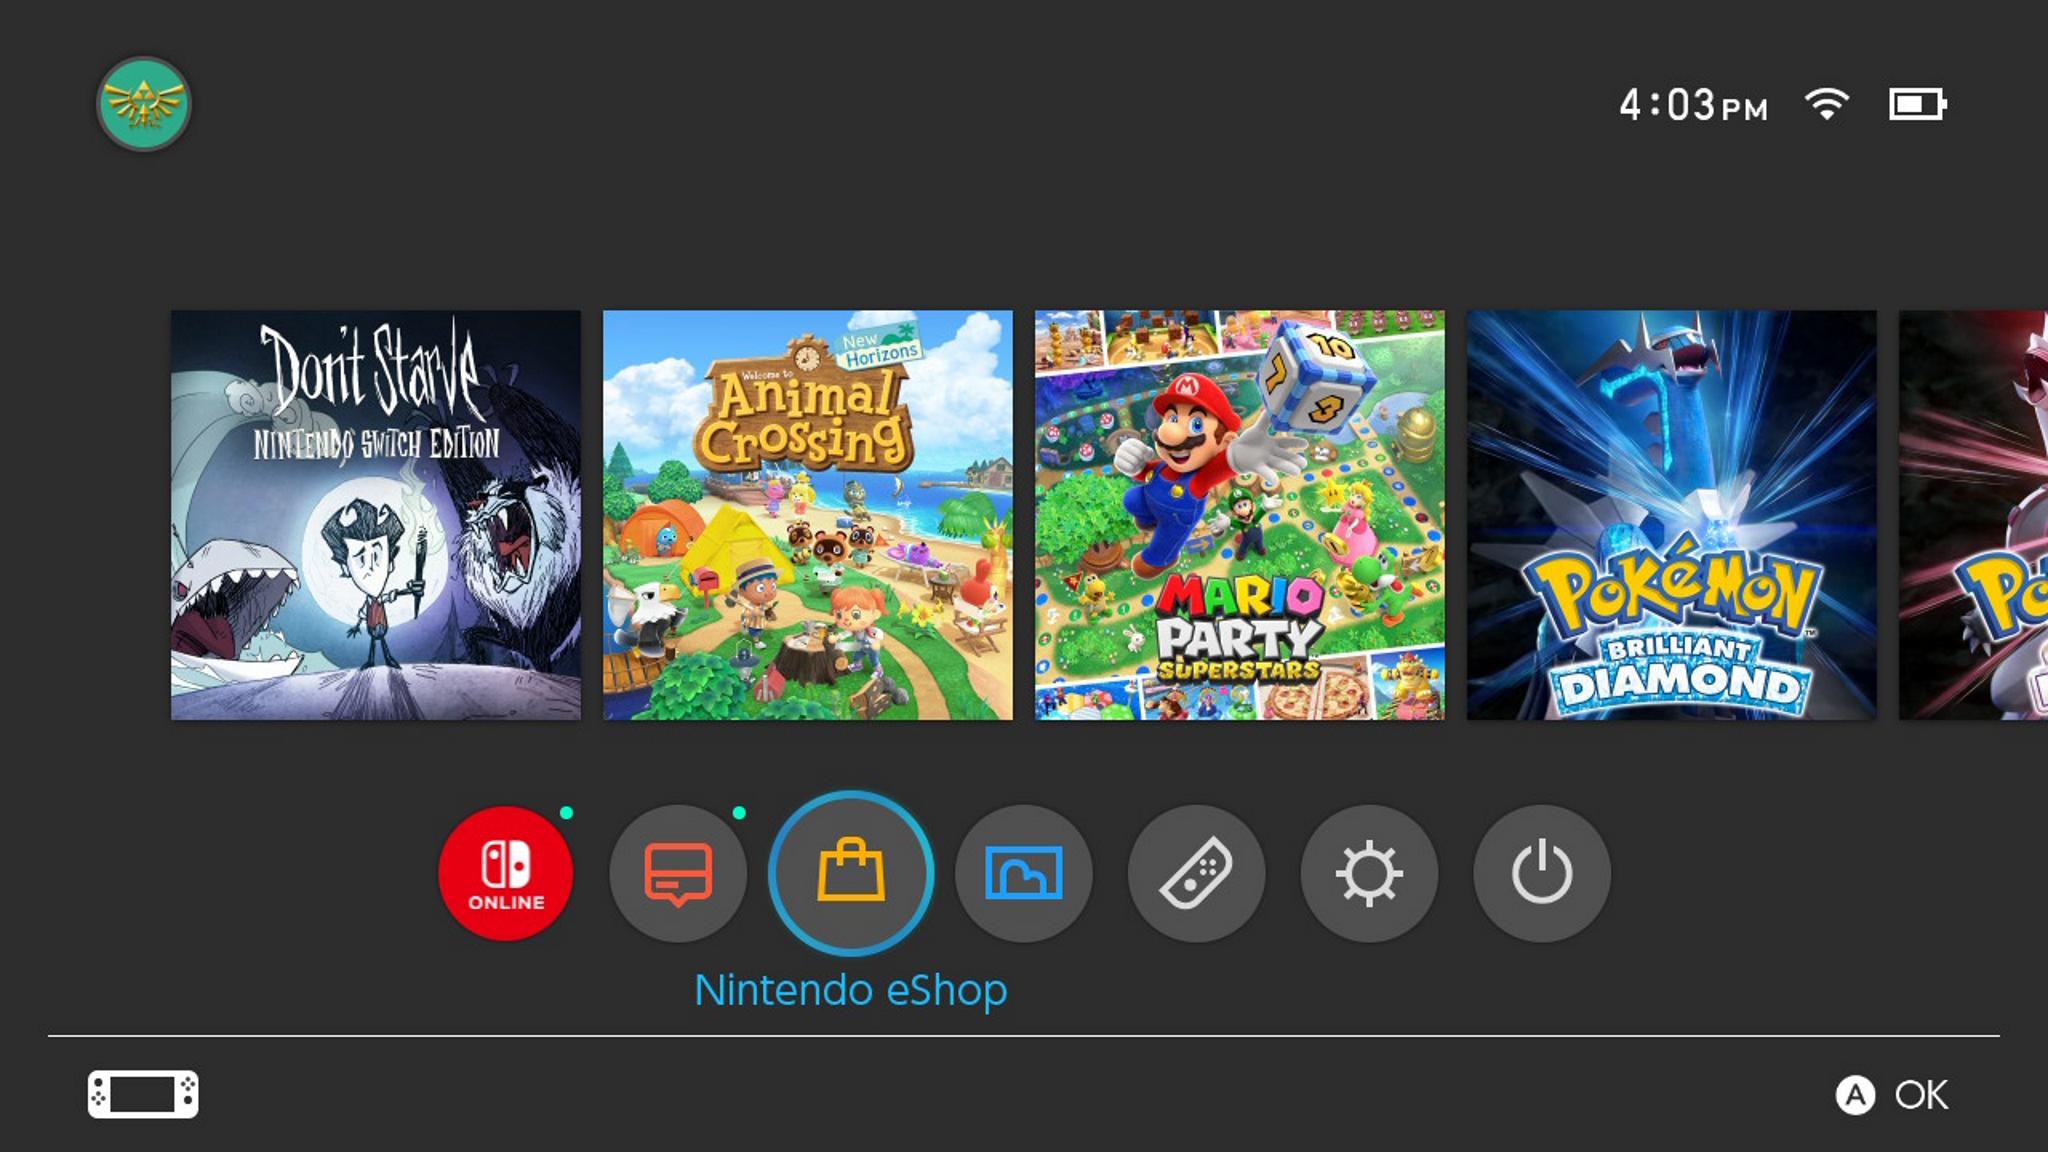
Select the eShop from the Home screen on your Nintendo Switch.
 Source: iMore
 -
Select the user profile you want to make purchases with in the eShop.
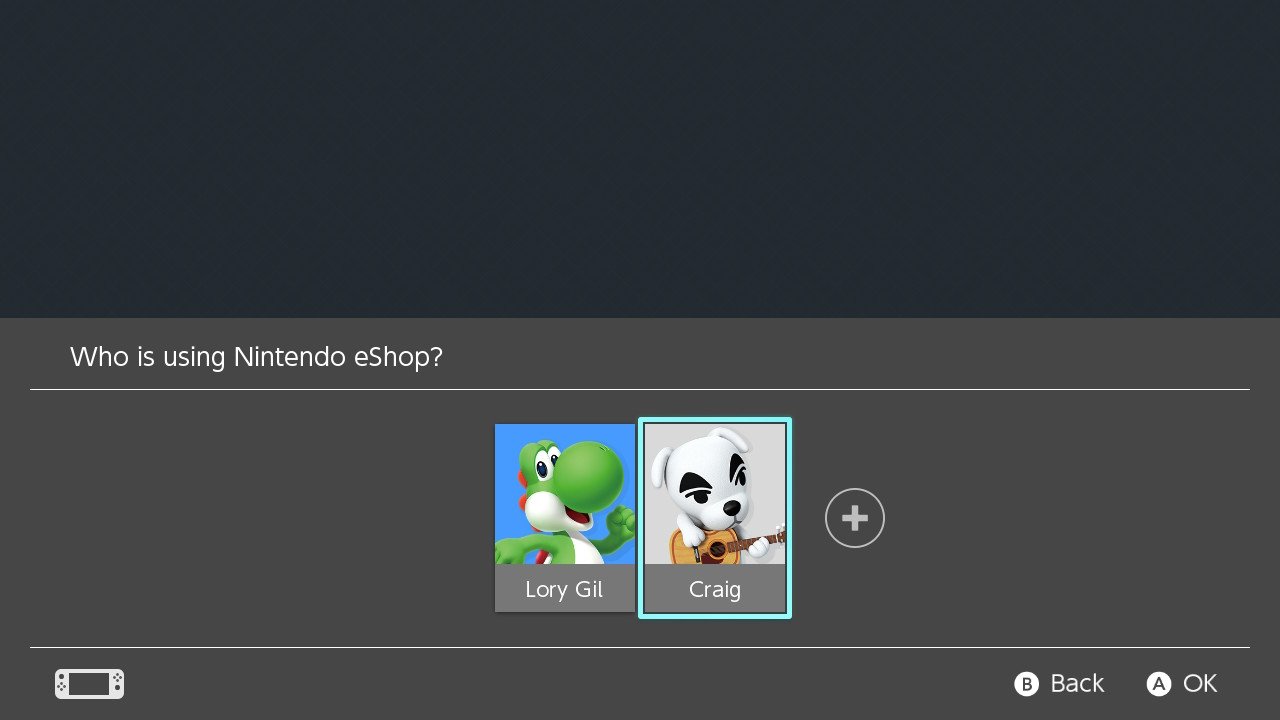 Source: iMore
 - Enter your Nintendo Account password if necessary.
- Shop!
How to play games from one Nintendo Account with a different profile
One of the benefits of having multiple Nintendo Accounts linked to one Switch is that all games that are purchased in the eShop (as well as physical games) across all accounts are available for all users. Your game data and controller settings are all saved separately. So, it’s like each player is playing their own separate game, even though it’s the same one.
-
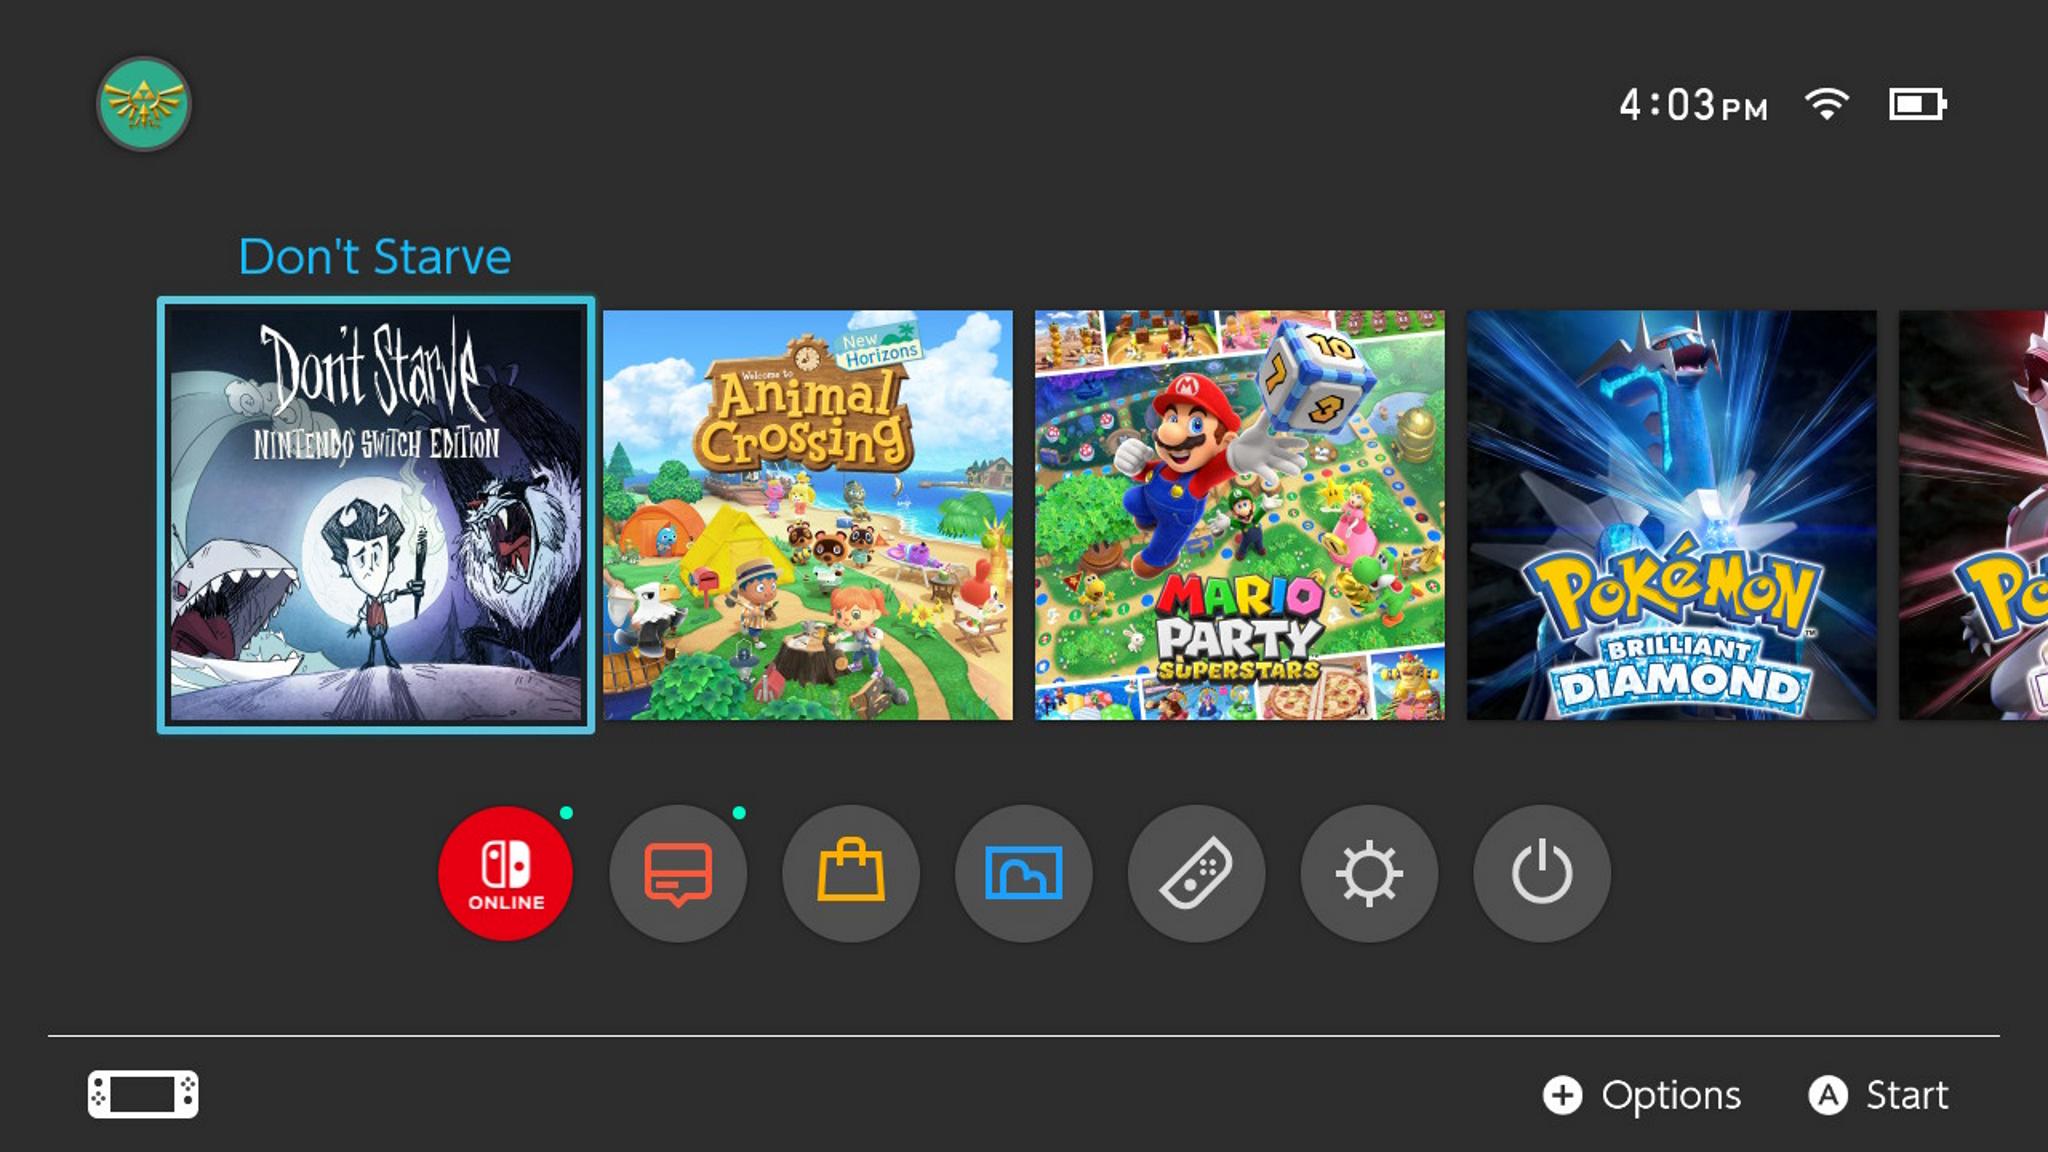
Select the game you want to play.
 Source: iMore
 -
Select the user profile with which you want to play.
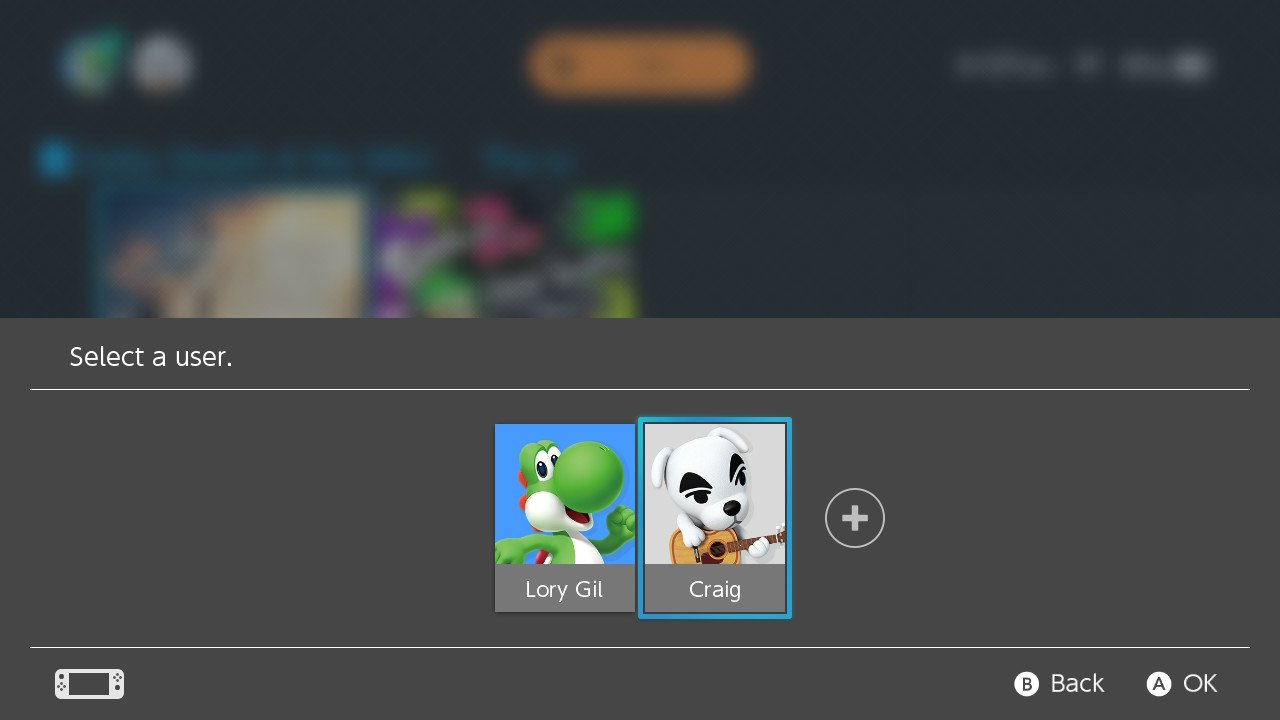 Source: iMore
 - Play!
The Old Switcheroo
Now you’re ready to start enjoying the best games on the Nintendo Switch from multiple accounts! Plus, you can benefit from having multiple Nintendo Accounts on one device by playing games the other accounts have downloaded — how neat is that?
We may earn a commission for purchases using our links. Learn more.