
- More and more computer users are looking for ways to enhance their computer privacy. Using dynamic IP addresses and private DNS servers are a great way to do that.
- If you can’t change your static IP address and DNS servers on Windows 10, you can try forcing it from the Command Prompt or PowerShell. Discover more solutions.
- Visit our VPN Hub to find out how to amplify your digital security and online privacy.
- Return to our Network Troubleshooting Hub for more useful guides.
XINSTALL BY CLICKING THE DOWNLOAD FILE
Your IP address represents your ID when you go online. It’s assigned by your ISP and can be used to trace your approximate location.
Meanwhile, your DNS servers are responsible for translating the domains you search online into IP addresses so that machines can understand where you want to go. They are also assigned by your ISP.
However, many privacy-concerned users understand why it’s critical to change their IP address and DNS servers on Windows 10 and other operating systems. It’s problematic when that’s not possible.
If this sounds familiar to you, keep reading to learn how to fix it:
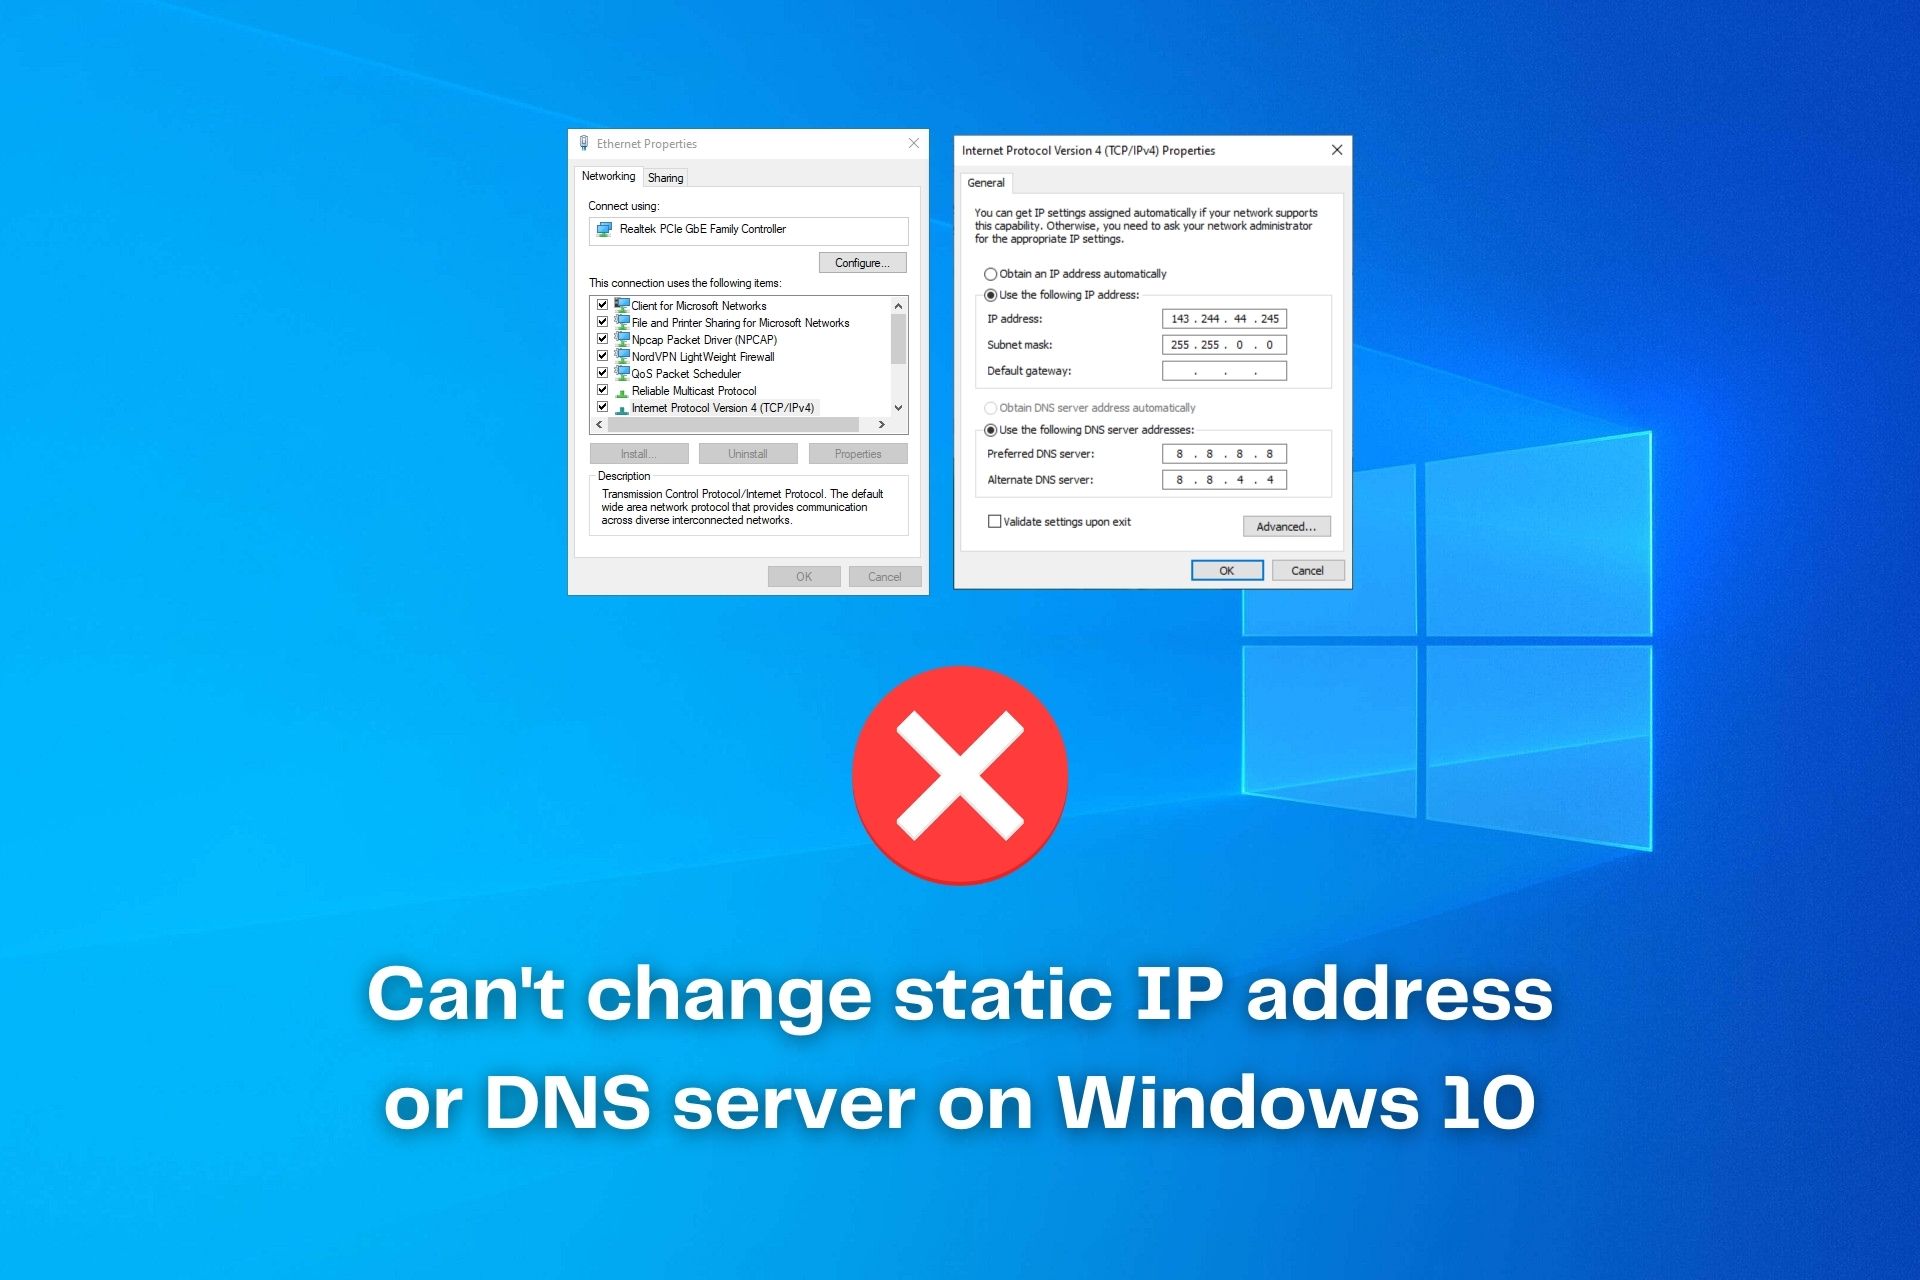
I can’t change my ip address. When I right click local area connection -> properties, the properties for Internet Protocol Version 4 is greyed out. could anyone help me fix this? thanks a lot.
In other cases, Windows 10 pops up the following error:

However, you can fix the unexpected condition error on Ethernet or Wi-Fi so that you can change your static IP address and DNS servers.
How can I change my static IP address and DNS servers on Windows 10?
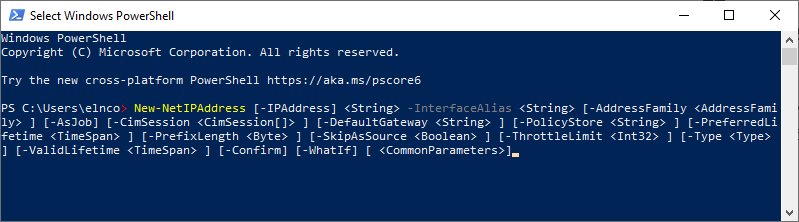
- Press the Windows 10 Start button and type powershell
- Right-click Windows PowerShell and select Run as administrator
- Copy and paste the following command, but don’t hit Enter until setting your actual IP address and other properties
New-NetIPAddress
   [-IPAddress] <String>
   [-DefaultGateway <String>]
   [-AddressFamily <AddressFamily>]
   [-Type <Type>]
   [-PrefixLength <Byte>]
   [-ValidLifetime <TimeSpan>]
   [-PreferredLifetime <TimeSpan>]
   [-SkipAsSource <Boolean>]
   [-PolicyStore <String>]
   -InterfaceIndex <UInt32>
   [-CimSession <CimSession[]>]
   [-ThrottleLimit <Int32>]
   [-AsJob]
   [-WhatIf]
   [-Confirm]
   [<CommonParameters>]
You can use the New-NetIPAddress cmdlet to set up a new IP address and customize settings.
We suggest reading Microsoft’s complete documentation on New-NetIPAddress to understand the role of each parameter.
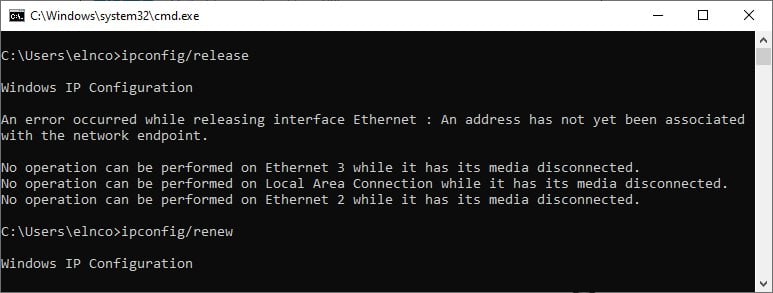
- Run Command Prompt: press Win+R , type cmd, press Enter
- Type ipconfig/release and press Enter to release your current IP. The Ethernet adapter section will now be void of numerical values
- Enter ipconfig/renew and press Enter to reset your IP
You can use the ipconfig/release command to release the current IP address of your computer. Keep in mind that you will have no Internet access at this point.
However, you’ll get back online in no time after using the ipconfig/renew command. Your computer will request a new IP address from a DHCP server, such as your router.
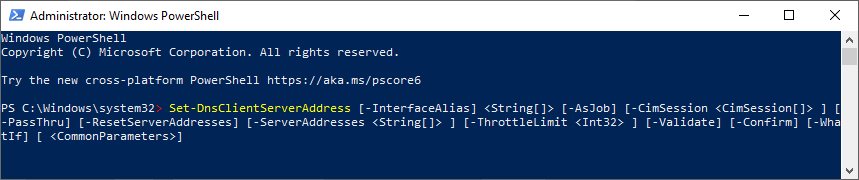
- Press the Win key and type powershell
- Right-click Windows PowerShell and select Run as administrator
- Copy and paste the next command, but don’t hit Enter until specifying the server address of your DNS client and other properties
Set-DnsClientServerAddress
   [-InterfaceAlias] <String[]>
   [-ServerAddresses <String[]>]
   [-Validate]
   [-ResetServerAddresses]
   [-CimSession <CimSession[]>]
   [-ThrottleLimit <Int32>]
   [-AsJob]
   [-PassThru]
   [-WhatIf]
   [-Confirm]
   [<CommonParameters>]
You can use the Set-DnsClientServerAddress cmdlet to specify at least one IP address for the DNS servers associated with your network adapter.
It statically adds the DNS server addresses, which will override any DHCP configuration for that network adapter.
Find out the goal of each property involved in Microsoft’s full specifications about Set-DnsClientServerAddress.
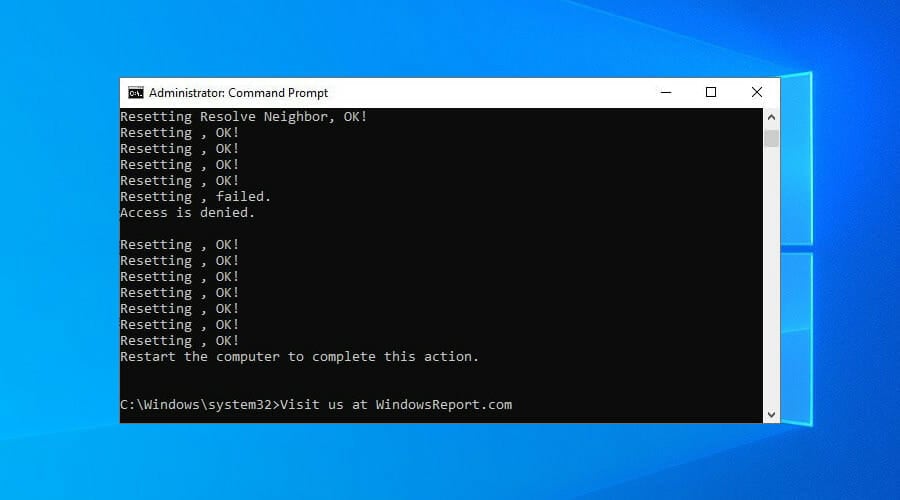
- Run Command Prompt as admin
- Copy and paste the next lines (press Enter between each line)
ipconfig /flushdns
ipconfig /registerdns
NETSH winsock reset catalog
NETSH int ipv4 reset reset.log
NETSH int ipv6 reset reset.log
exit
Reboot your computer to finalize changes.
If you can’t change your static IP address and DNS server on Windows 10, use the commands above to flush your DNS servers and reset Winsock, which is responsible for your TCP/IP configuration.
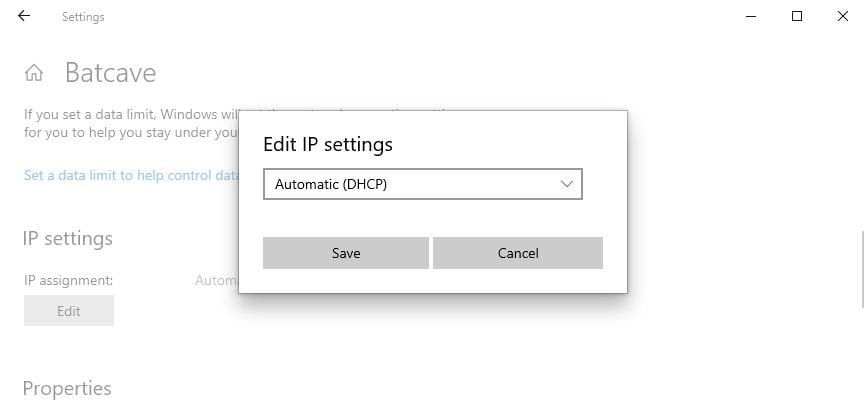
- Press the Win key, type settings, and open Settings
- Click Network & Internet
- If you’re using Wi-Fi, select Wi-Fi > Manage known networks. Then, pick your network and select Properties
- For Ethernet, select Ethernet and then your network
- At IP settings, click Edit
- Select Automatic (DHCP)
- Click Save
If you use automatic DHCP settings, it will be easier to configure TCP/IP settings on your Windows 10 PC.
If you wish to regularly change your IP address and protect your DNS queries, we suggest opting for a premium VPN service.
You just have to connect to a VPN IP address. It will not only hide your true IP and location, but also encrypt all data traffic to secure your network from hackers.
We think that Private Internet Access is the best VPN for the job. It’s incredibly intuitive, supports more than 3,300 VPN servers across 48 countries, and can be used to access blocked content, including Netflix US from anywhere.
PIA supports static and dynamic IP addresses, native port forwarding, and exclusive DNS servers. It also comes with a kill switch and a malware blocker for browsers.
More about PIA:
- WireGuard and OpenVPN with up to 256-bit military-grade encryption
- No IP, DNS or WebRTC leaks
- 24/7 live chat support
- 30-day money-back guarantee (no free trial)
Conclusion
To summarize, if you can’t change your static IP address and DNS server on Windows 10, you can try resetting them from the PowerShell or CMD.
It’s also a good idea to refresh network settings by flushing DNS and resetting Winsock. Plus, you can specify automatic DHCP IP assignment.
However, we also recommend using a reliable VPN service like Private Internet Access (buy here). It makes it possible to regularly change your IP address and connect from any part of the world.
Did you manage to modify your IP address and DNS servers using these solutions? What other fixes worked for your computer? Let us know in the comment section below.
There are 1 comments